
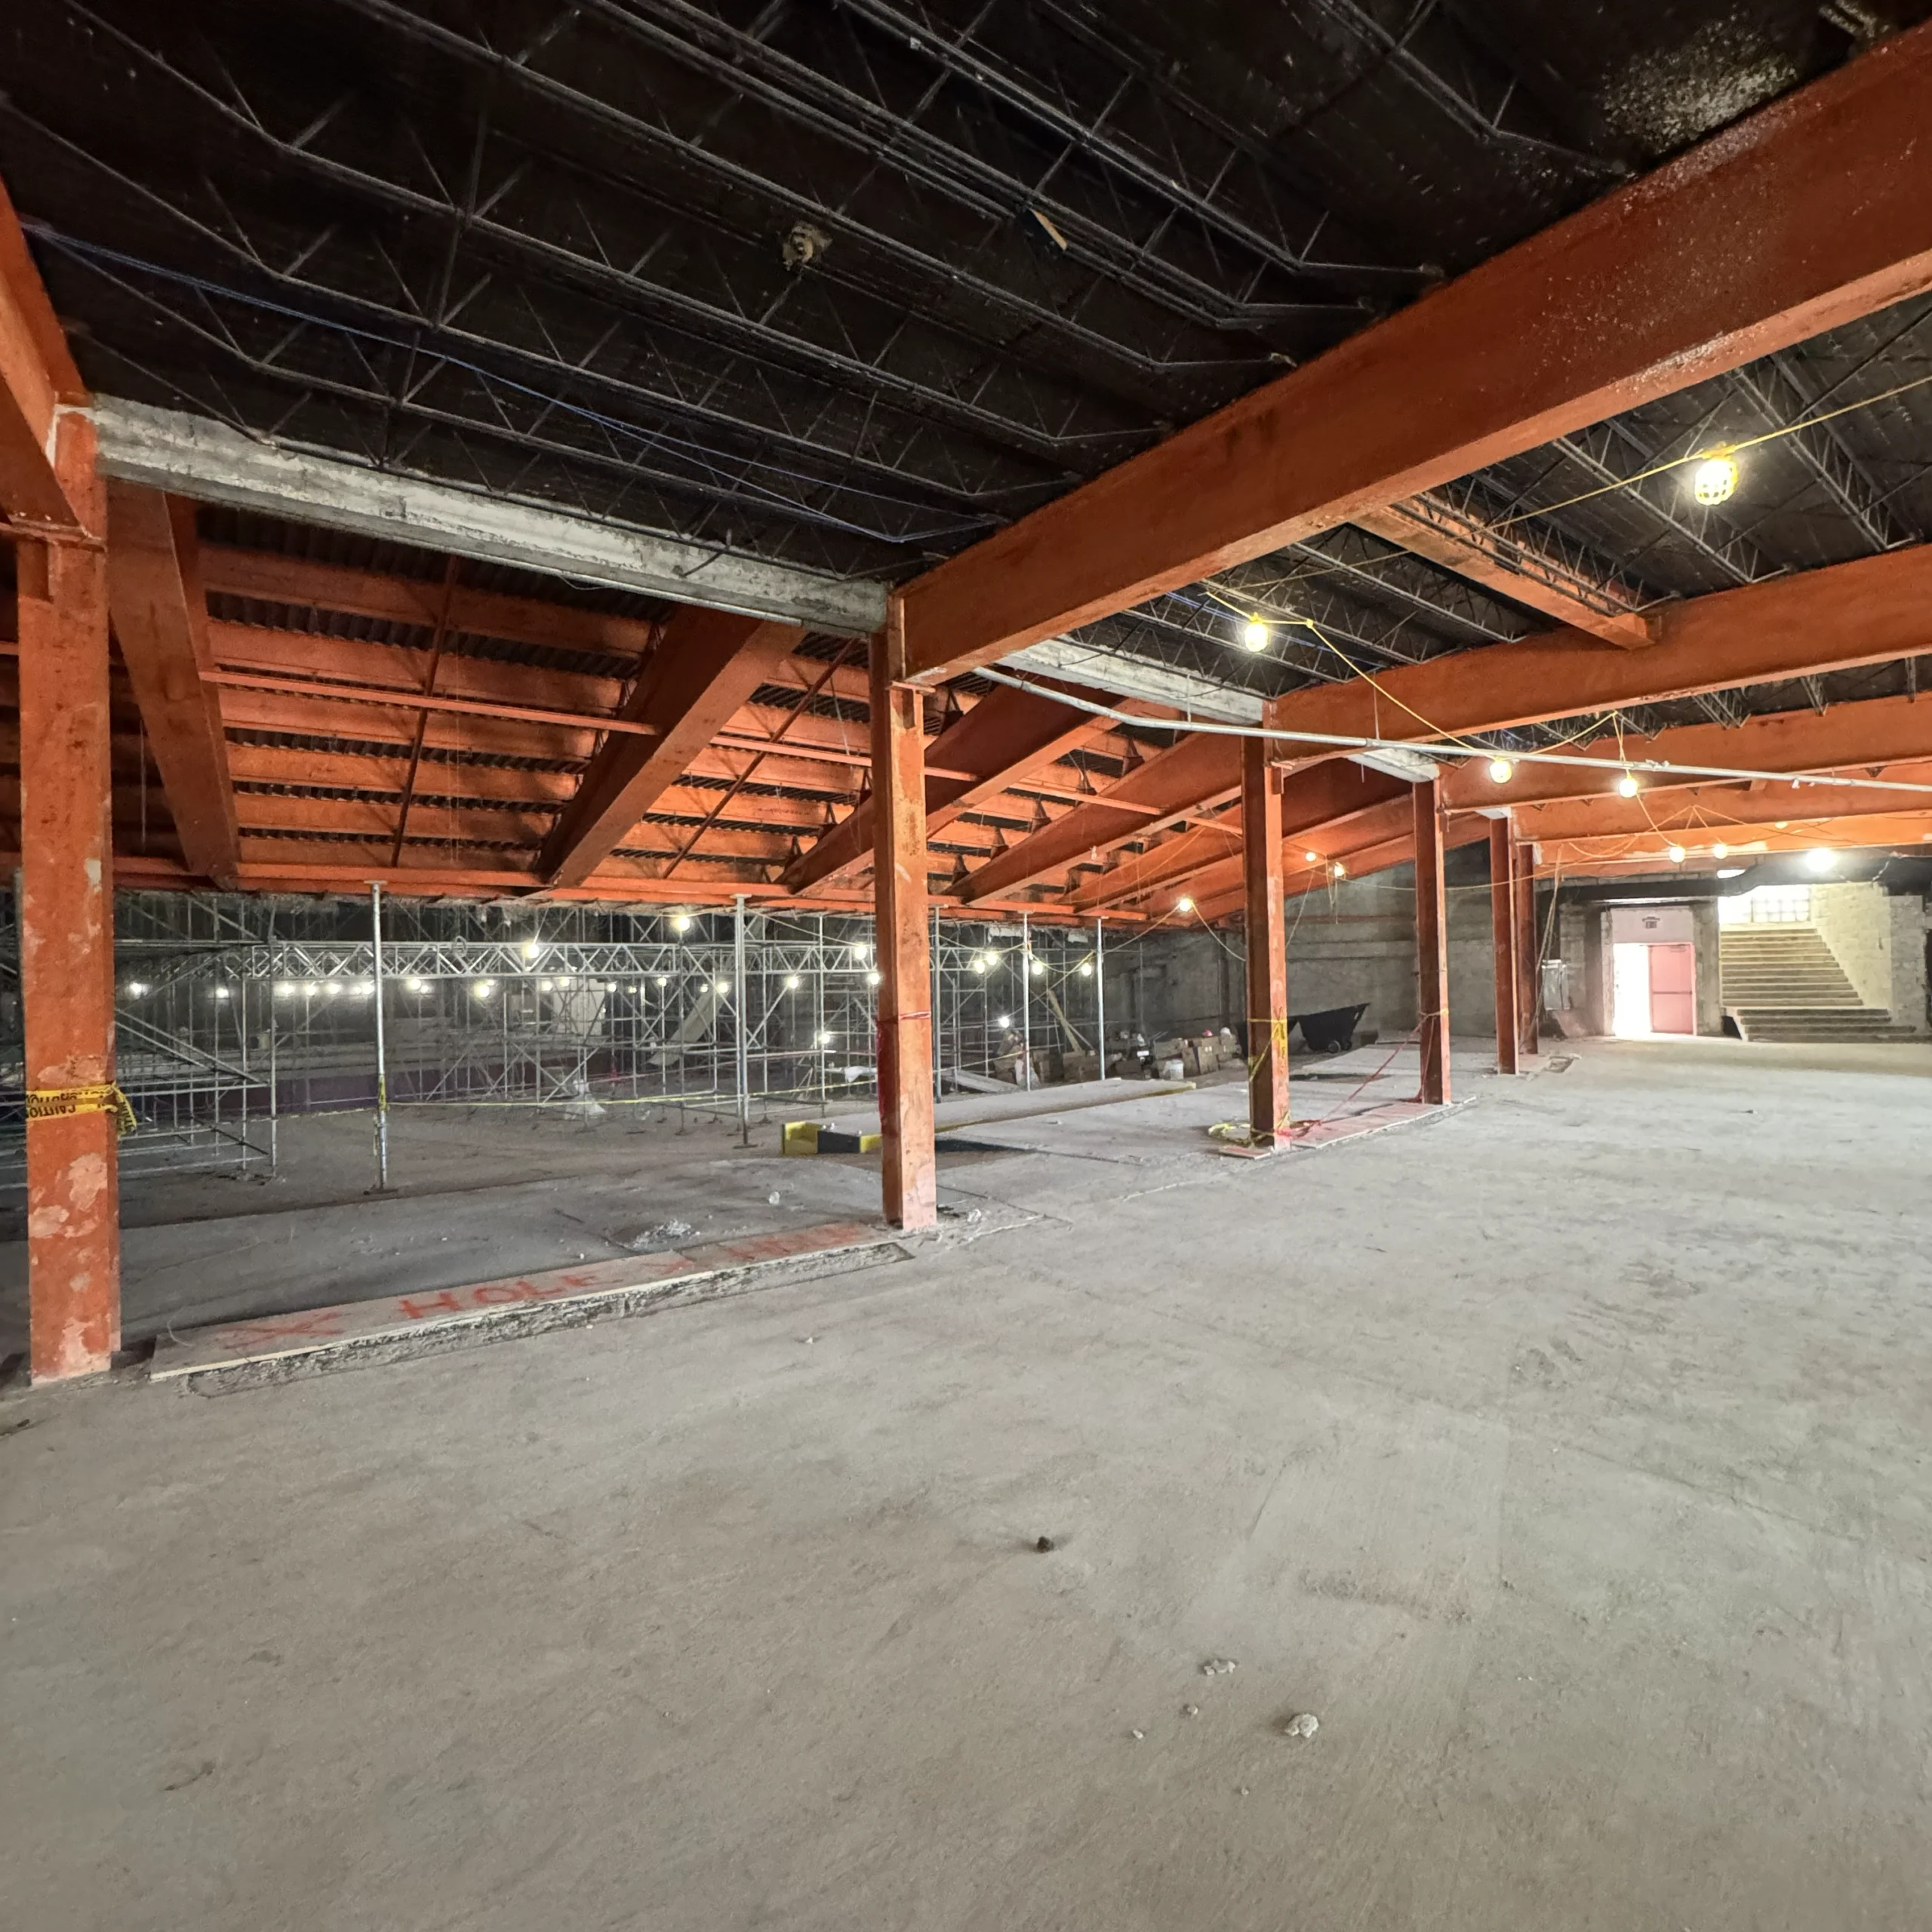
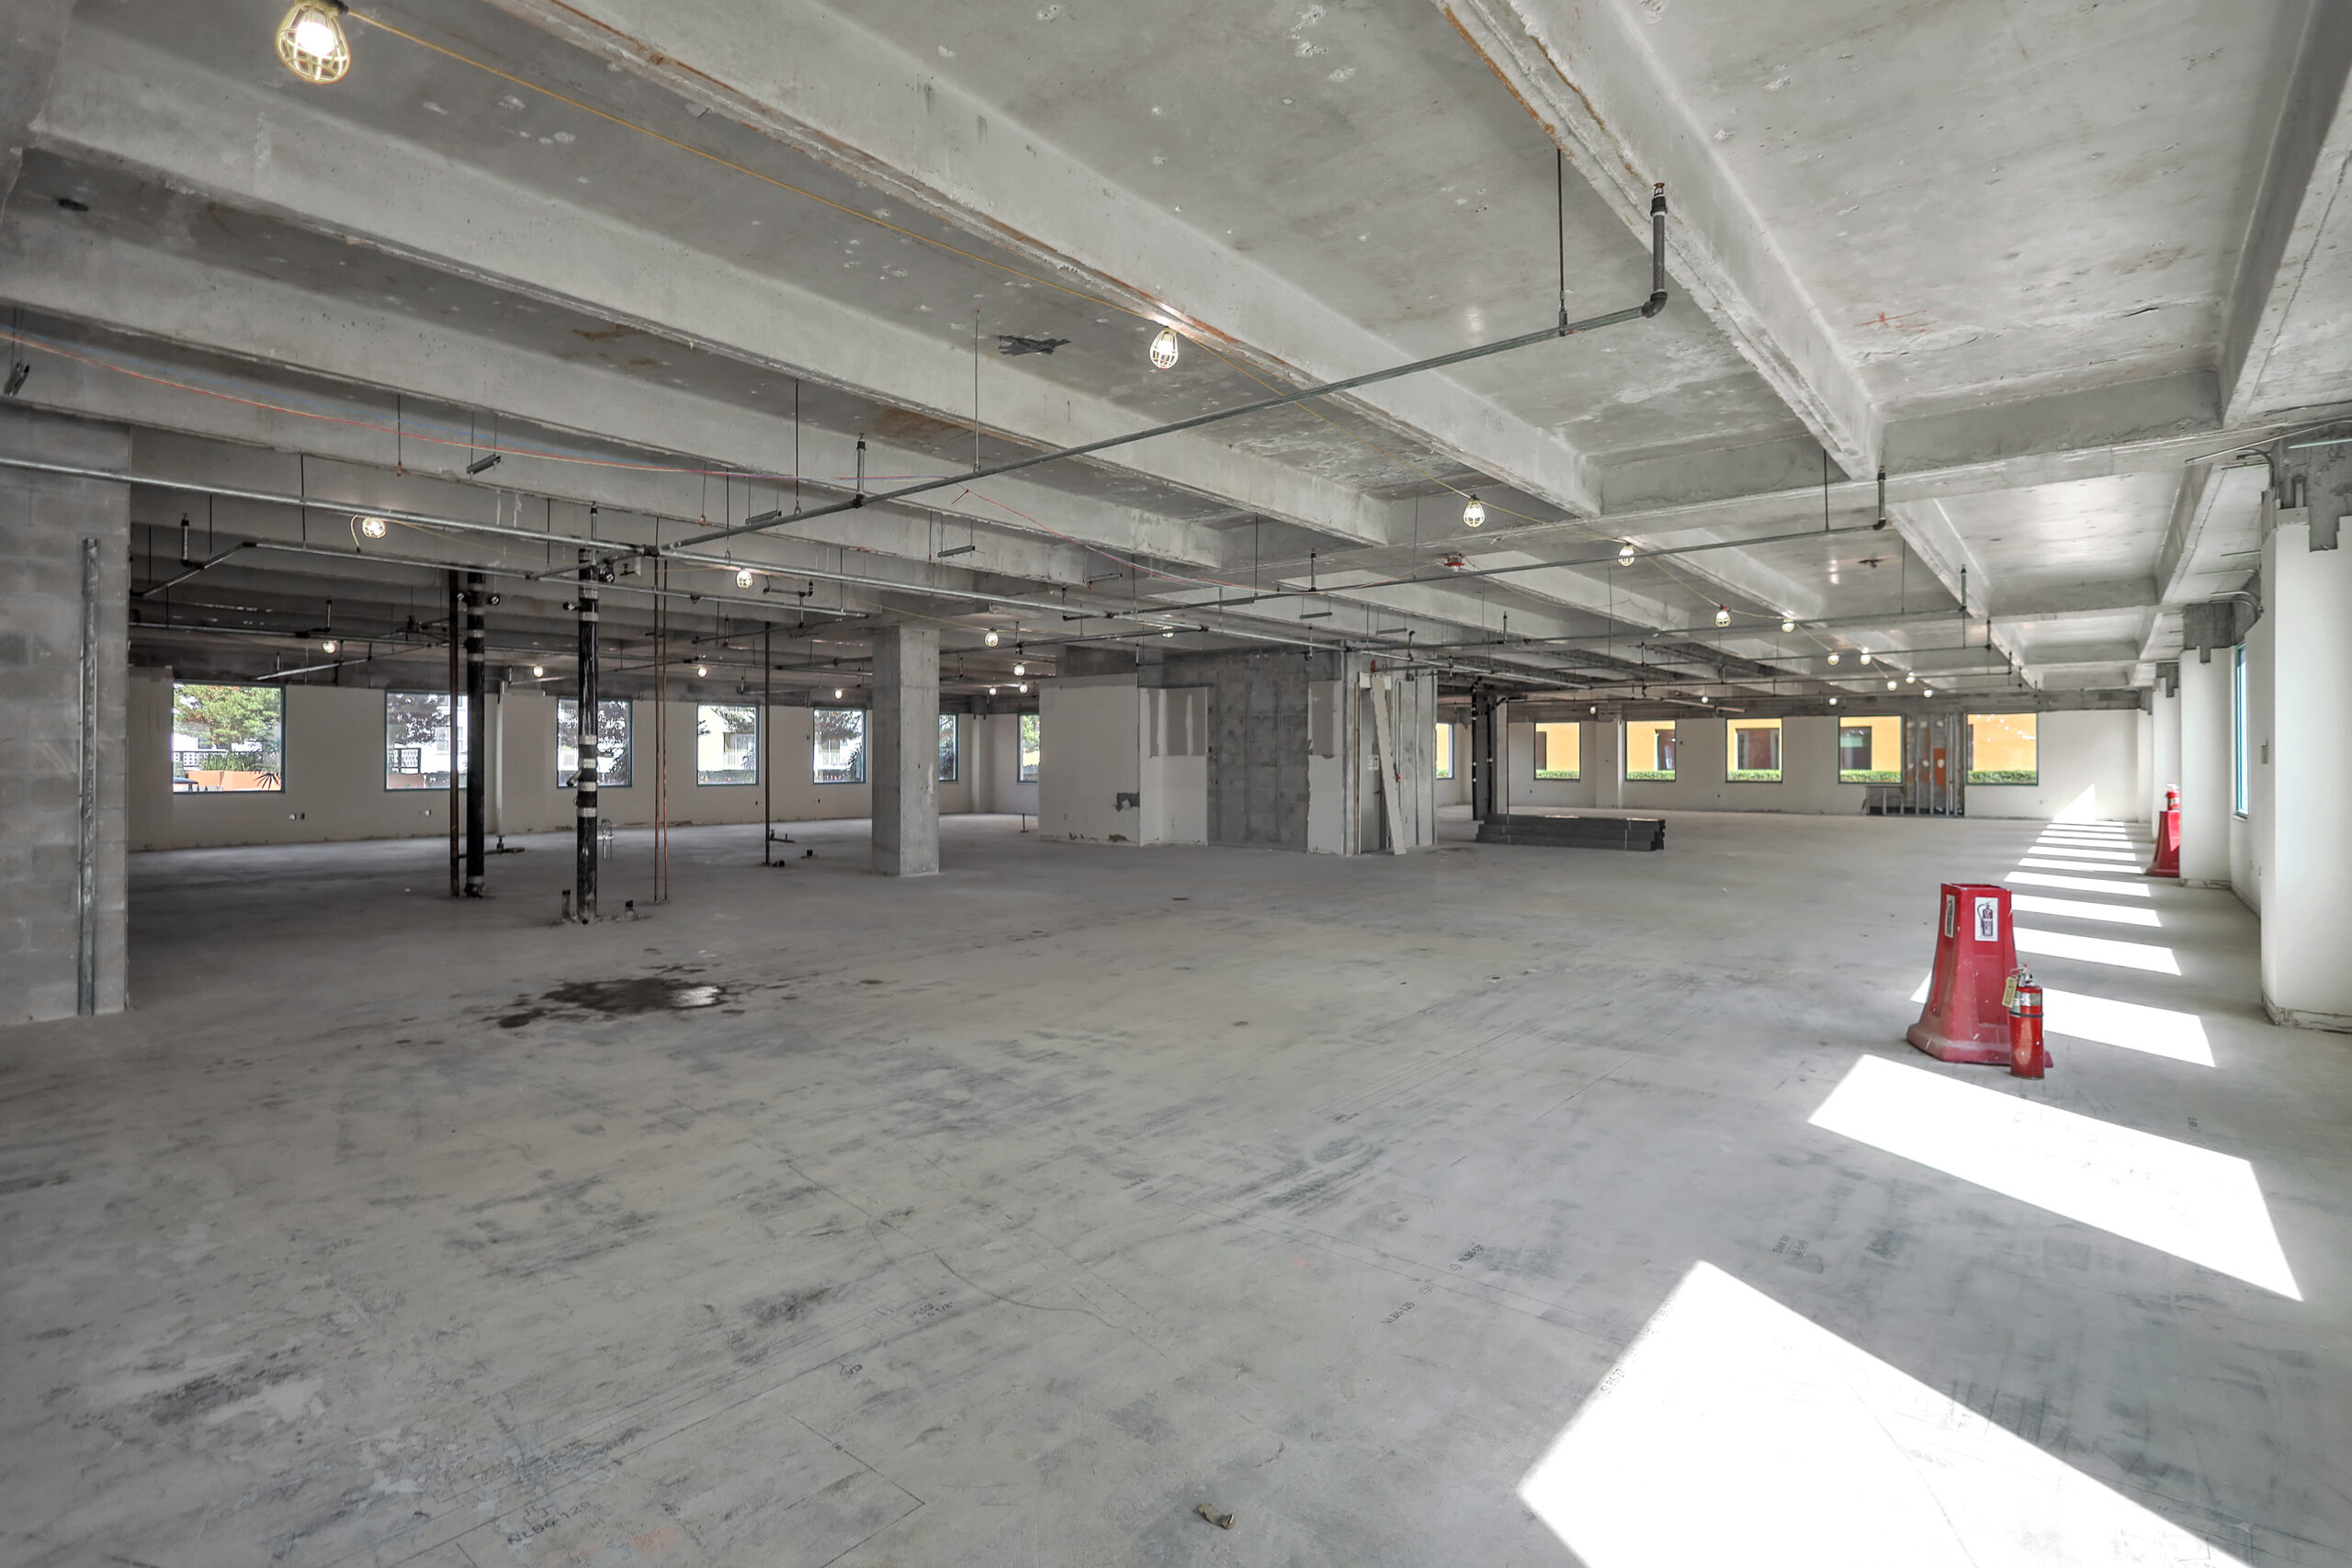
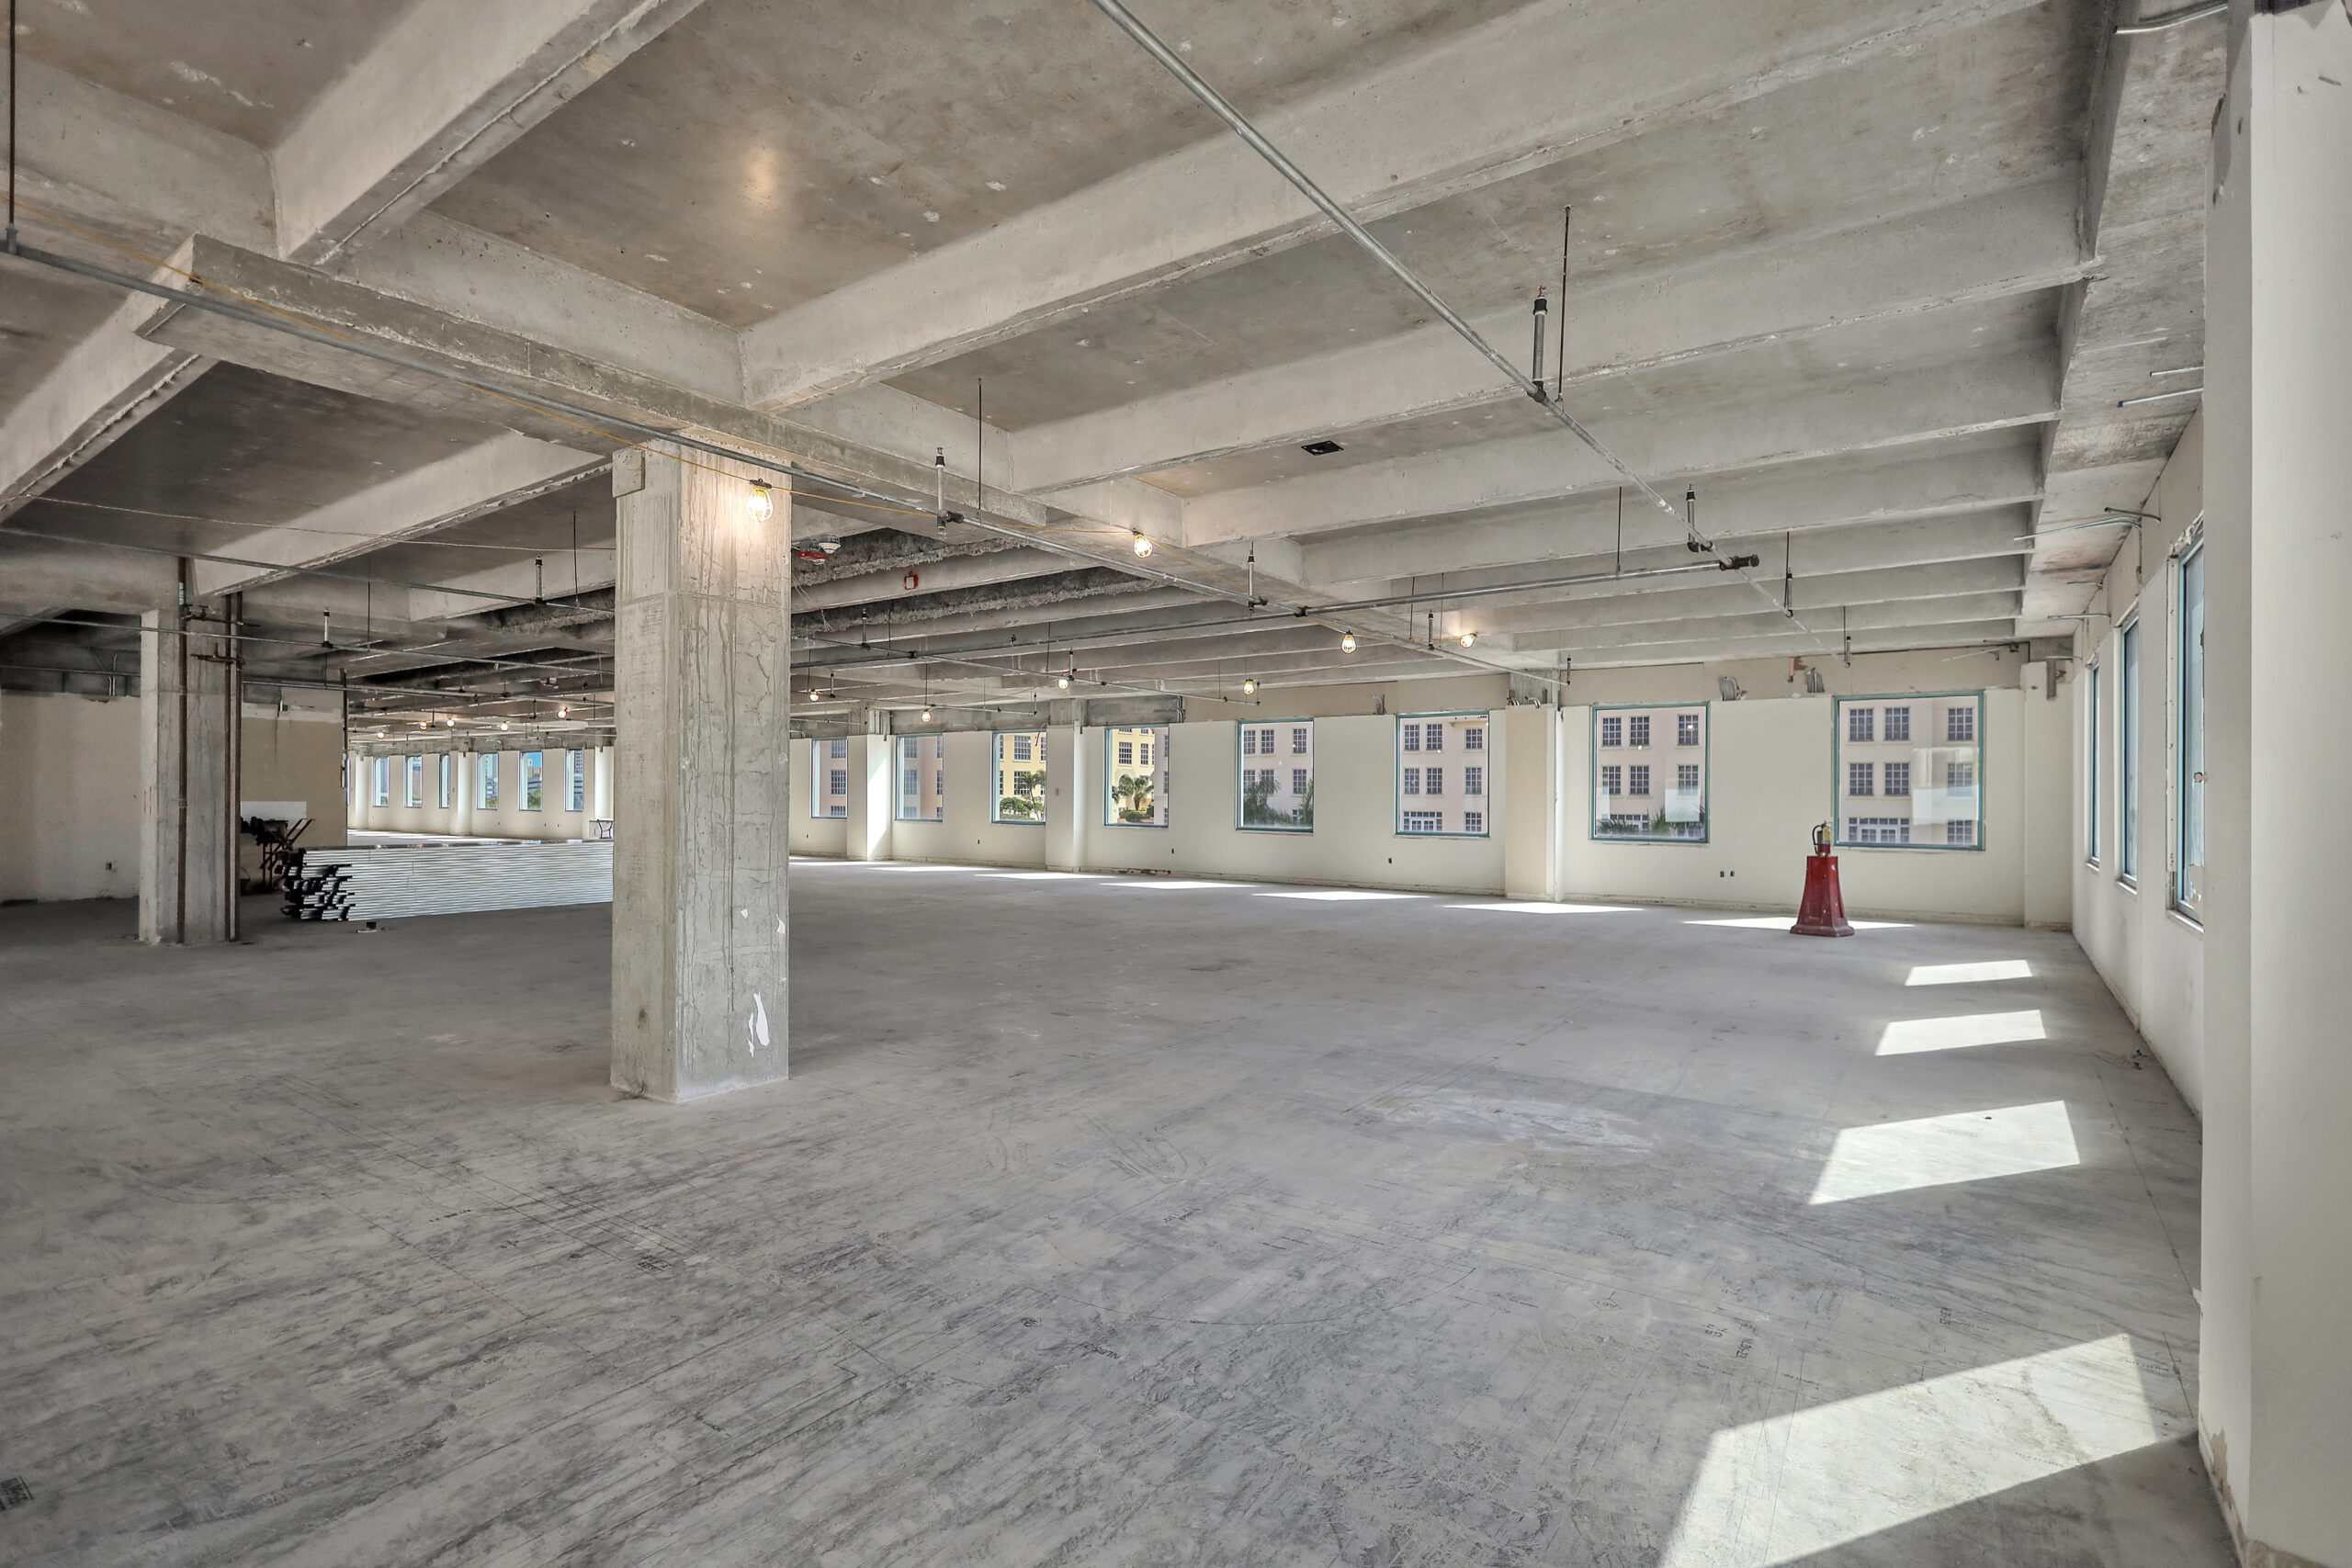
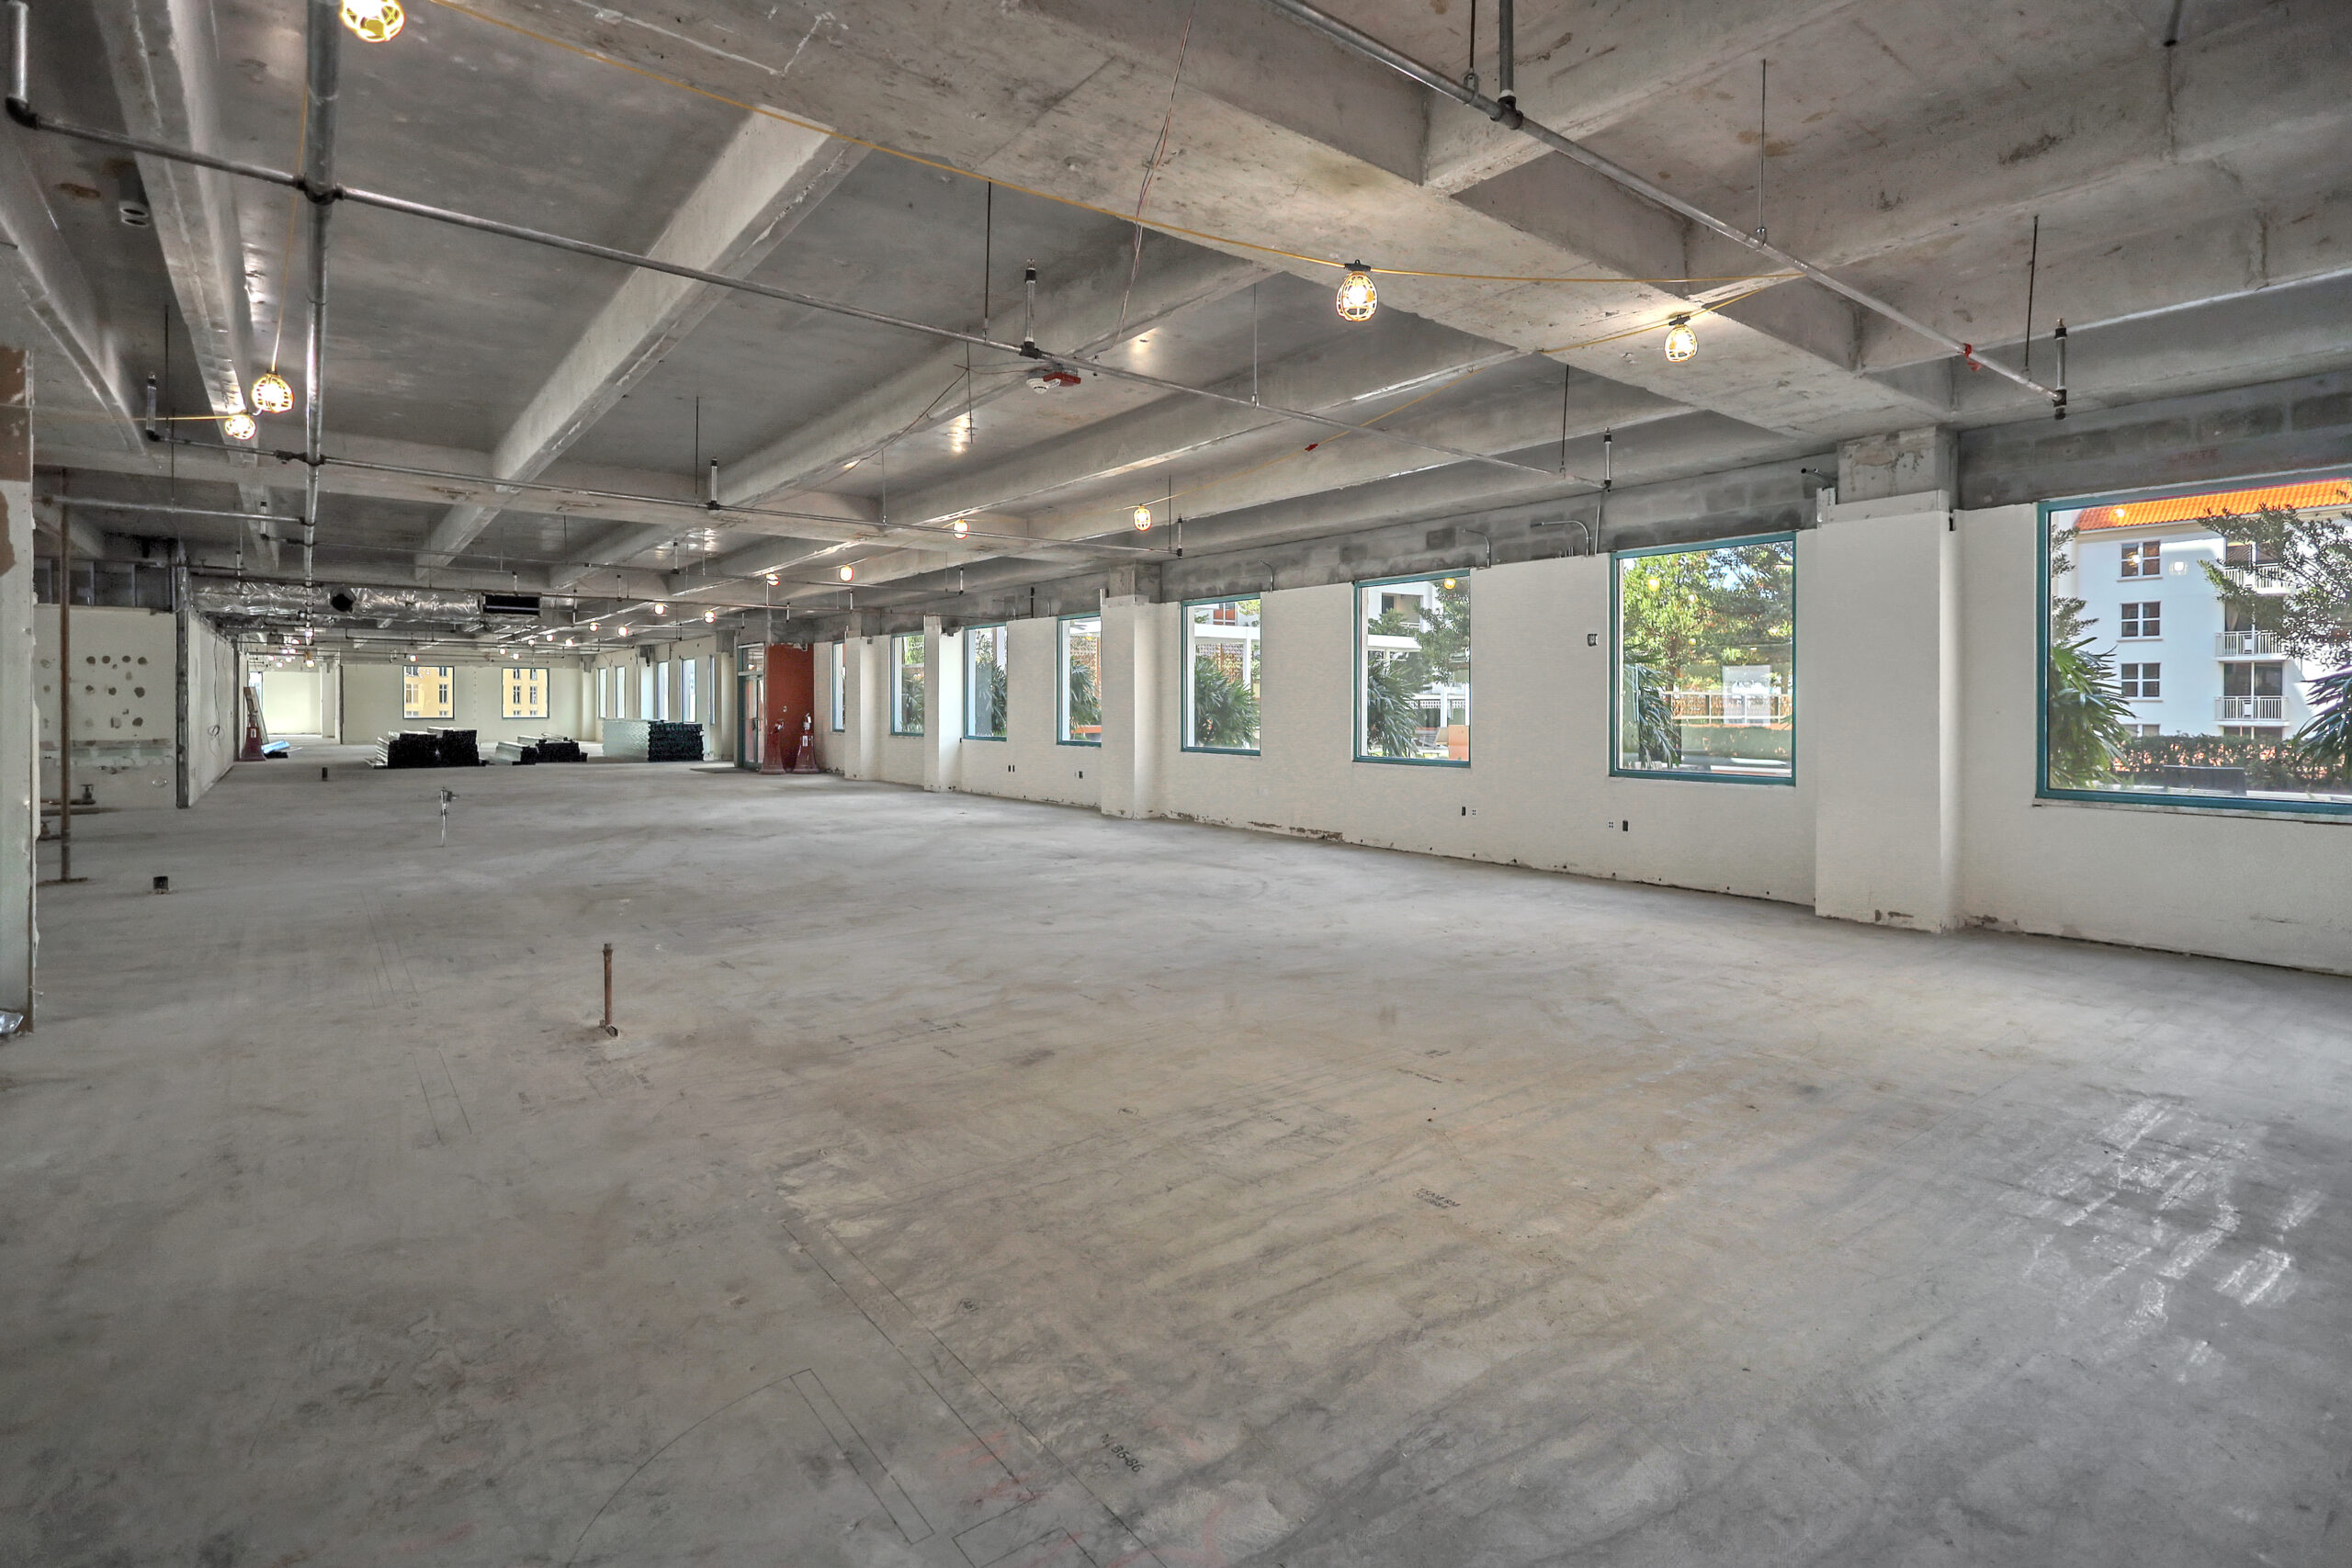
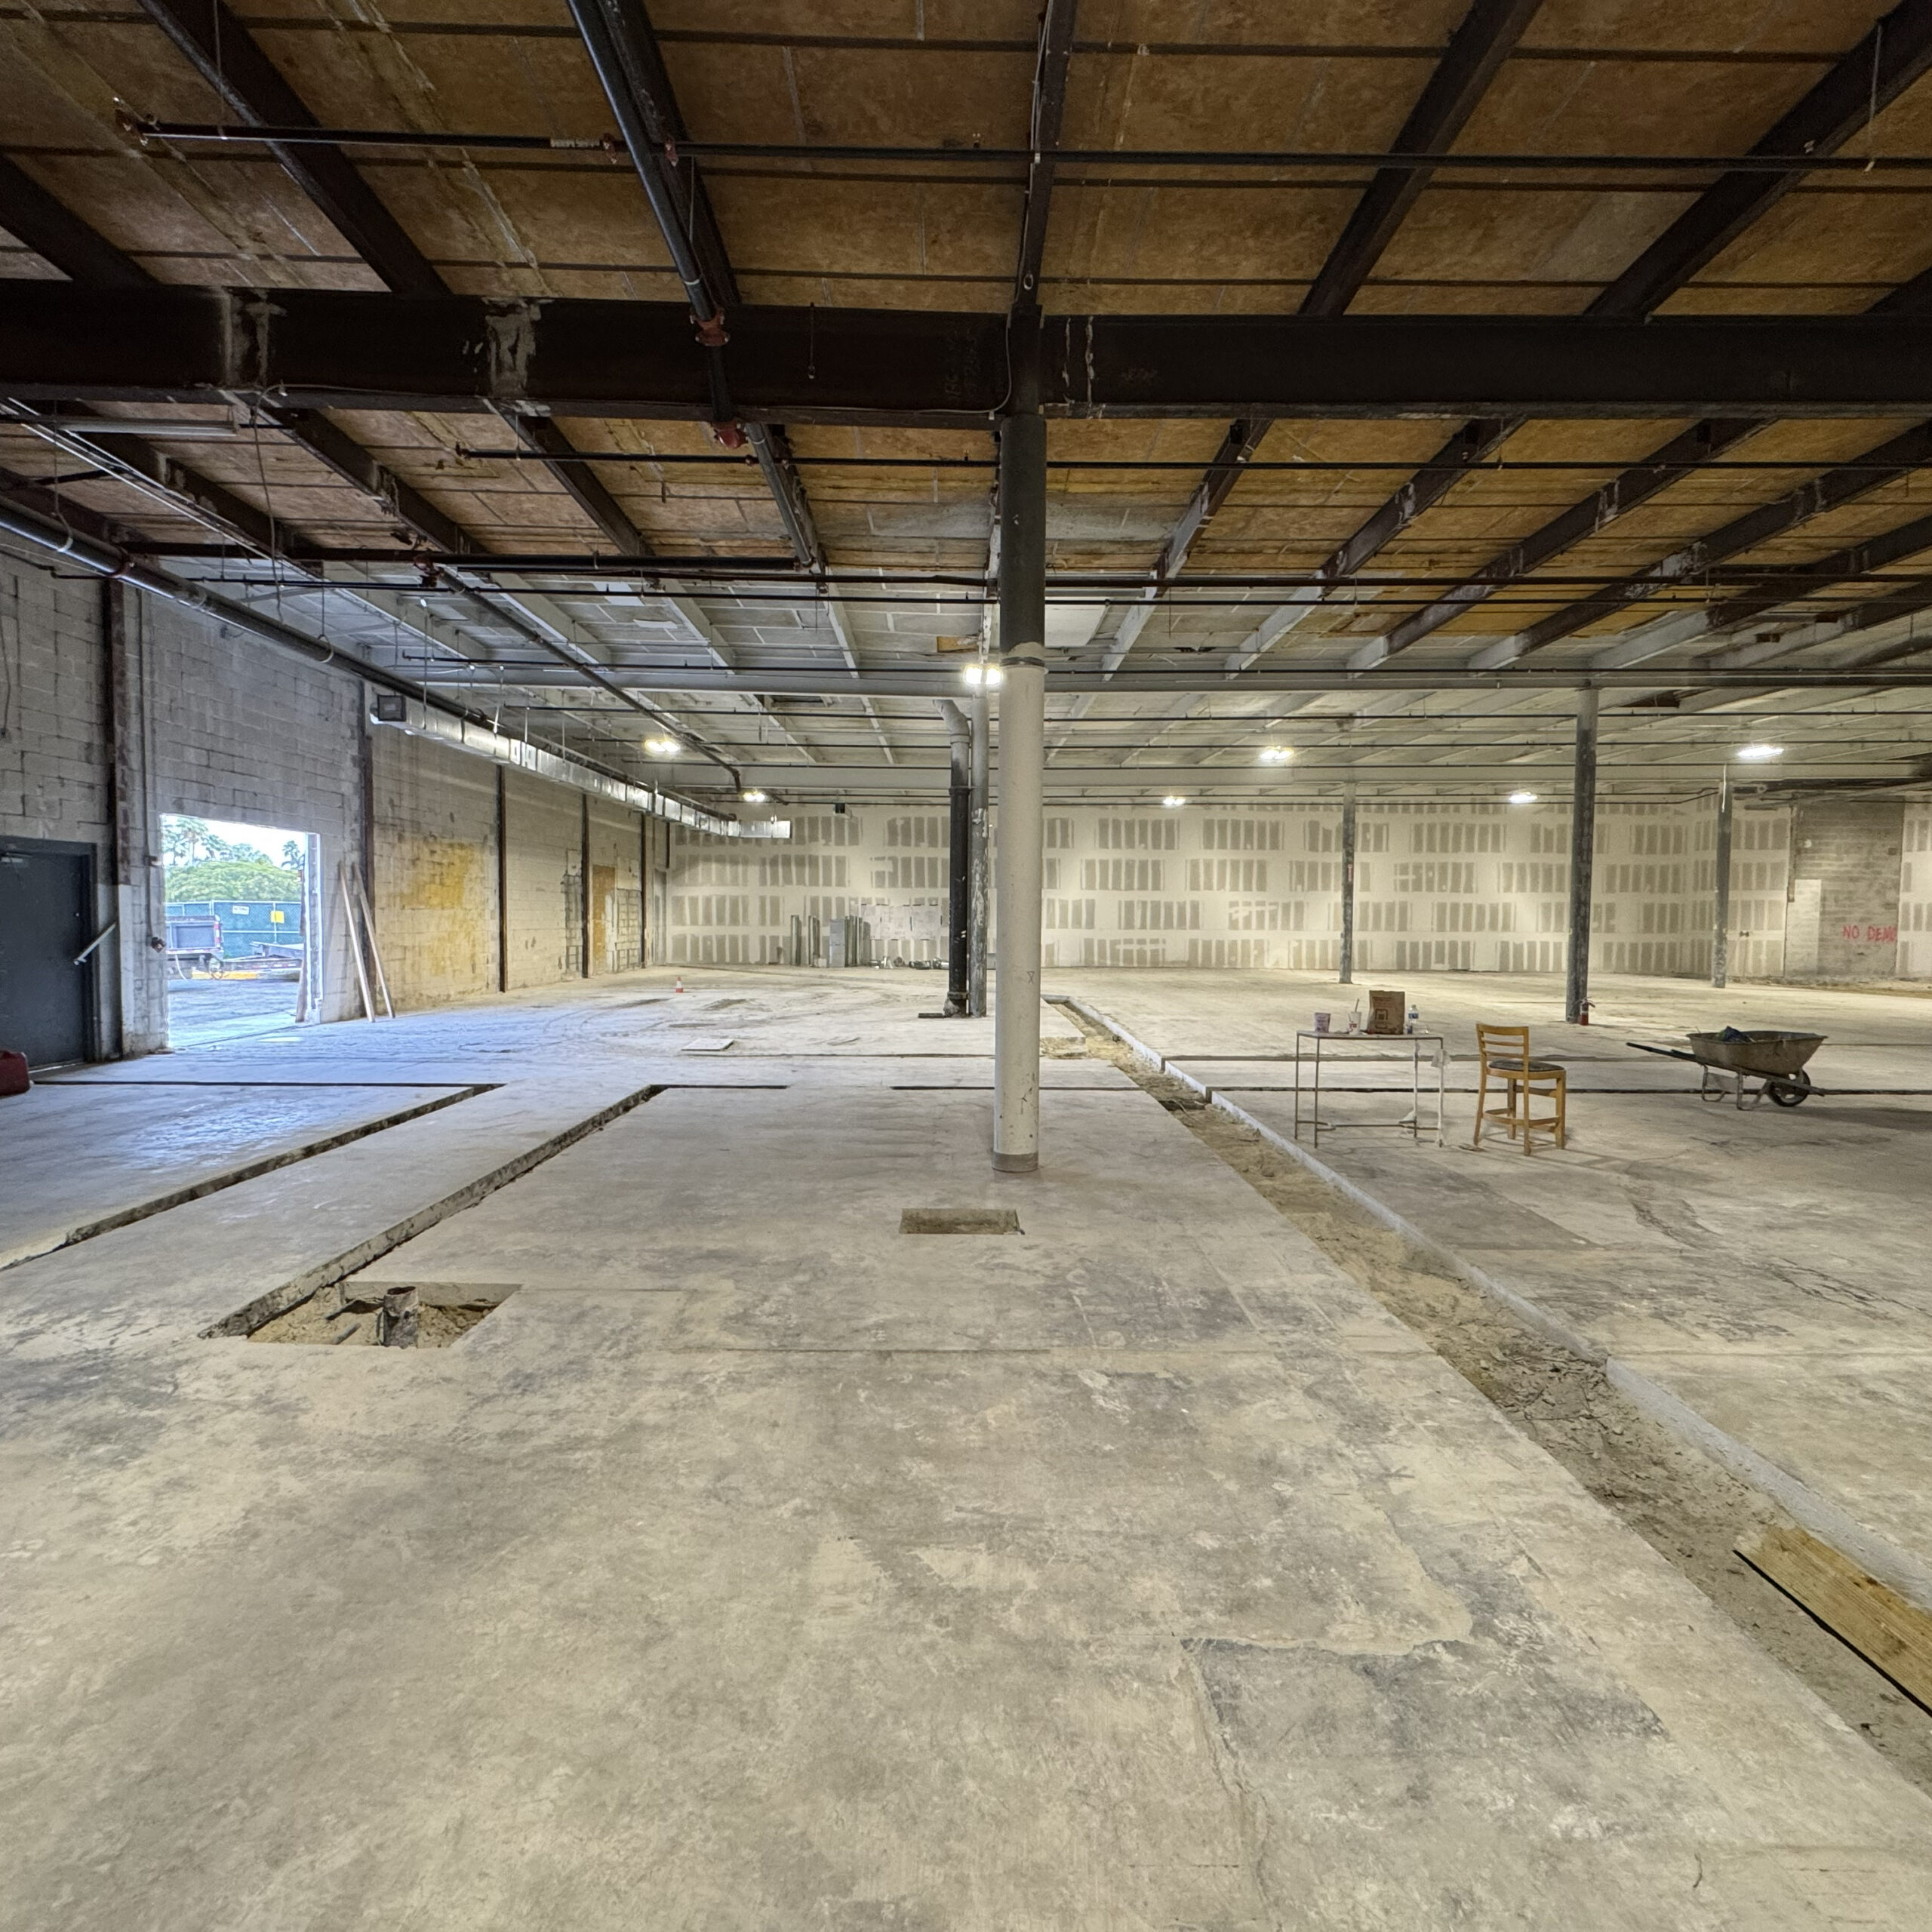
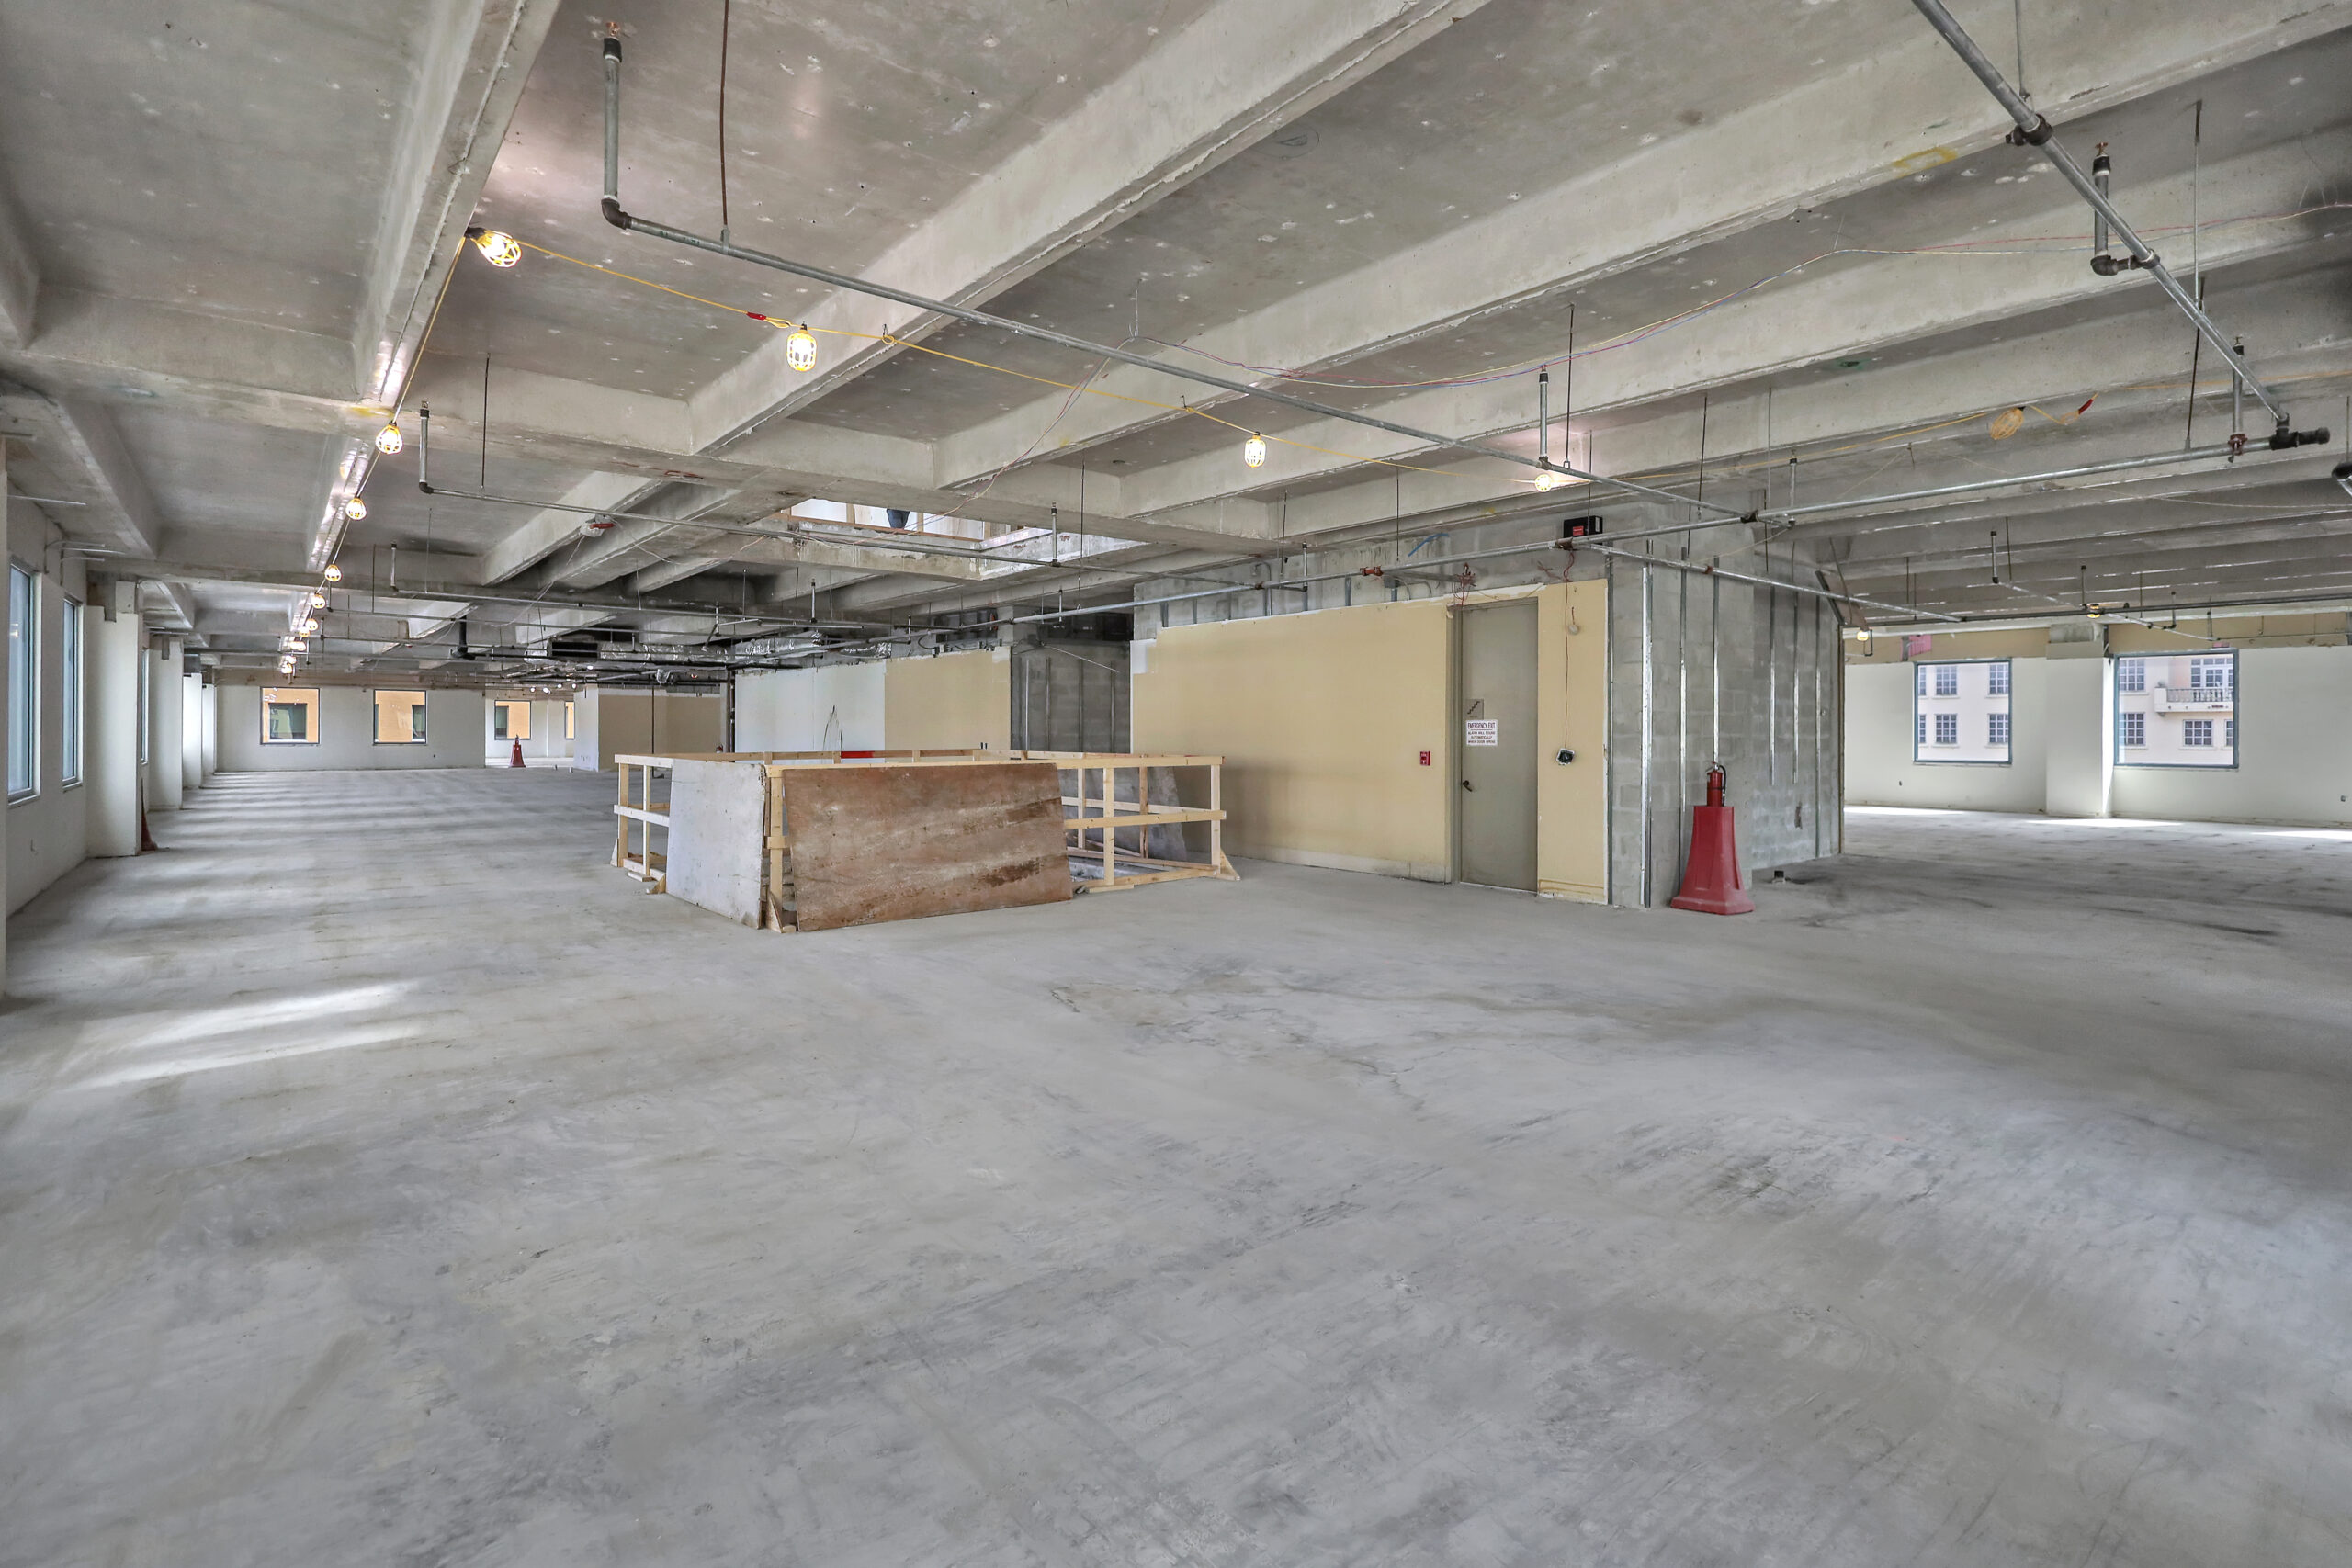
Outdated interiors, tight schedules, and active tenants can make demolition complicated. We help general contractors and property managers move fast without the mess. With interior demo done right, you get a clean slate—and no extra headaches.

Before starting, the demolition team will assess the site to identify what needs to be removed, what can be salvaged, and any potential hazards. This includes checking for asbestos or lead-based materials and reviewing building codes or permits required for the demolition.
All utilities (electricity, gas, water, HVAC) are turned off to ensure safety during the demolition. Proper disconnection is crucial to avoid damage or accidents.
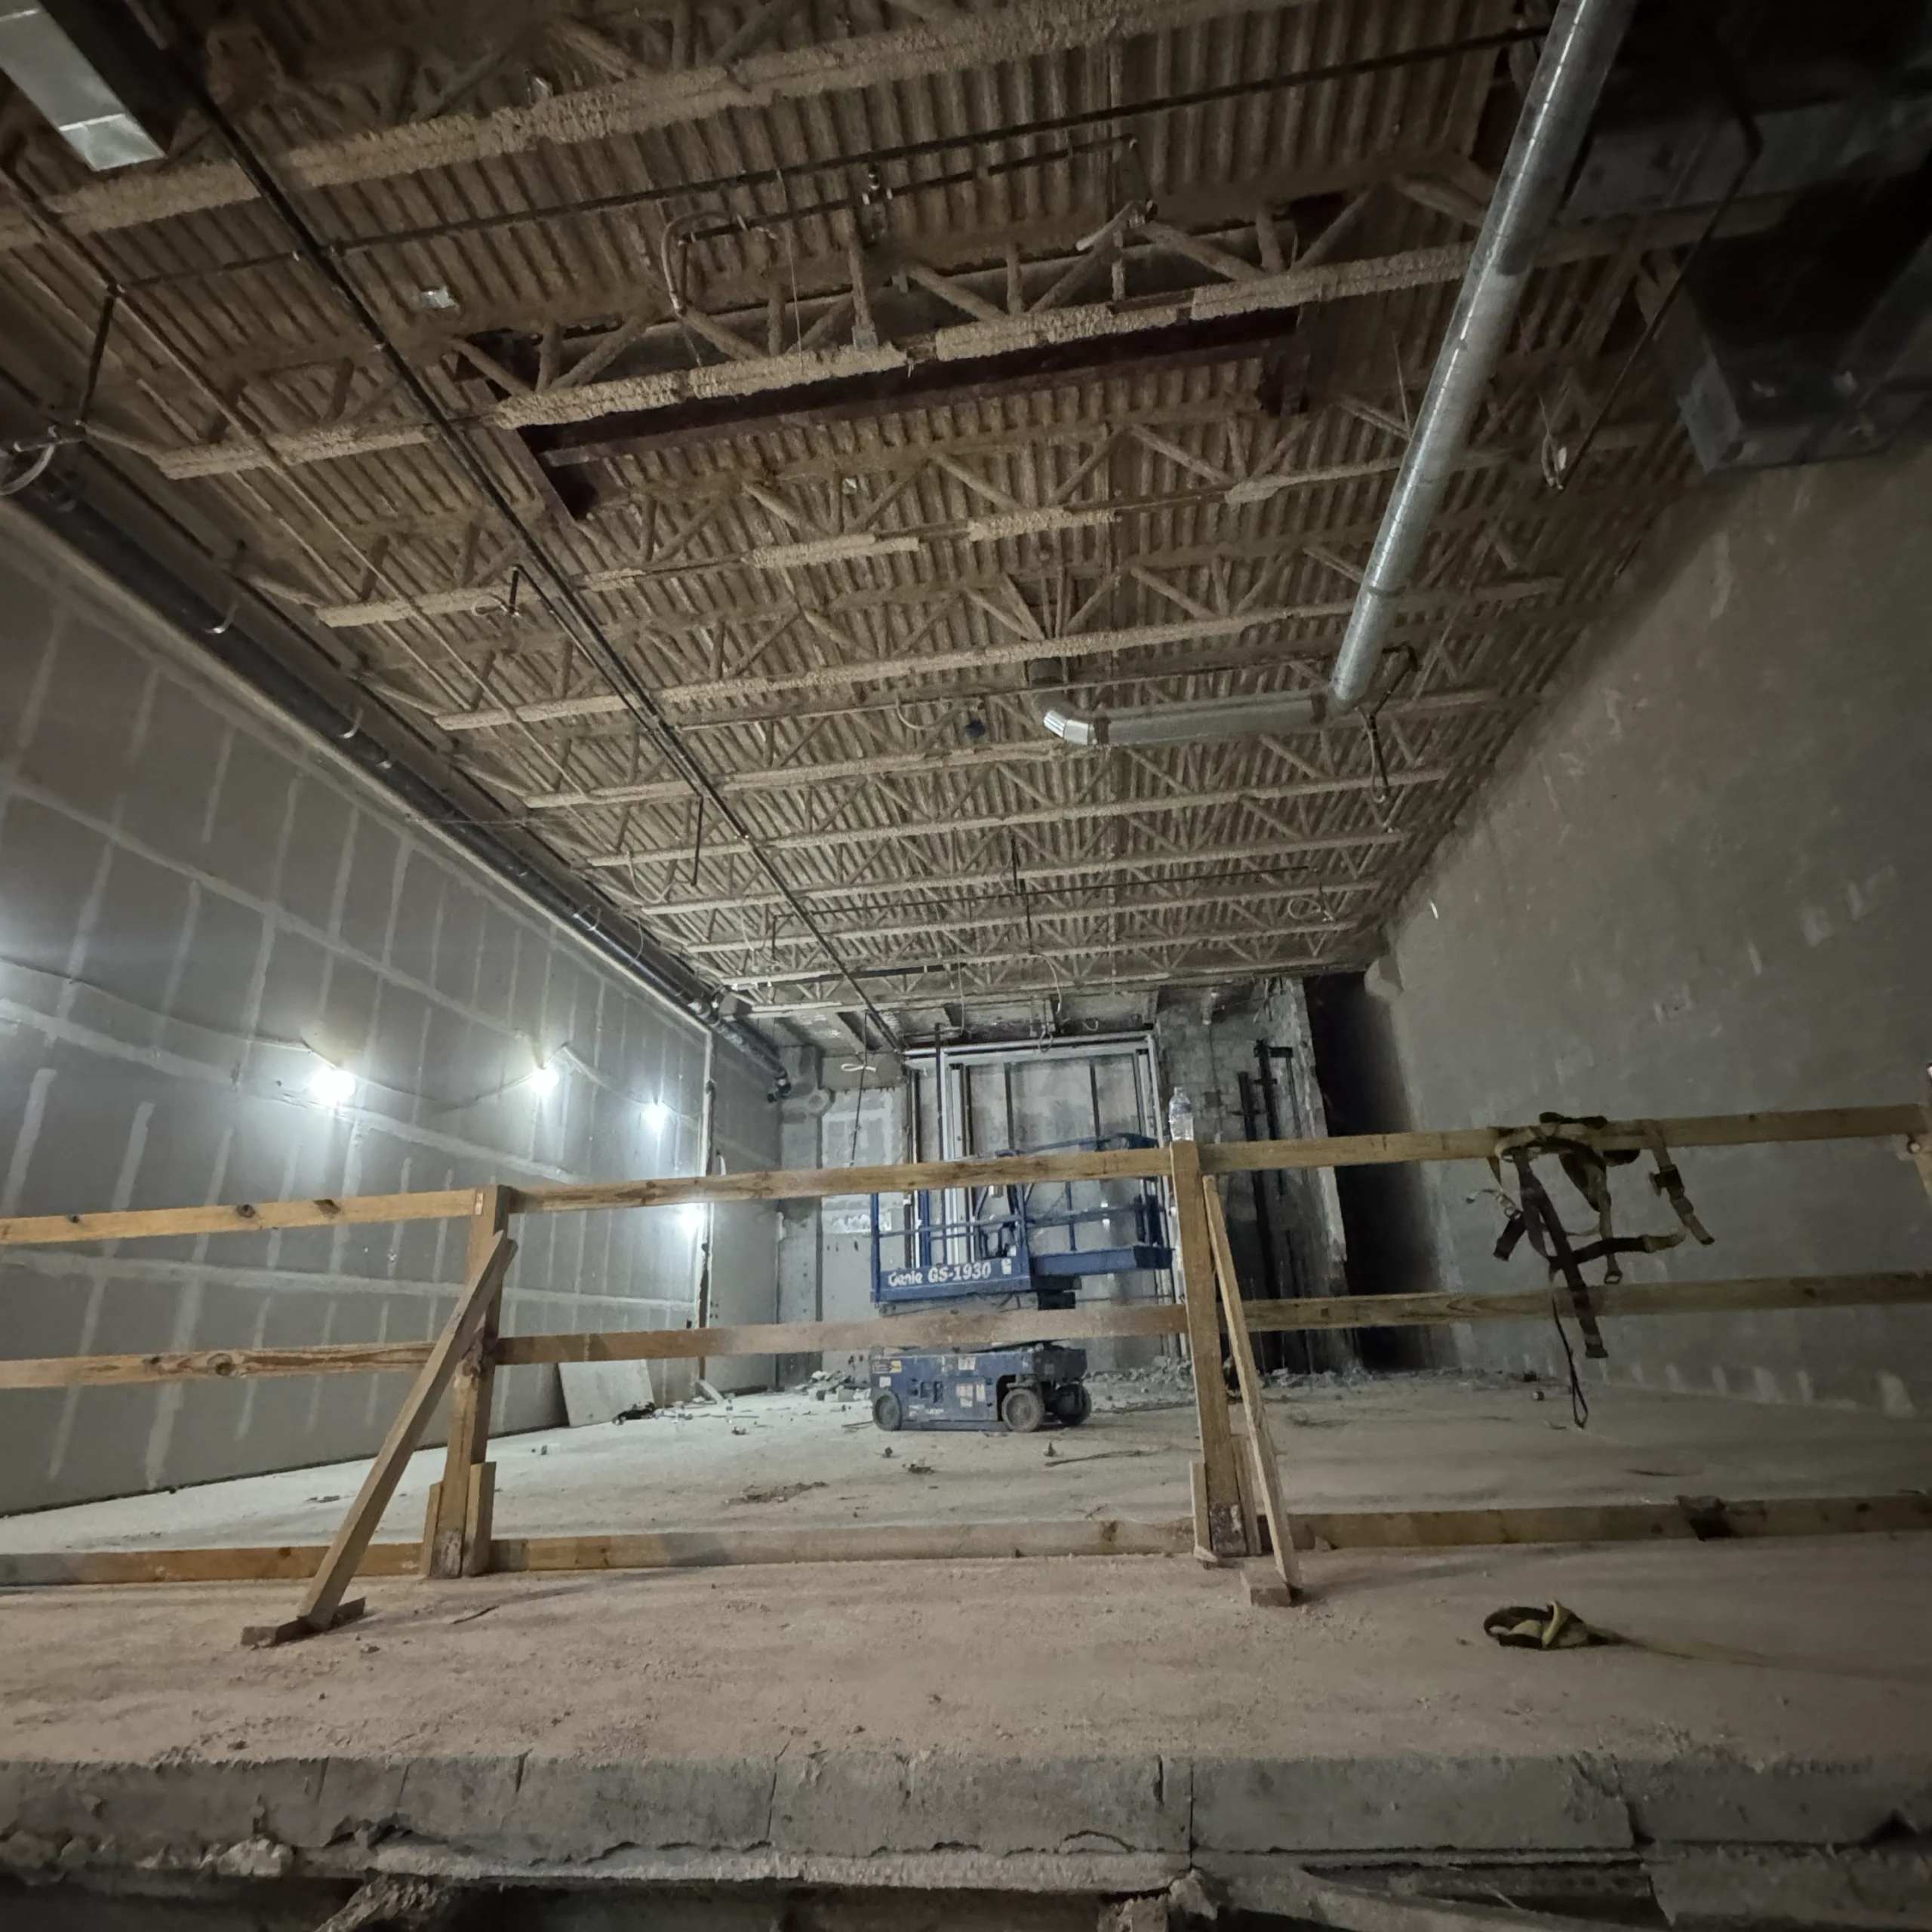
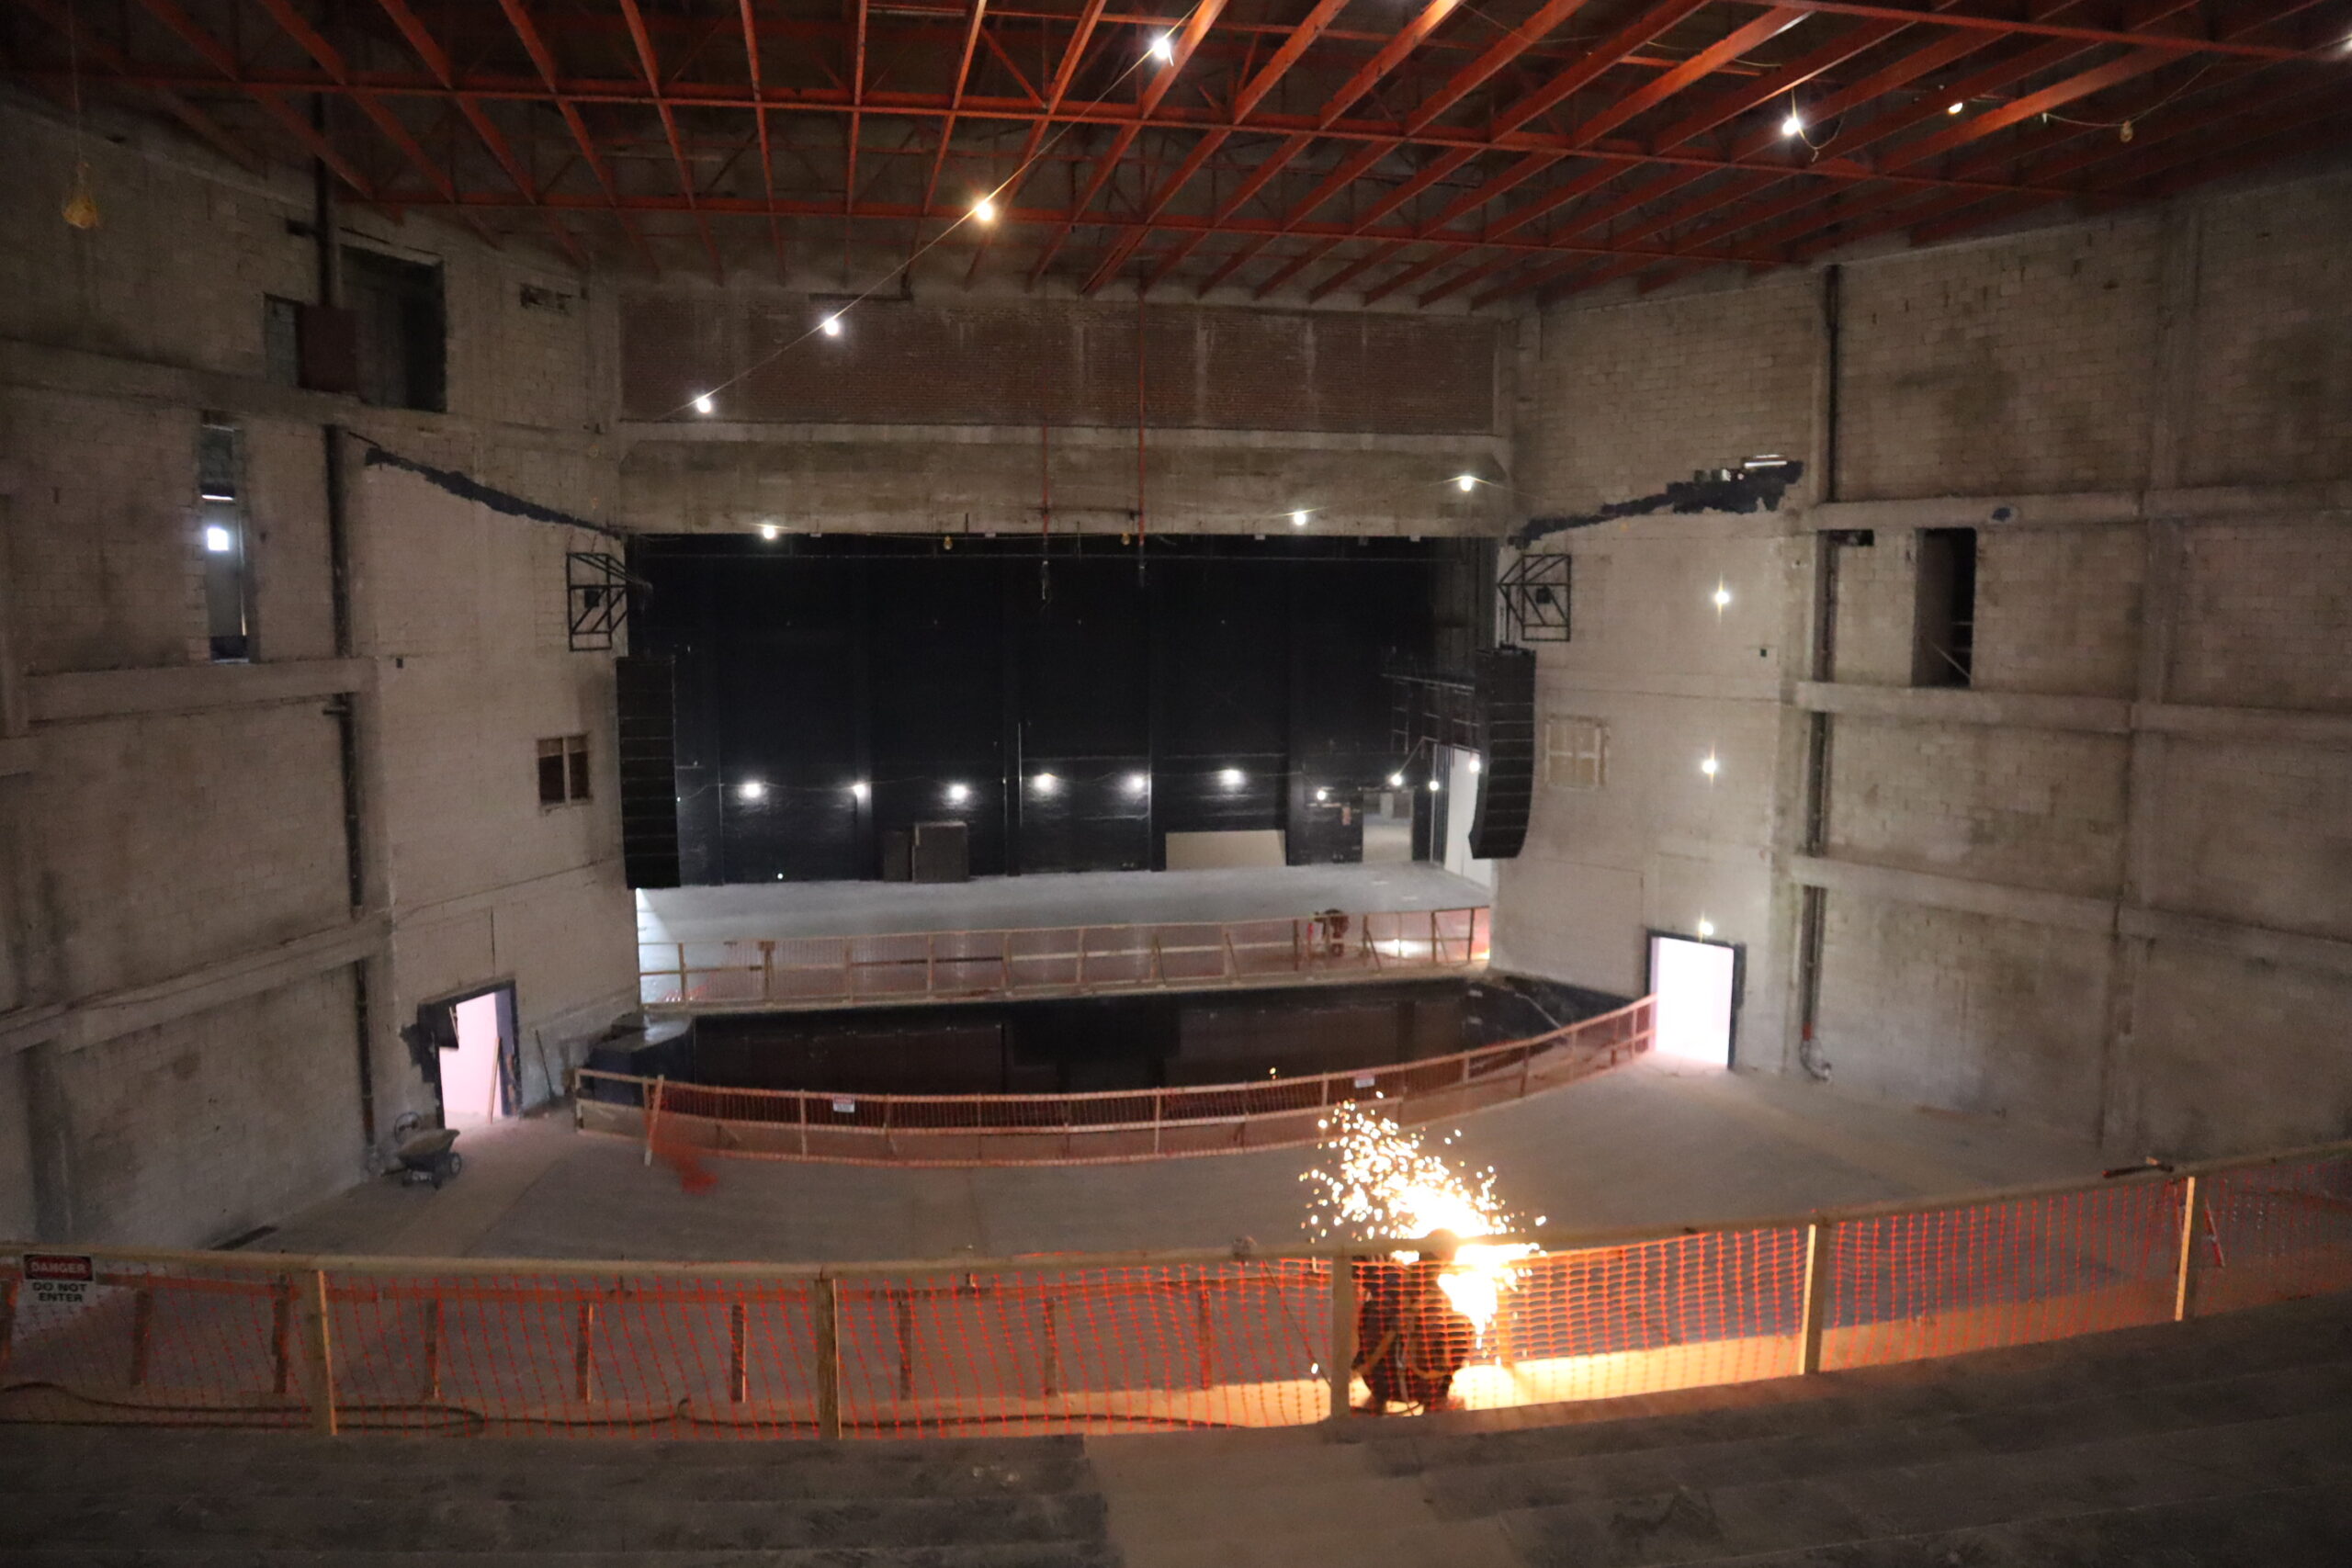
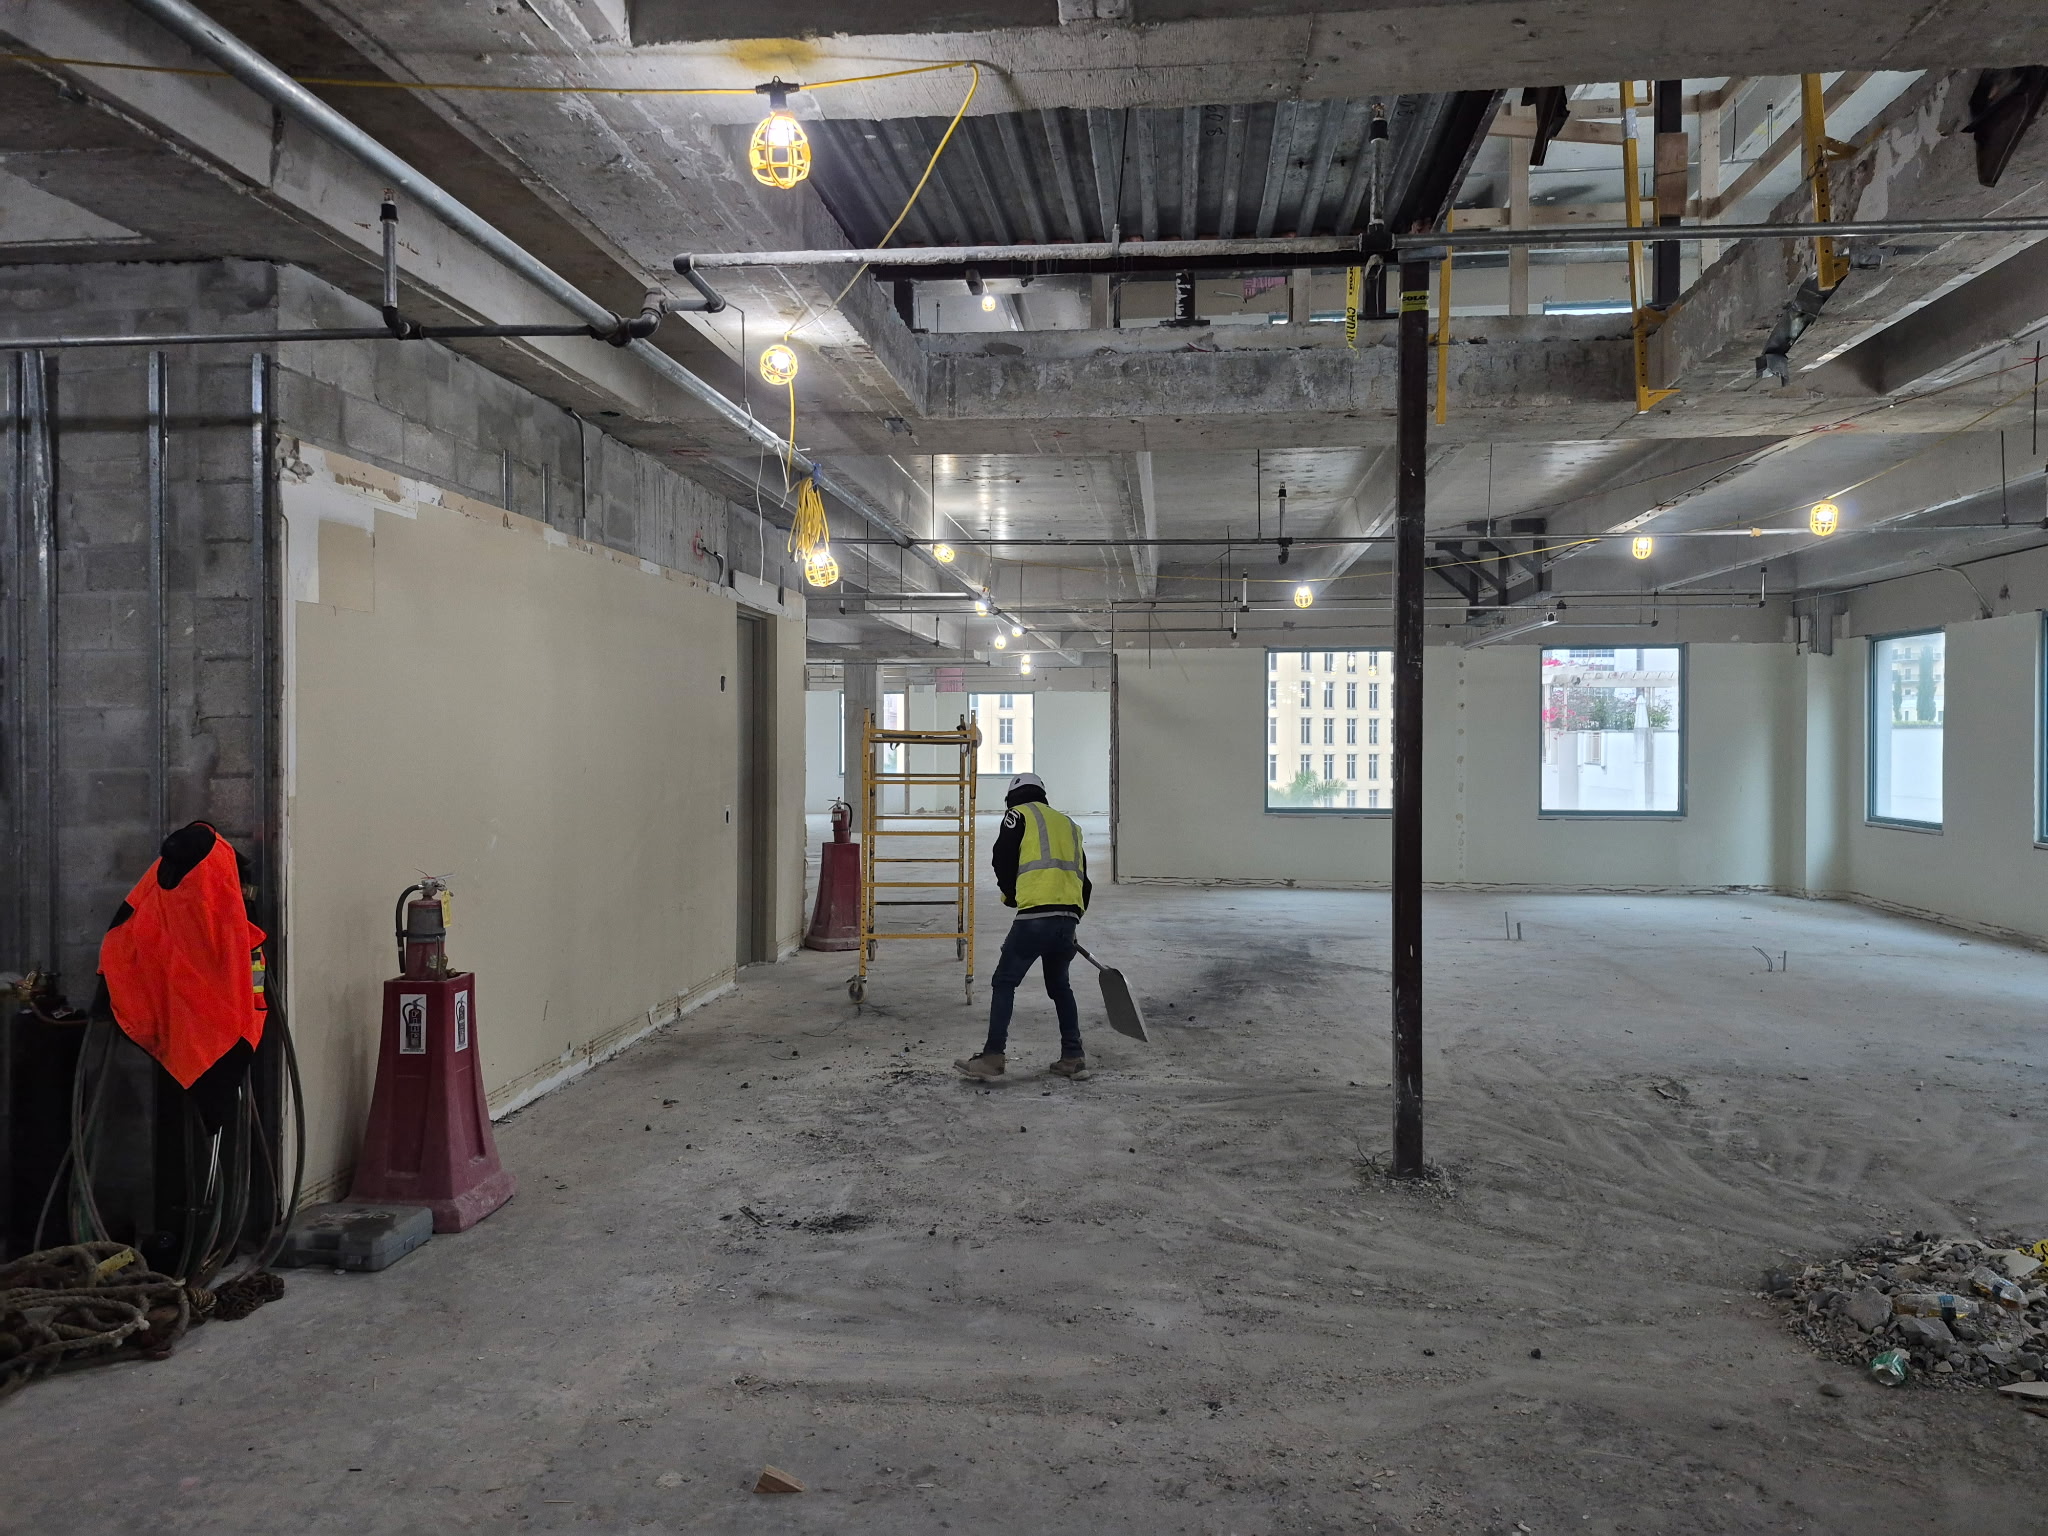
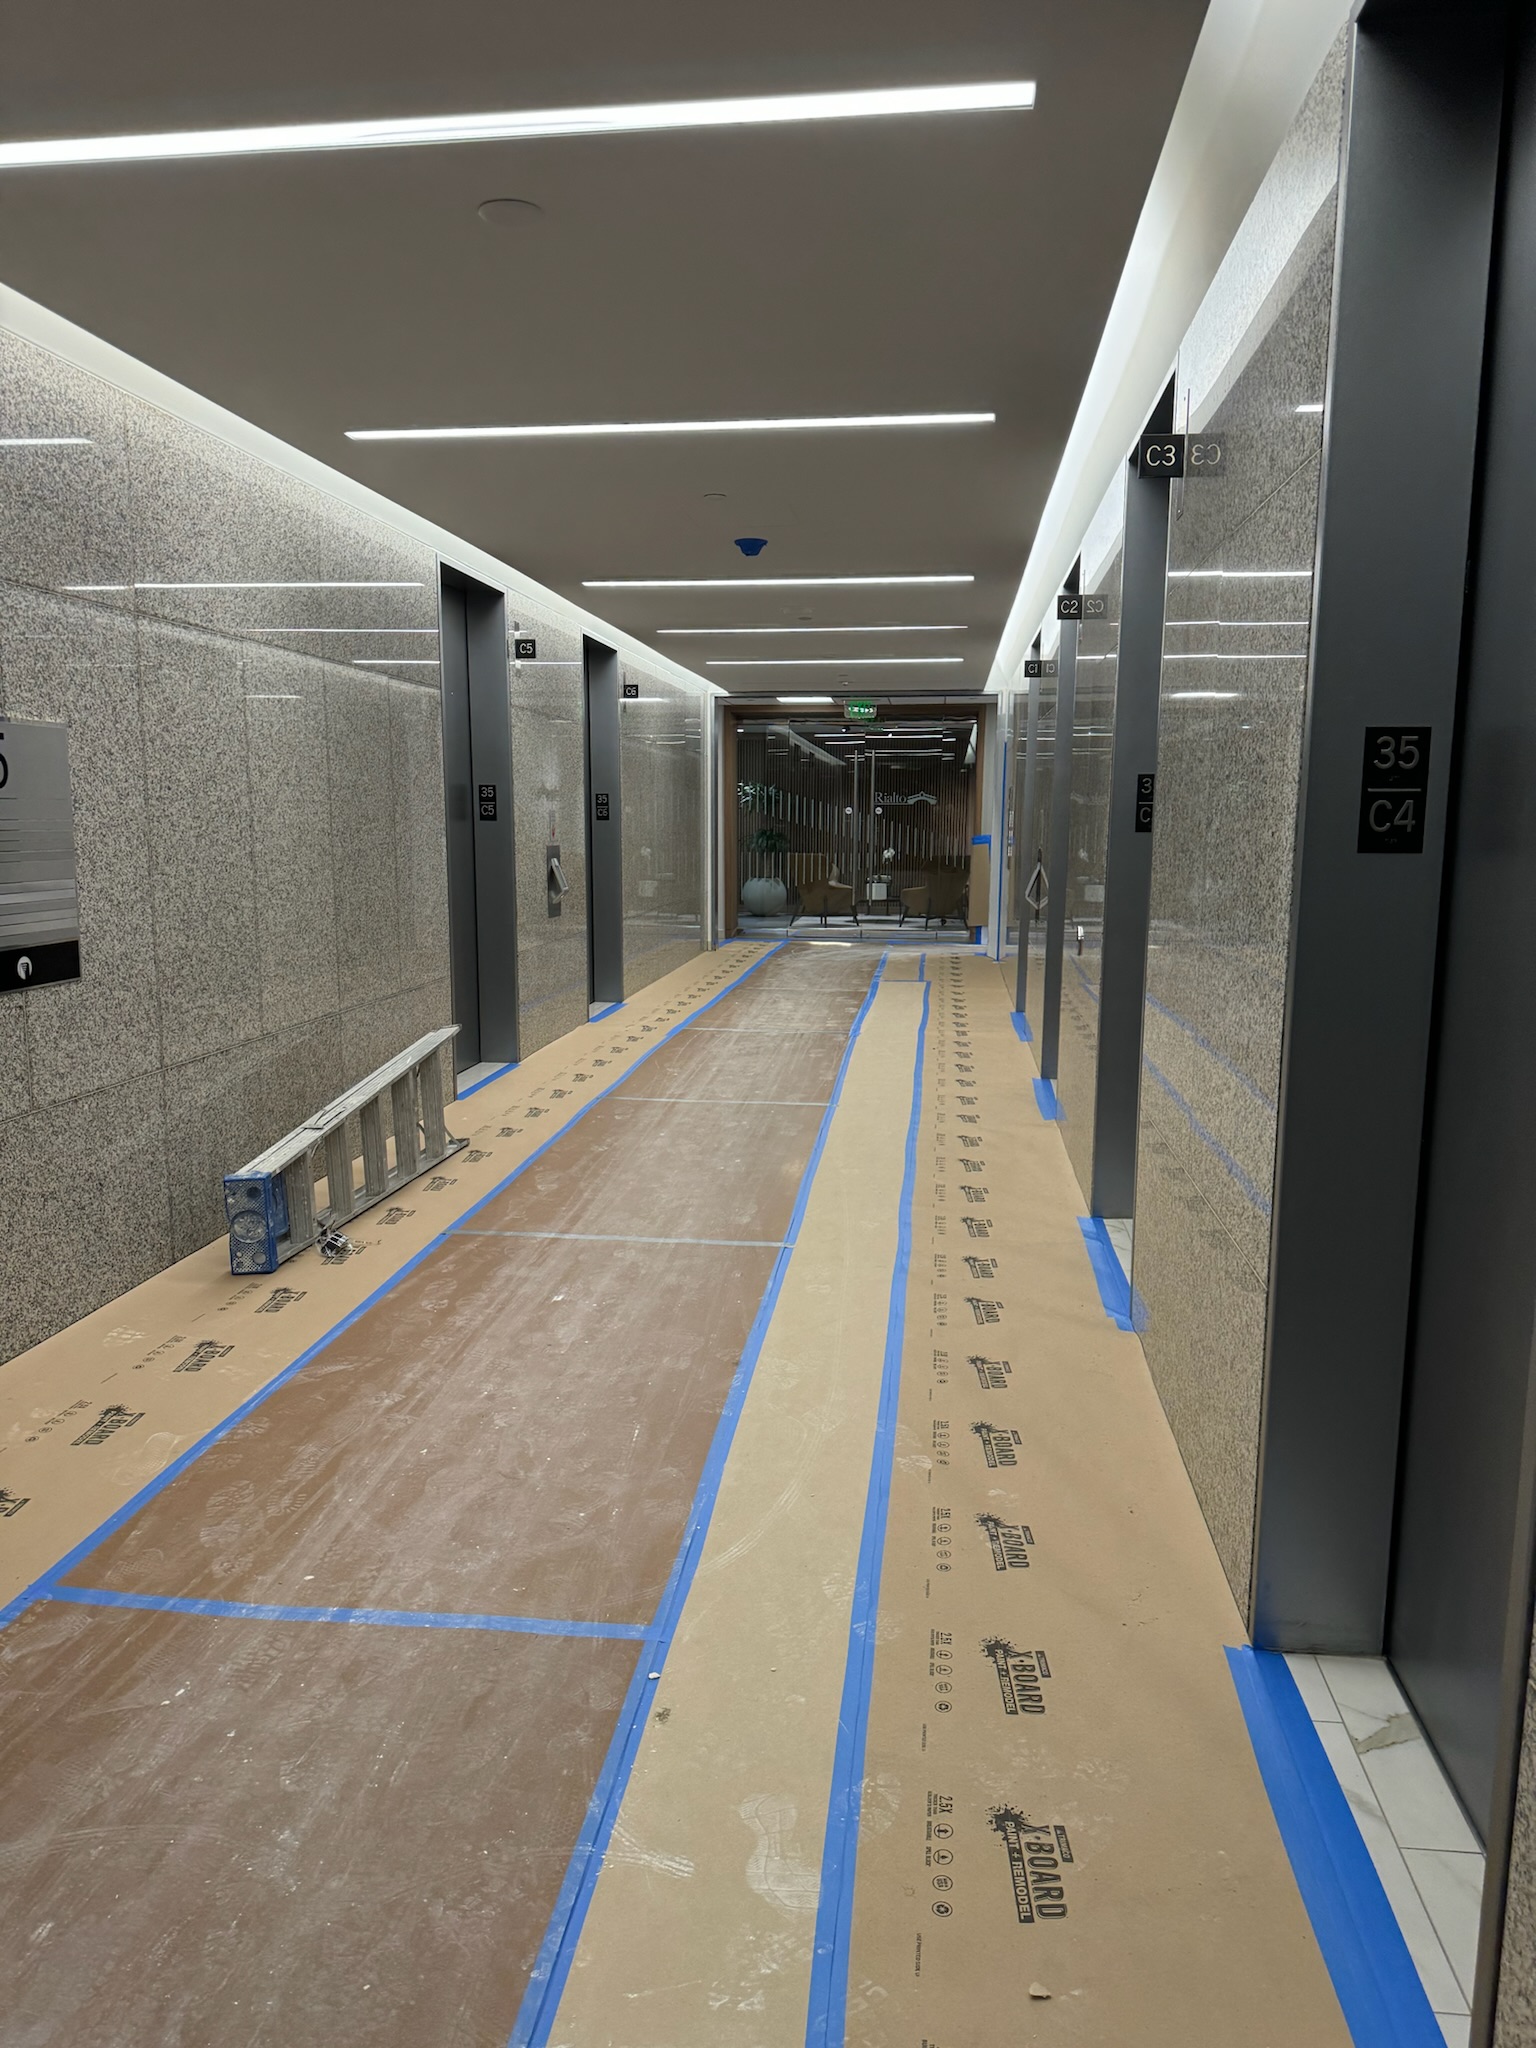
The work area is secured by setting up barriers, dust containment systems, and safety signage. Floors, walls, and any areas not being demolished are protected with coverings to prevent damage.
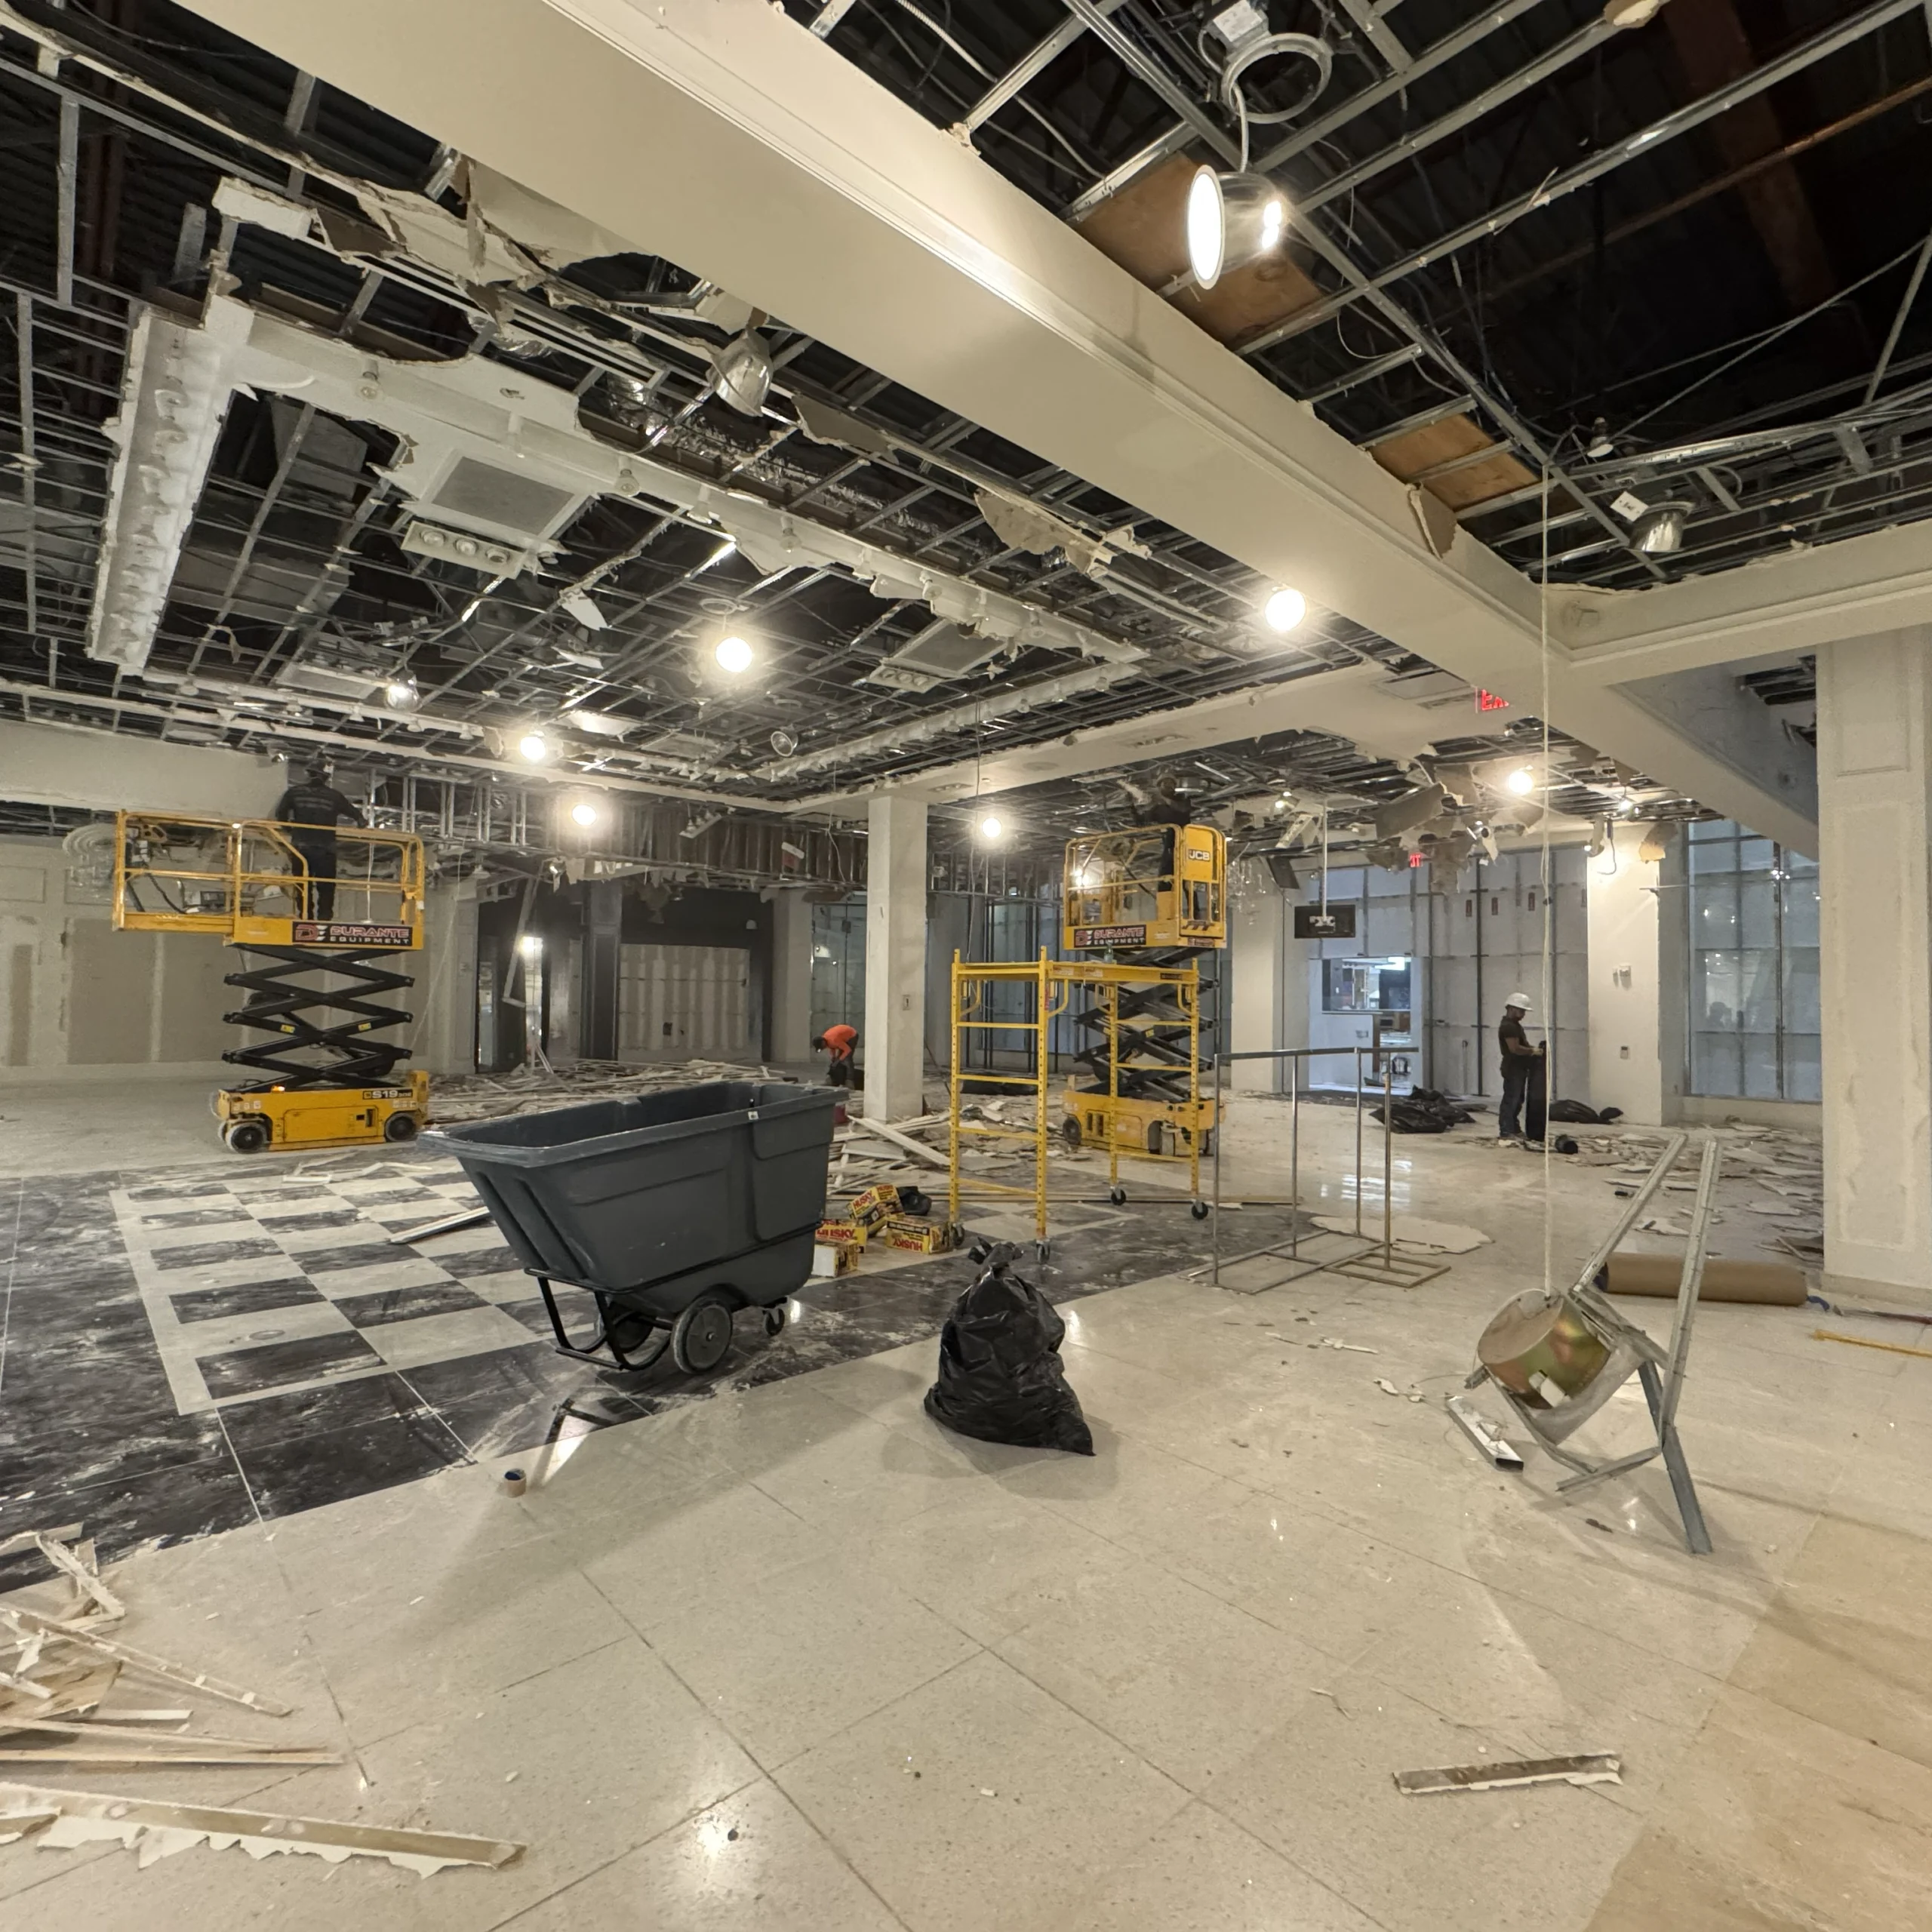
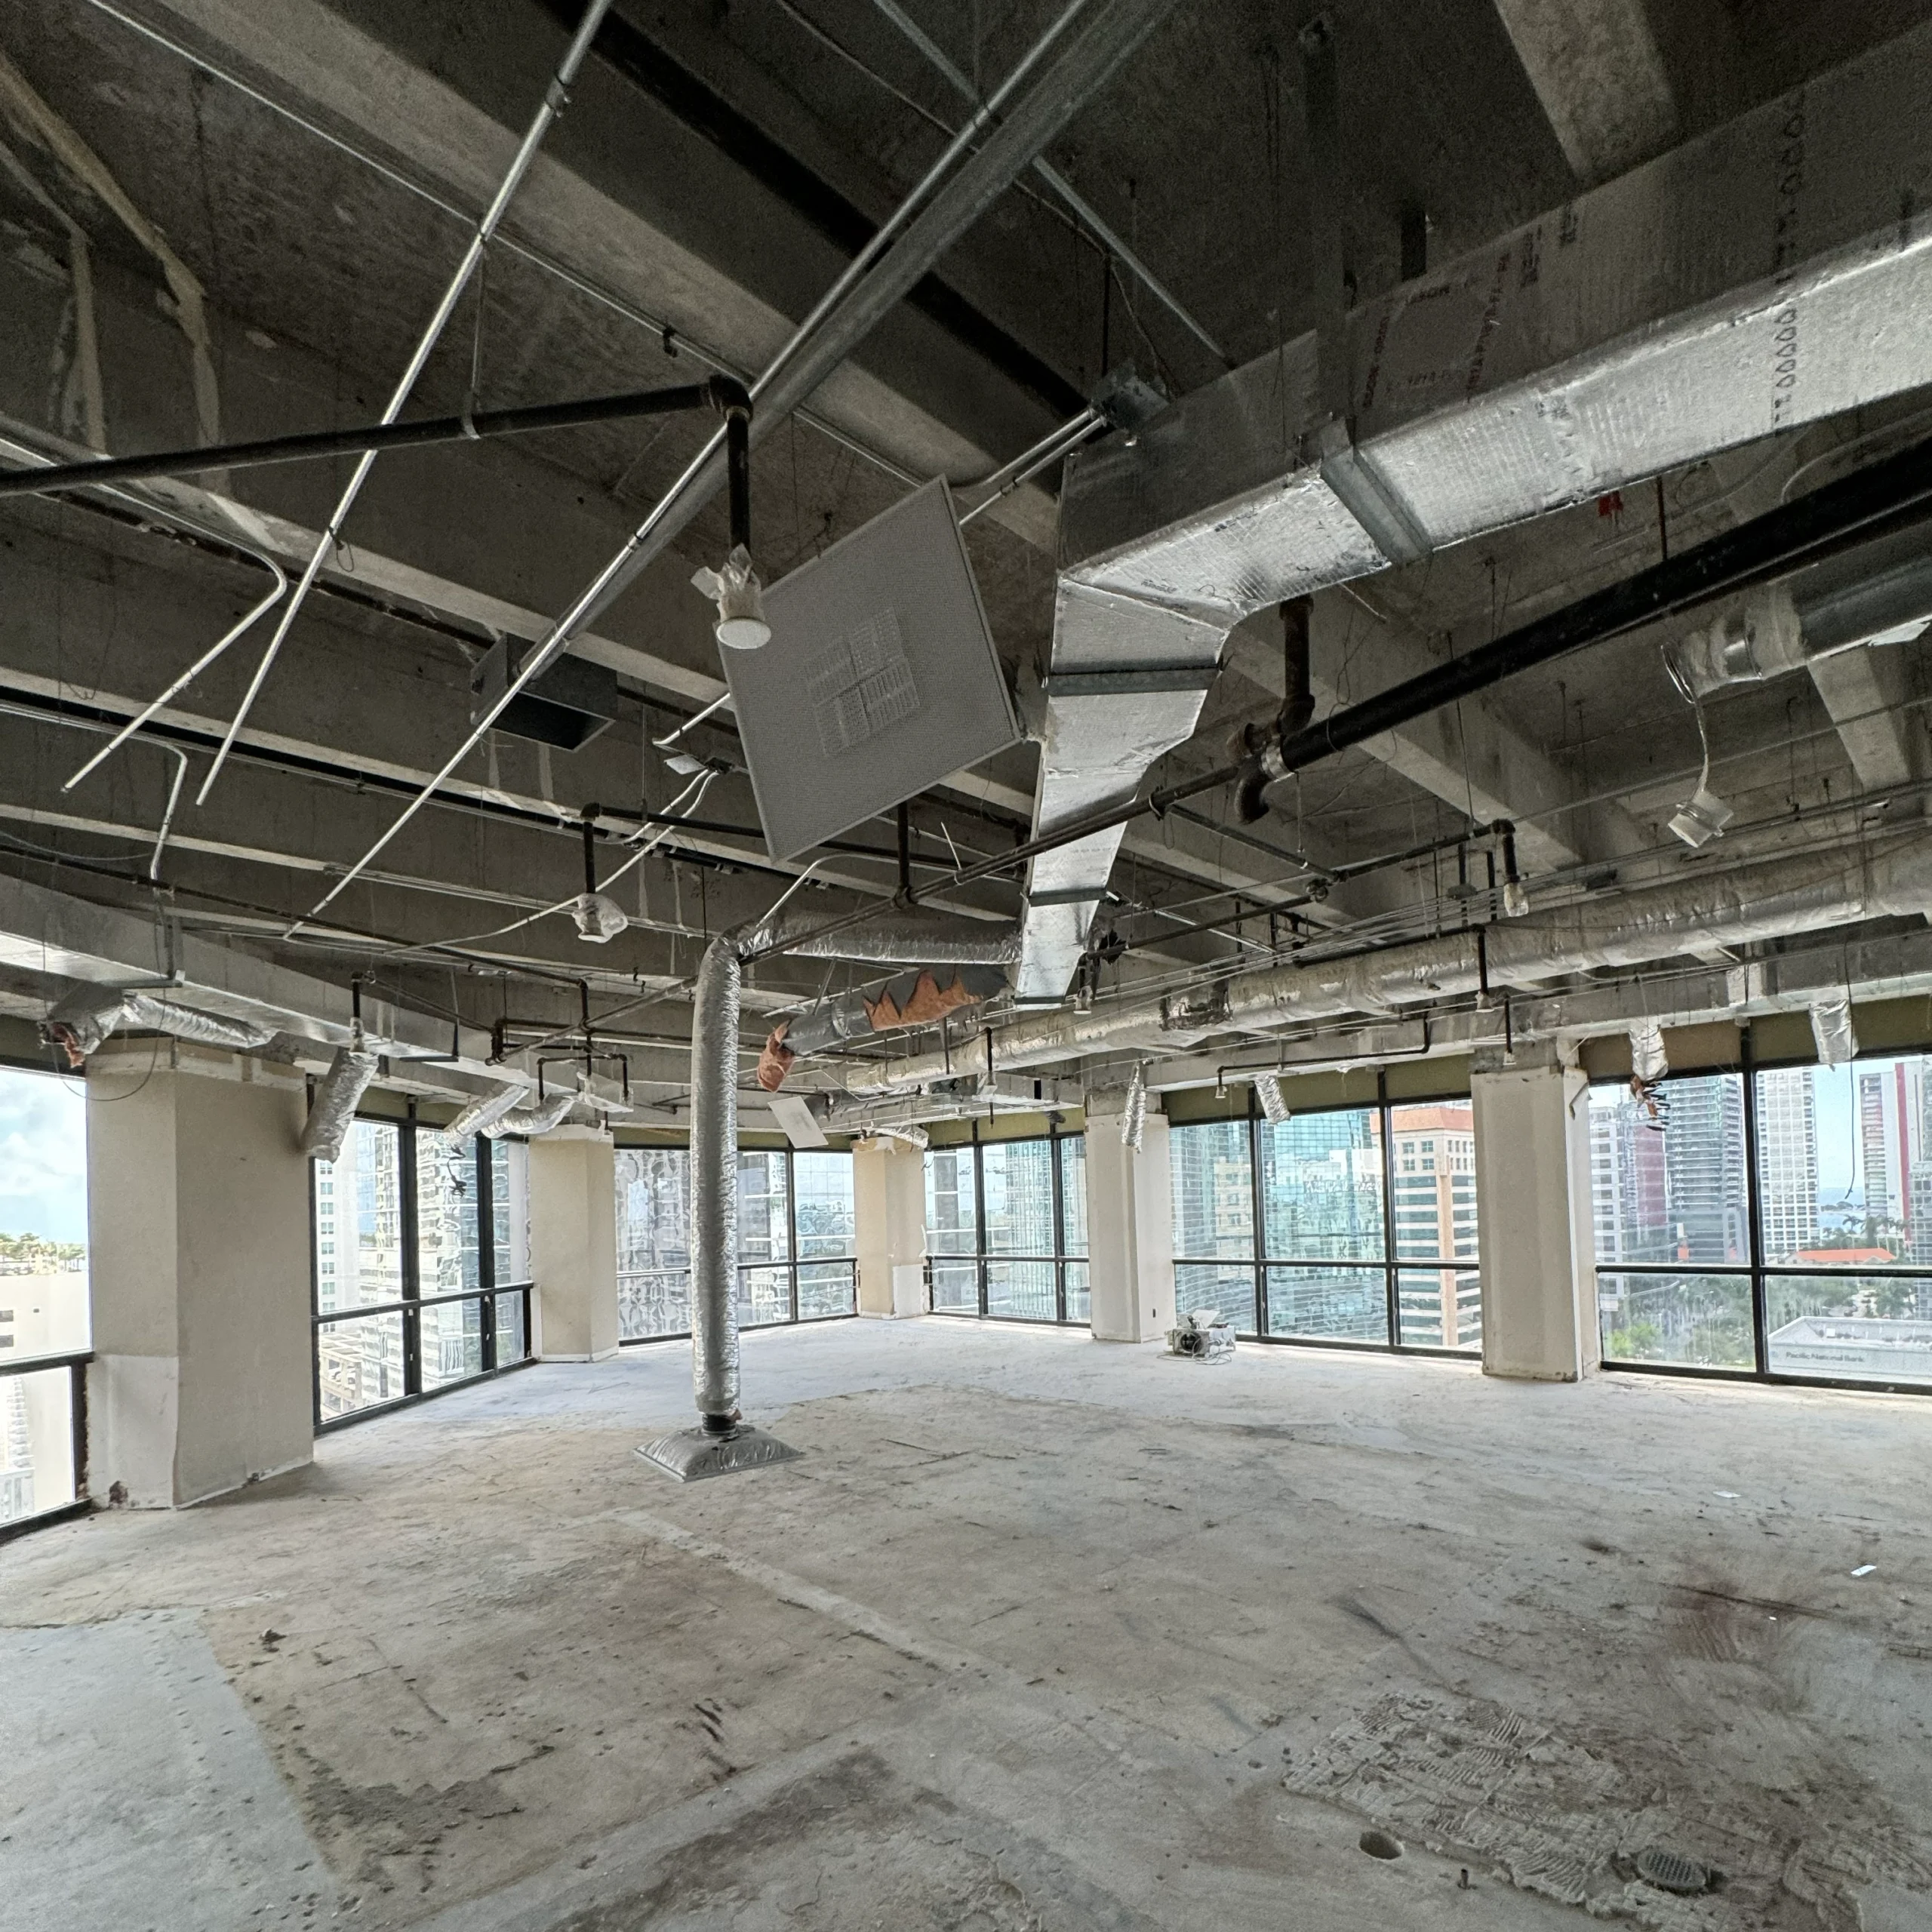
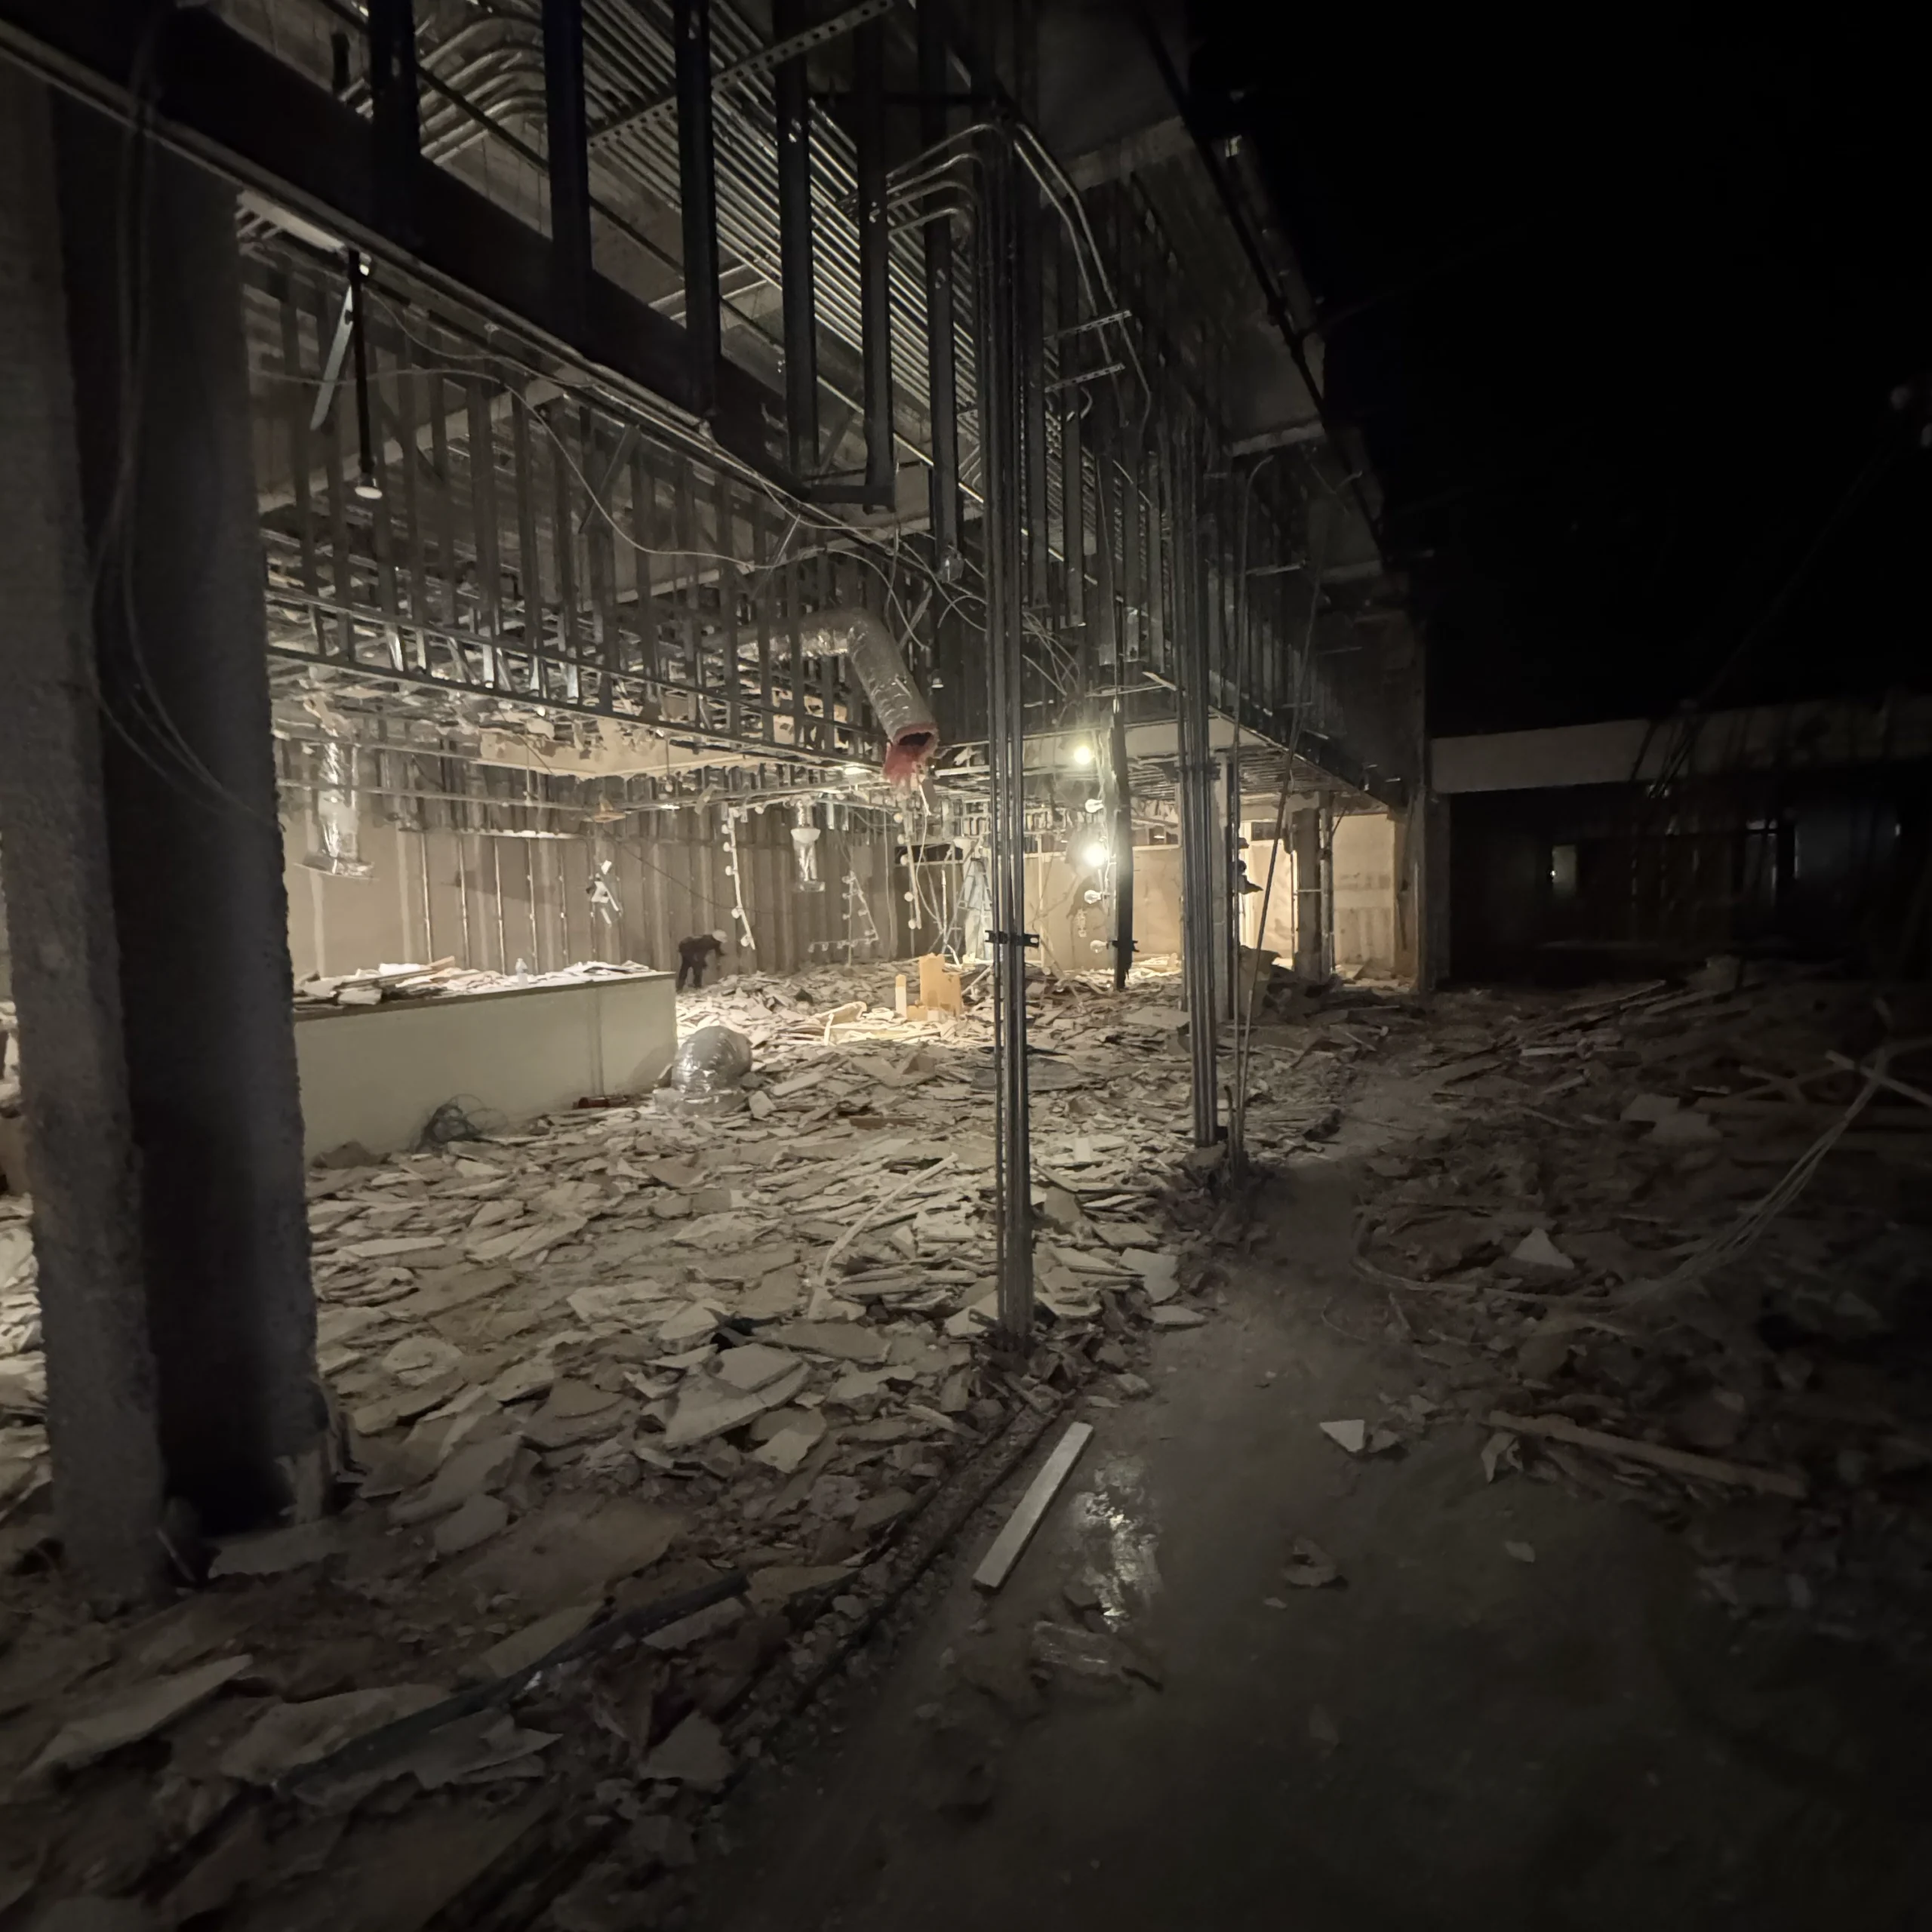
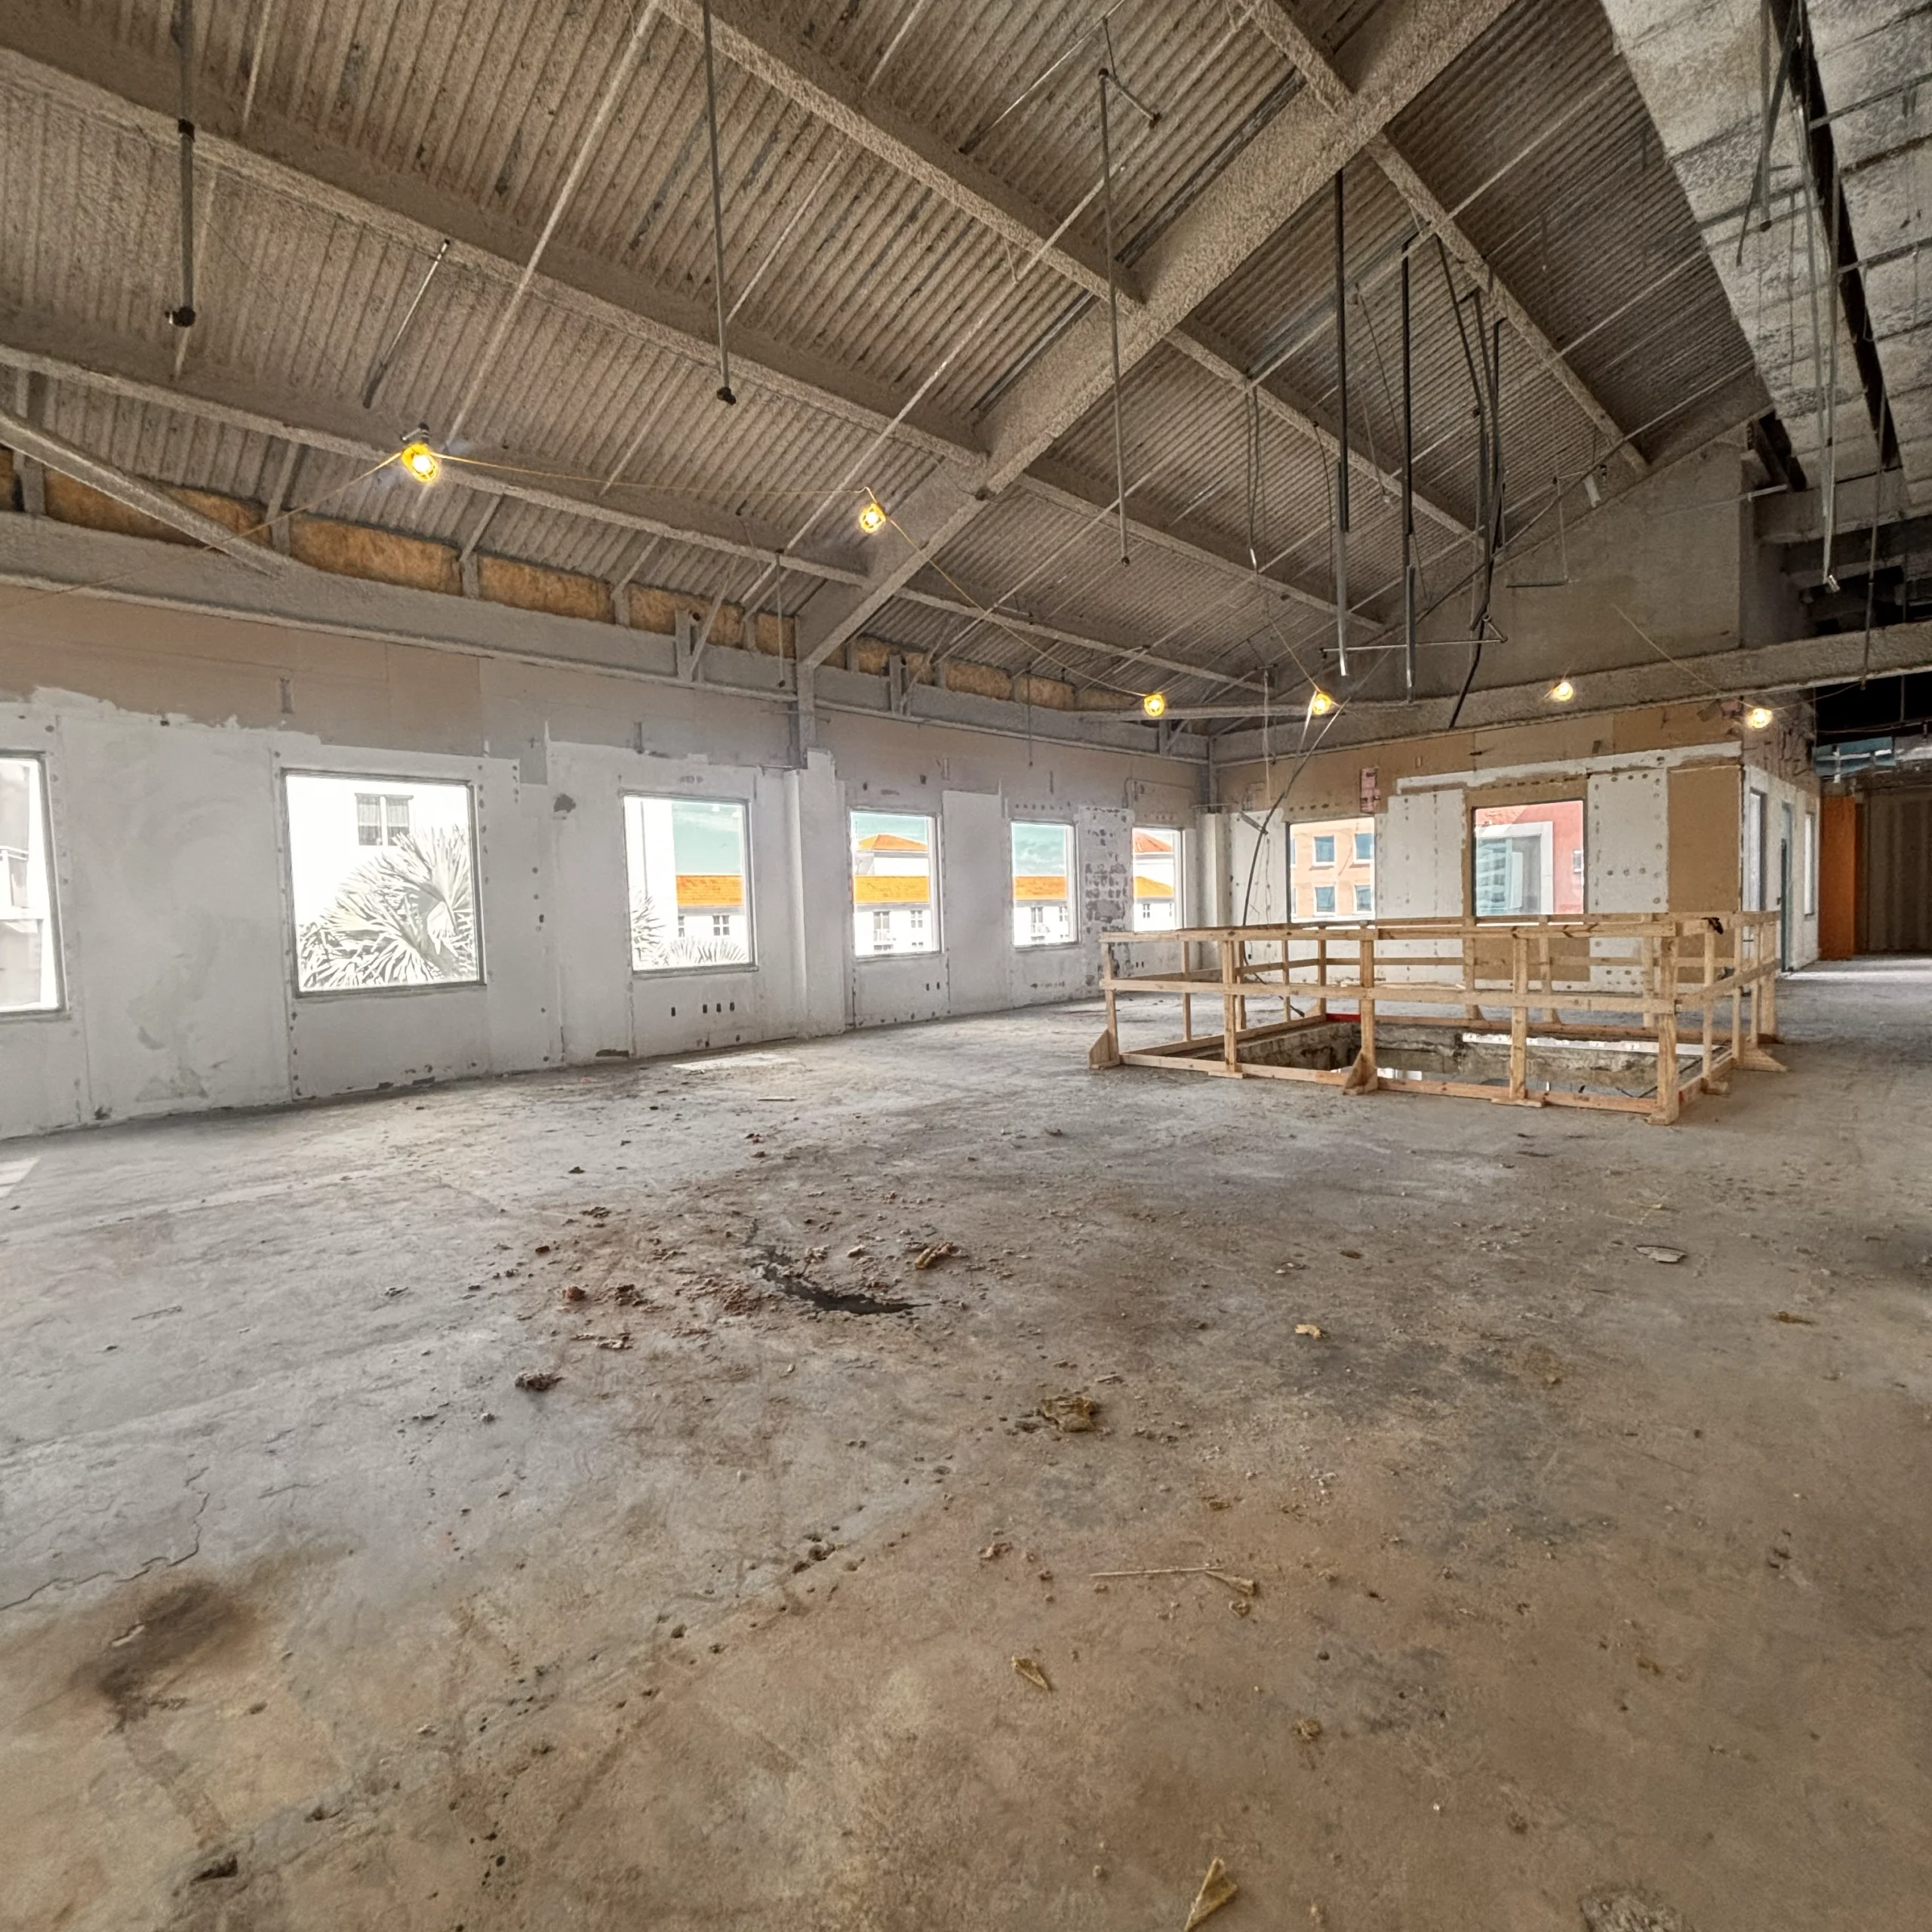
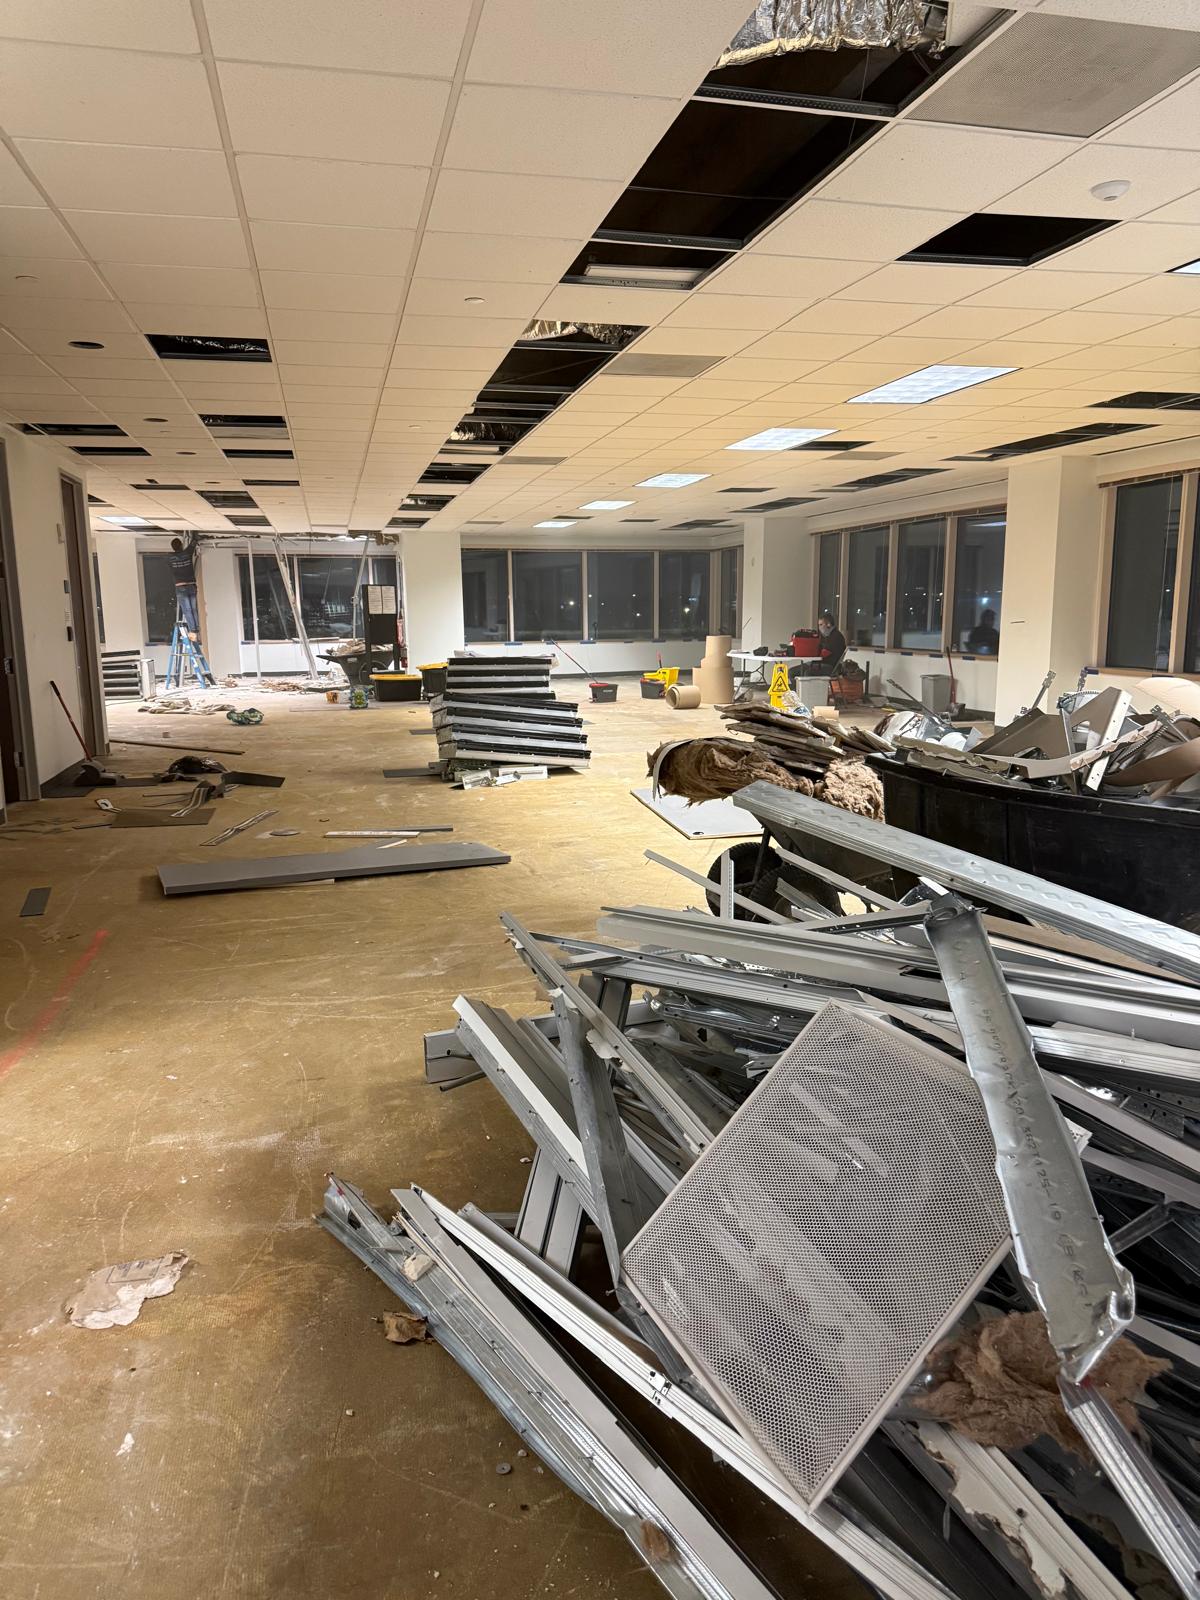
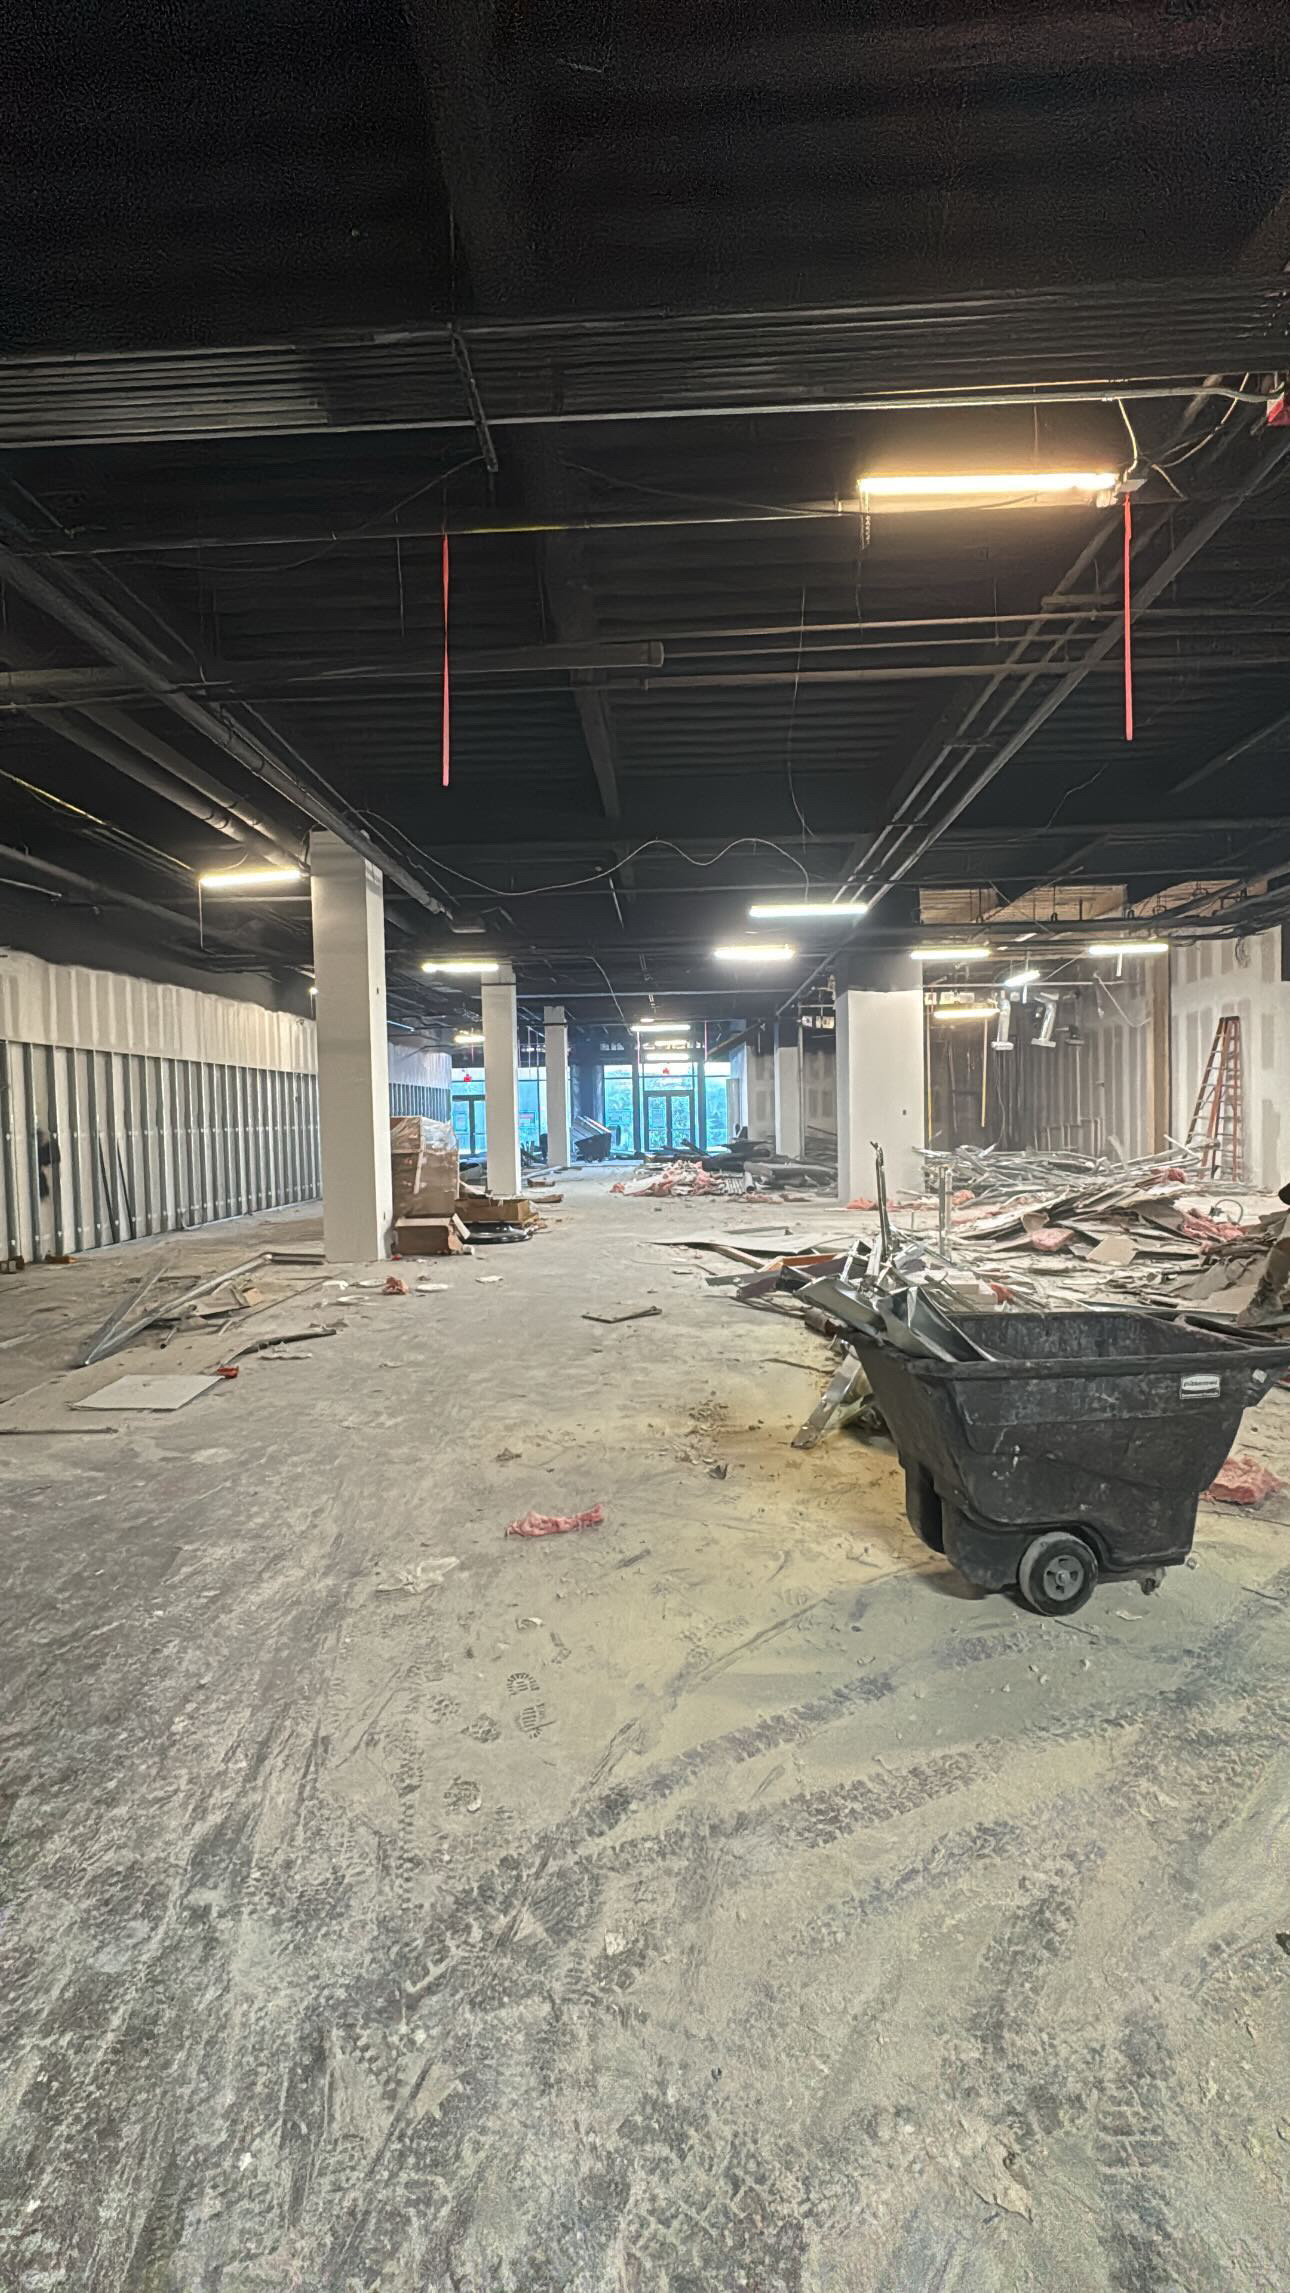
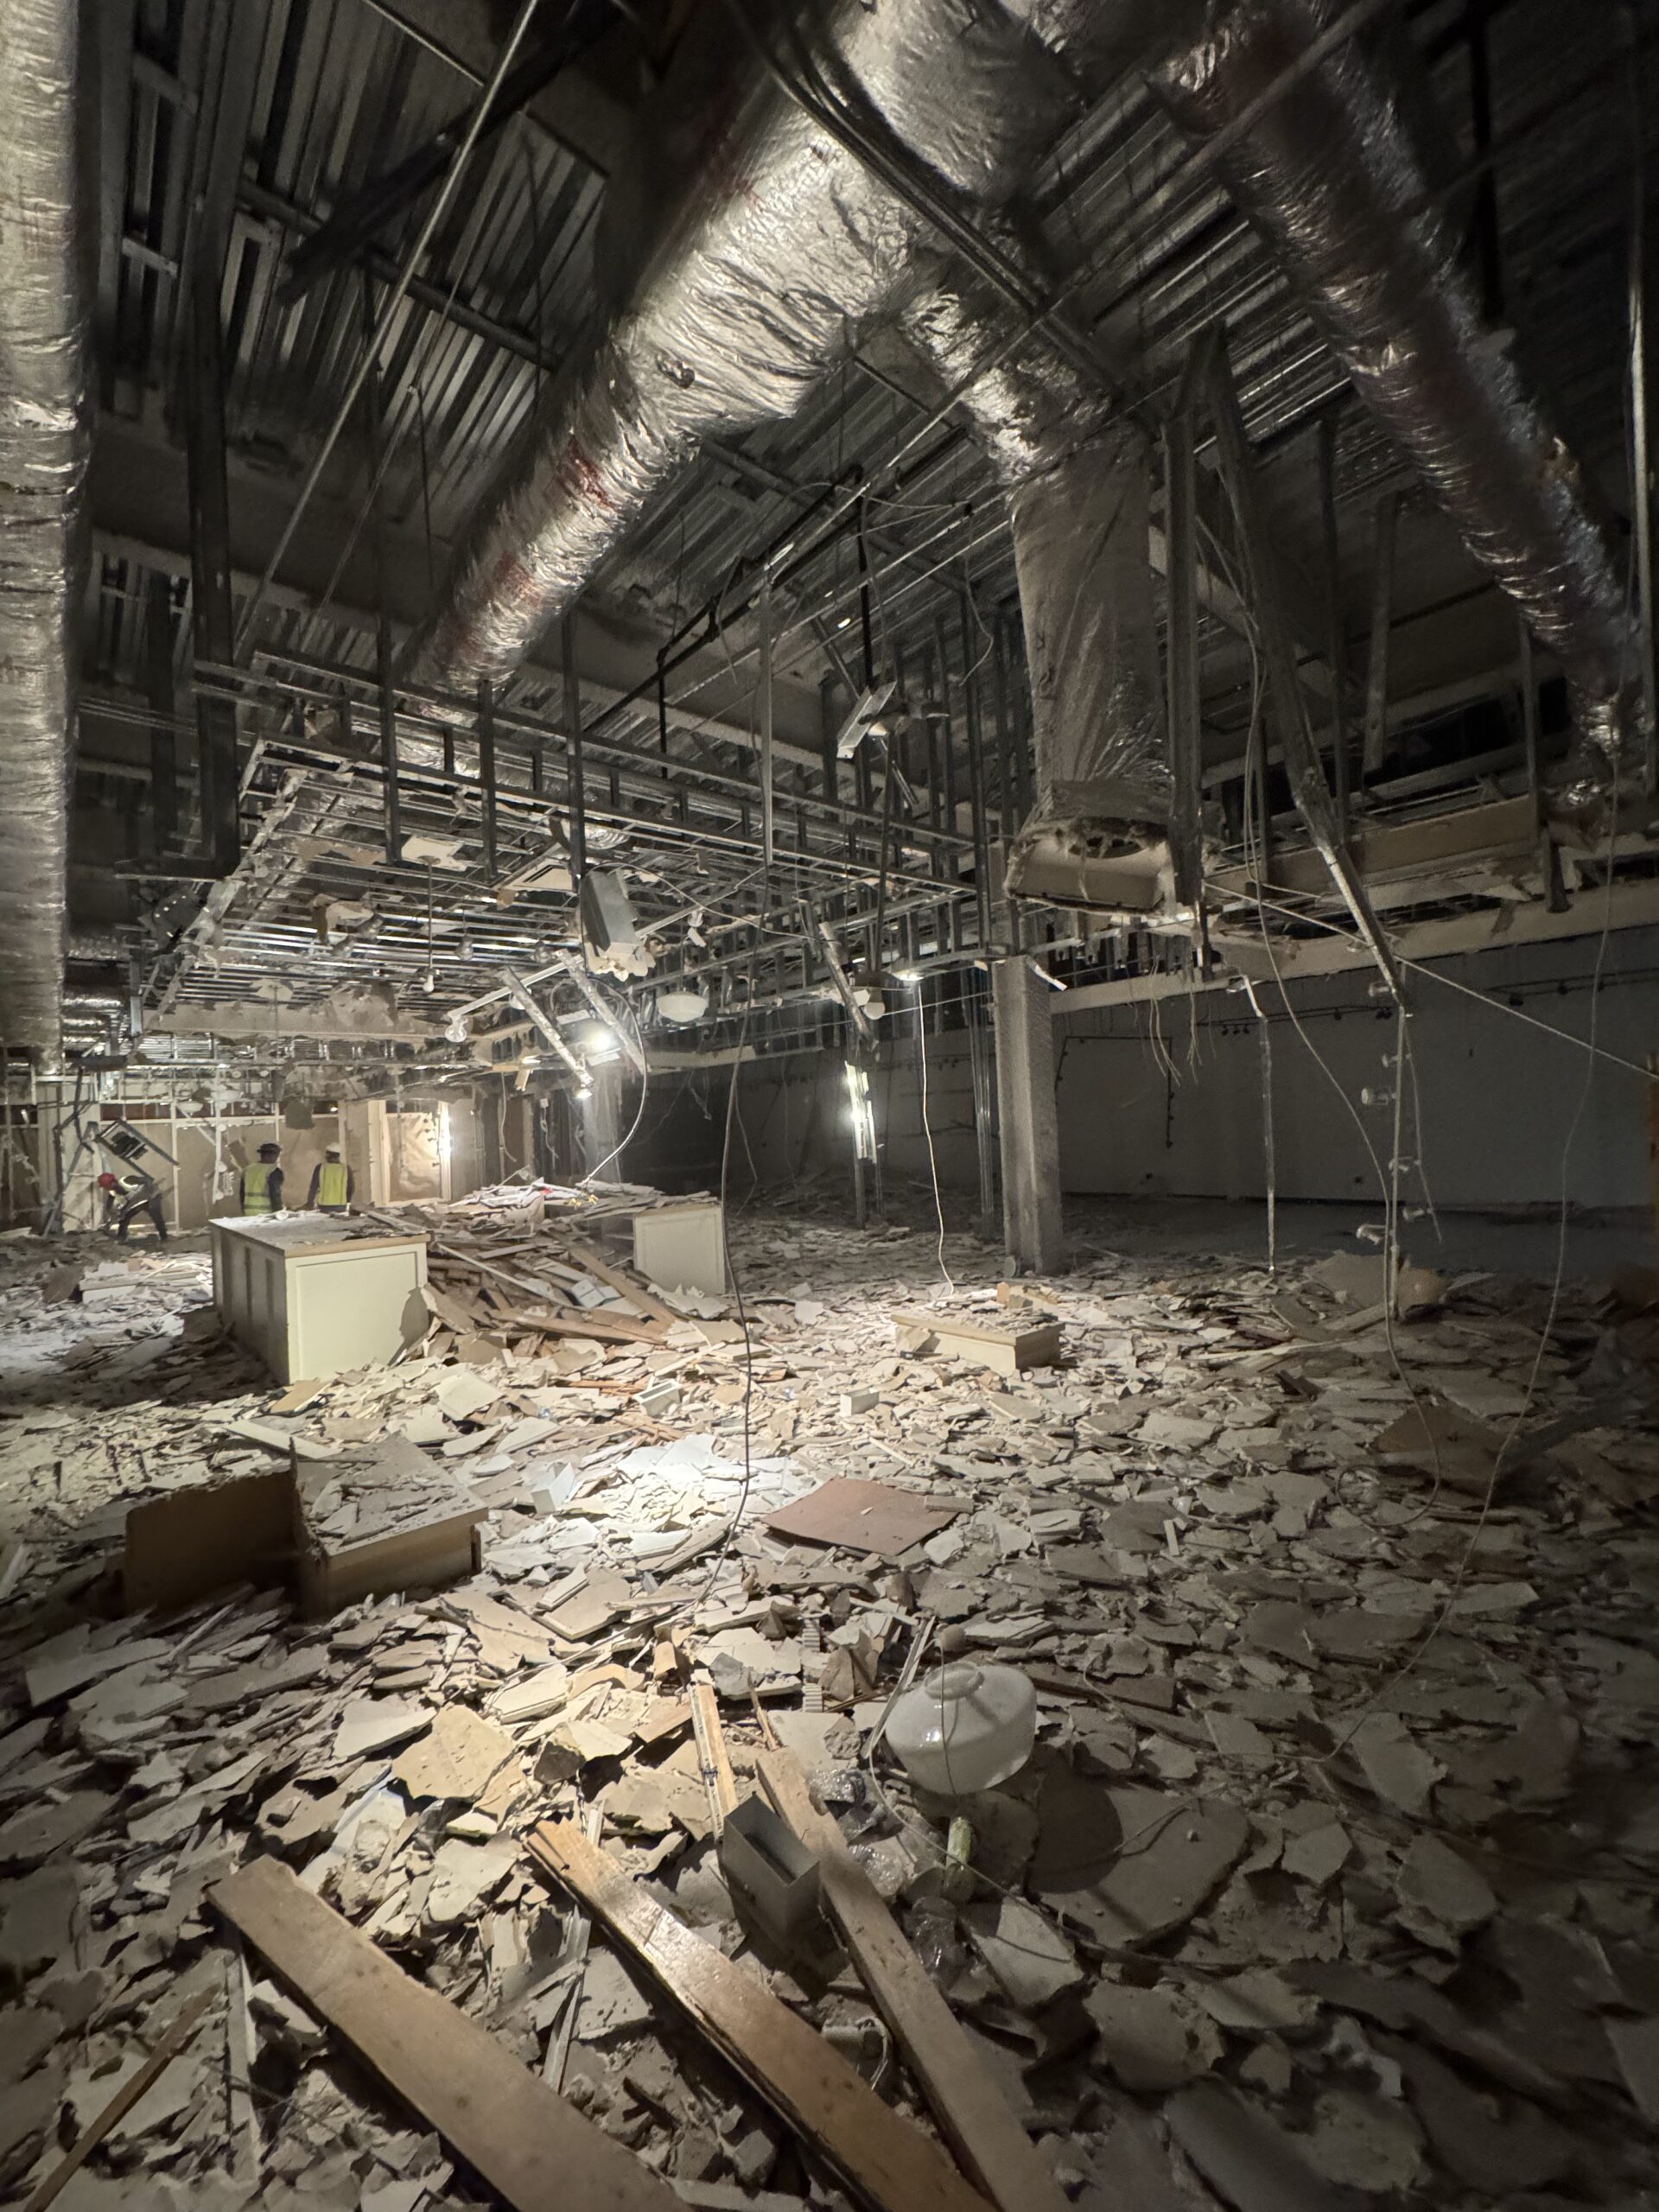
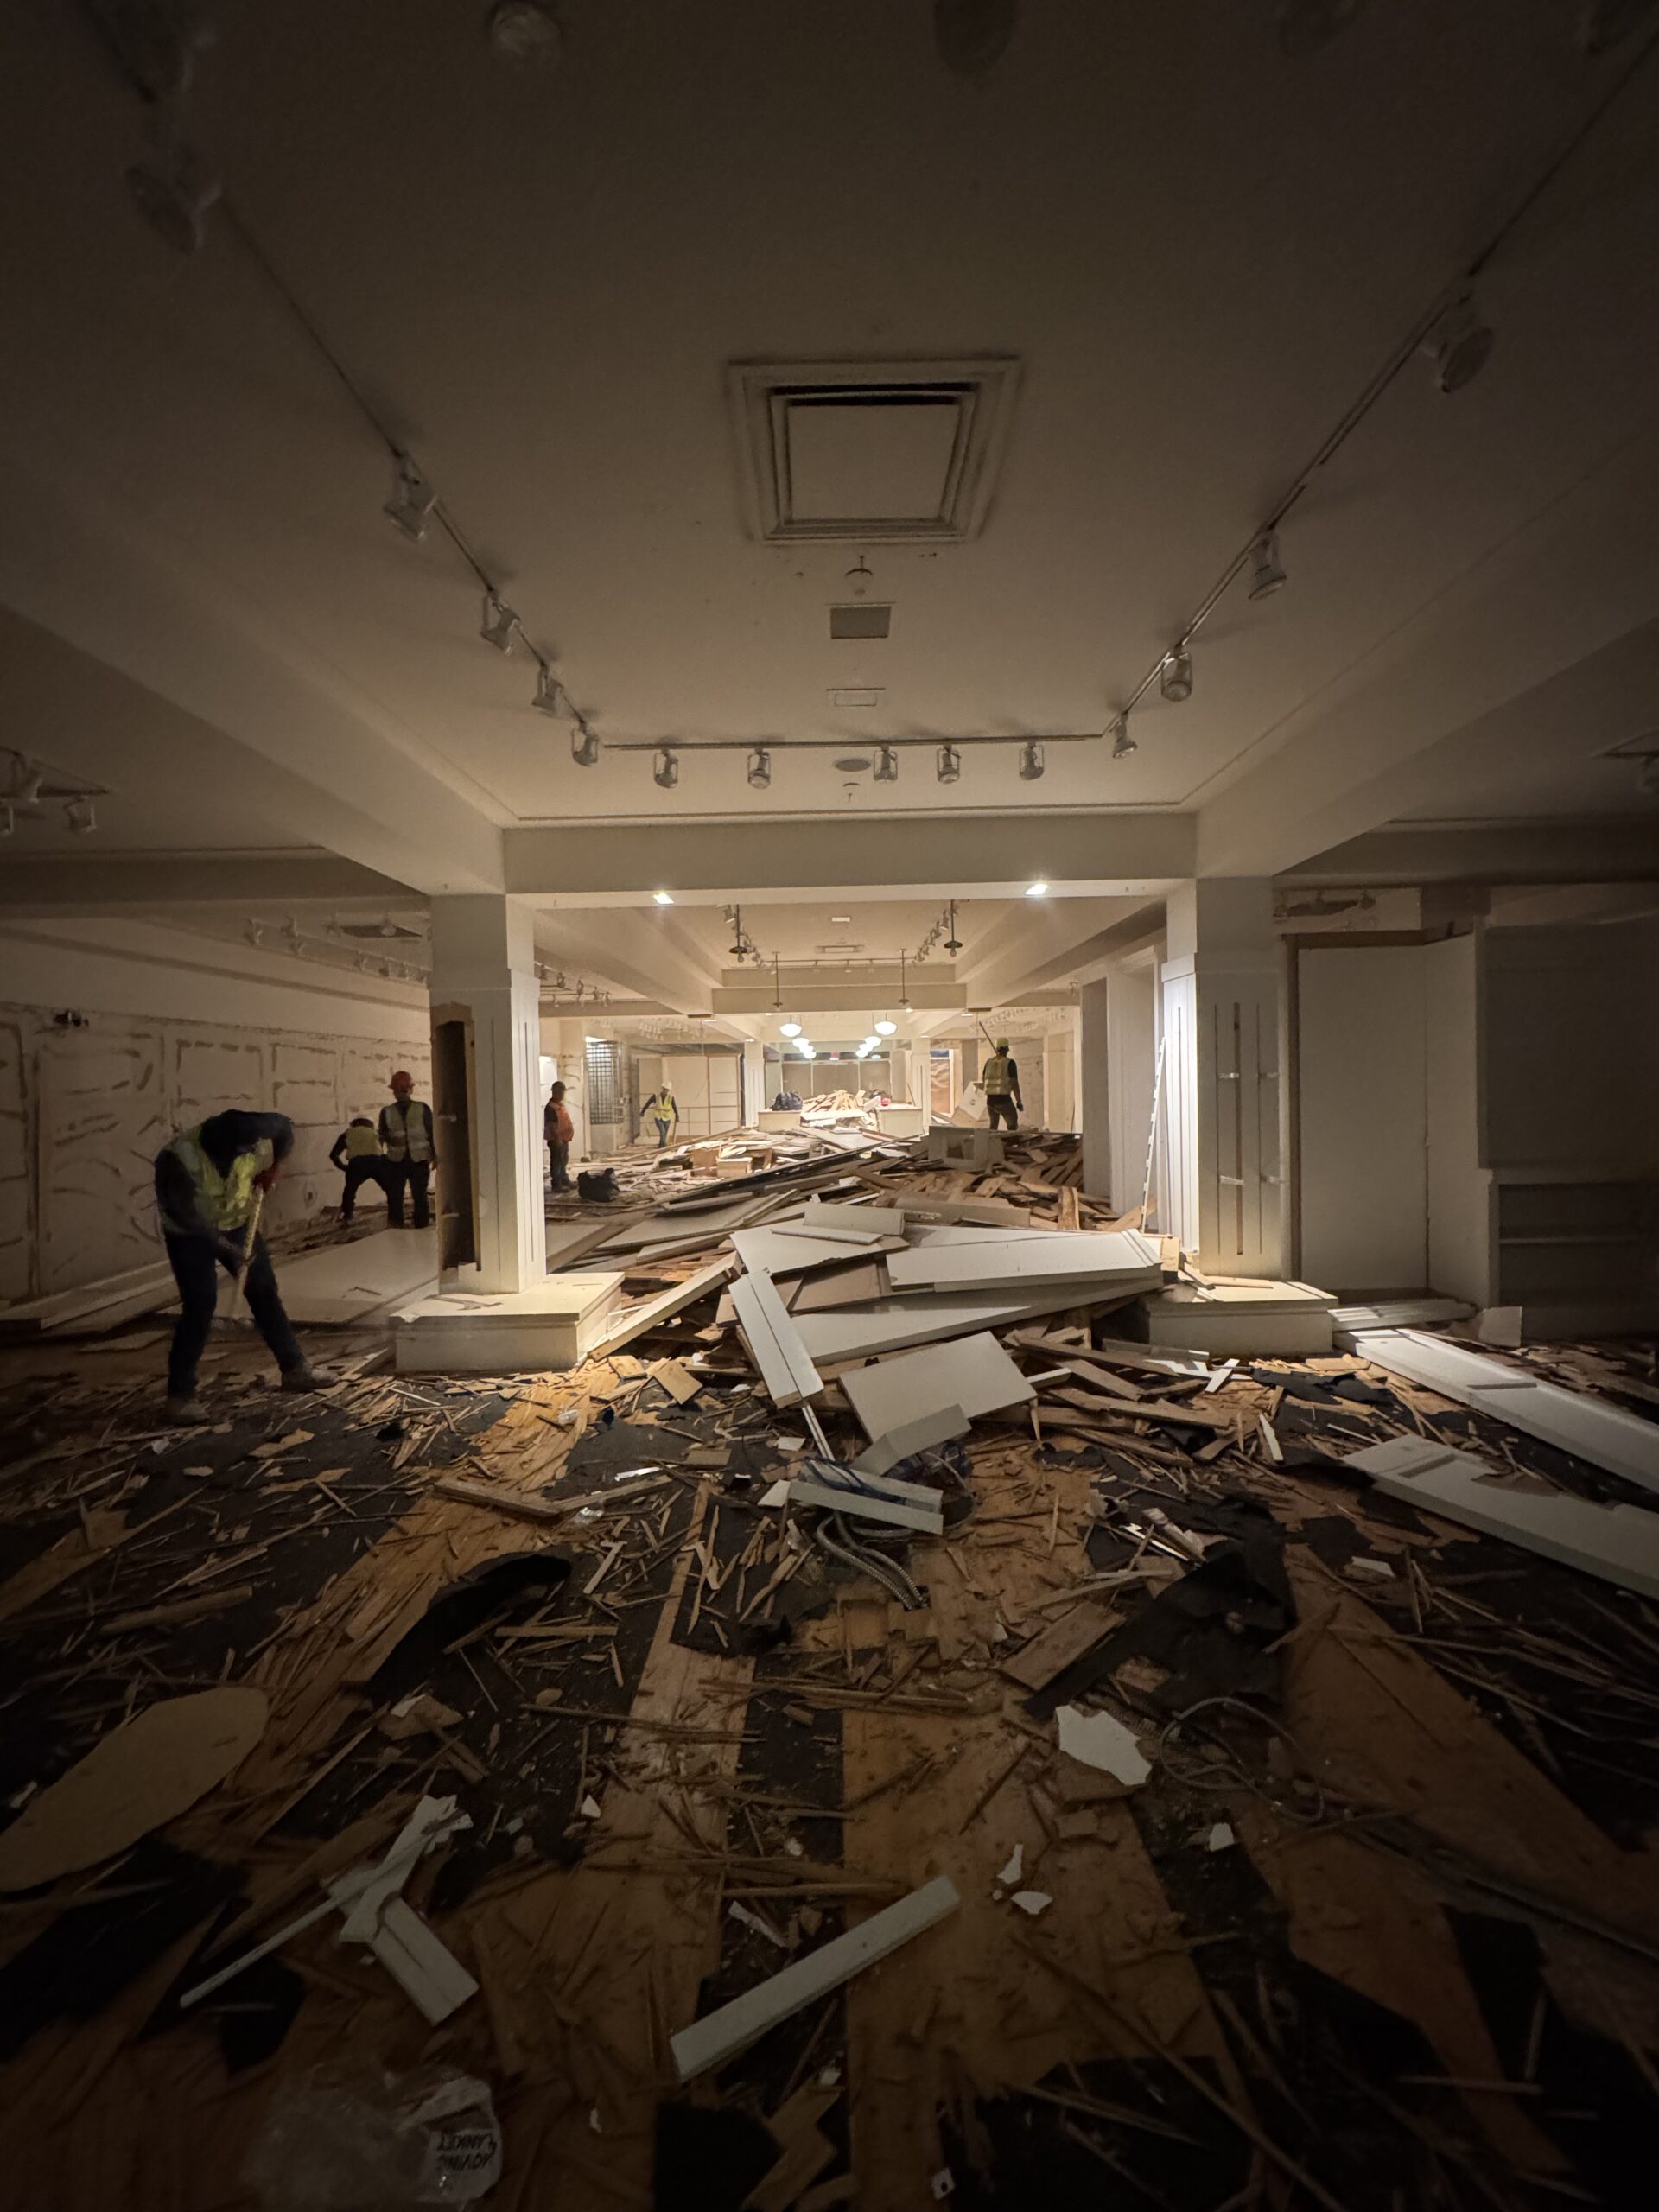
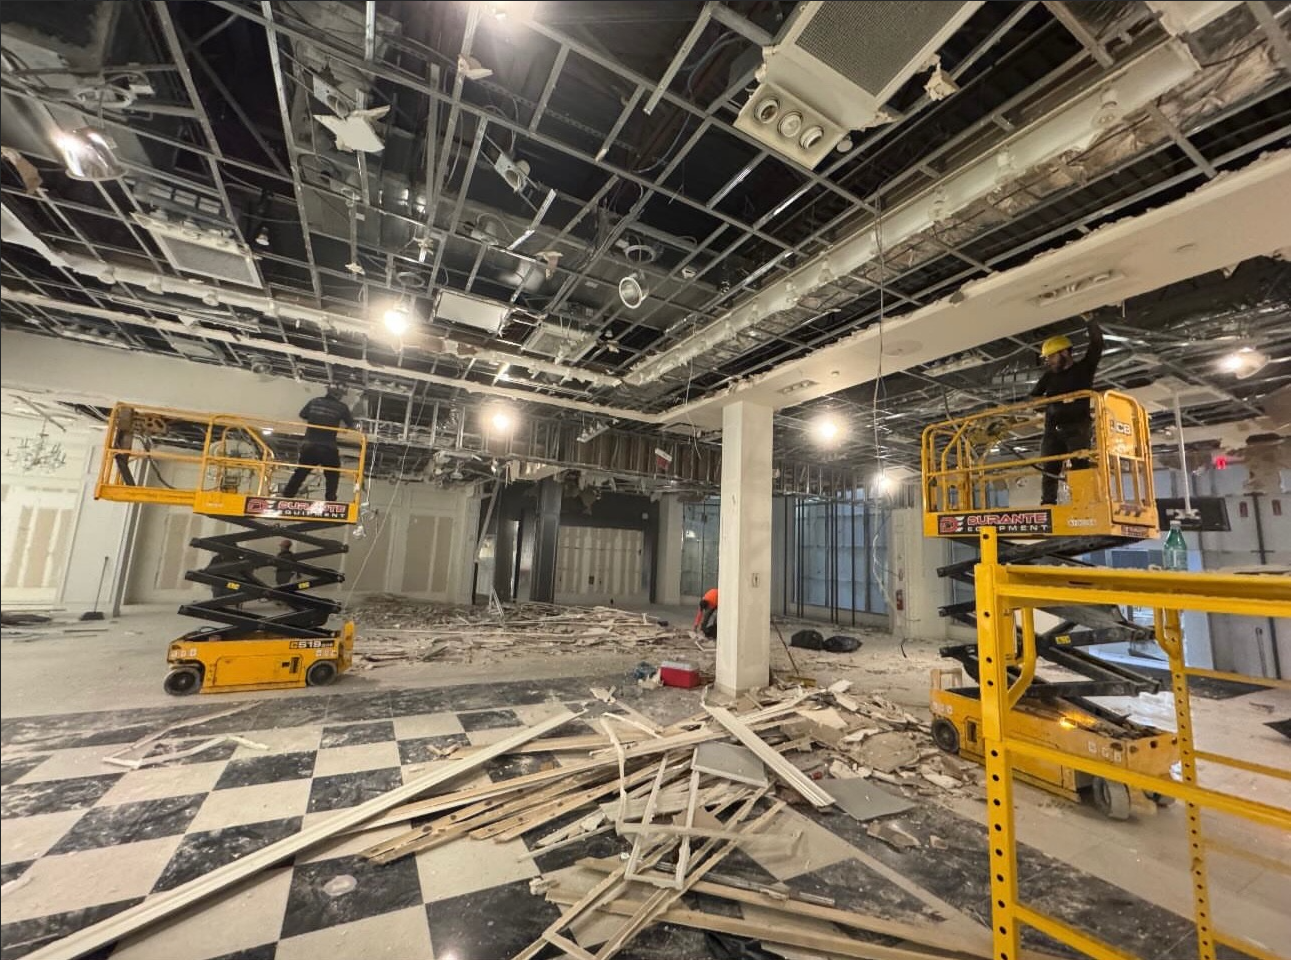
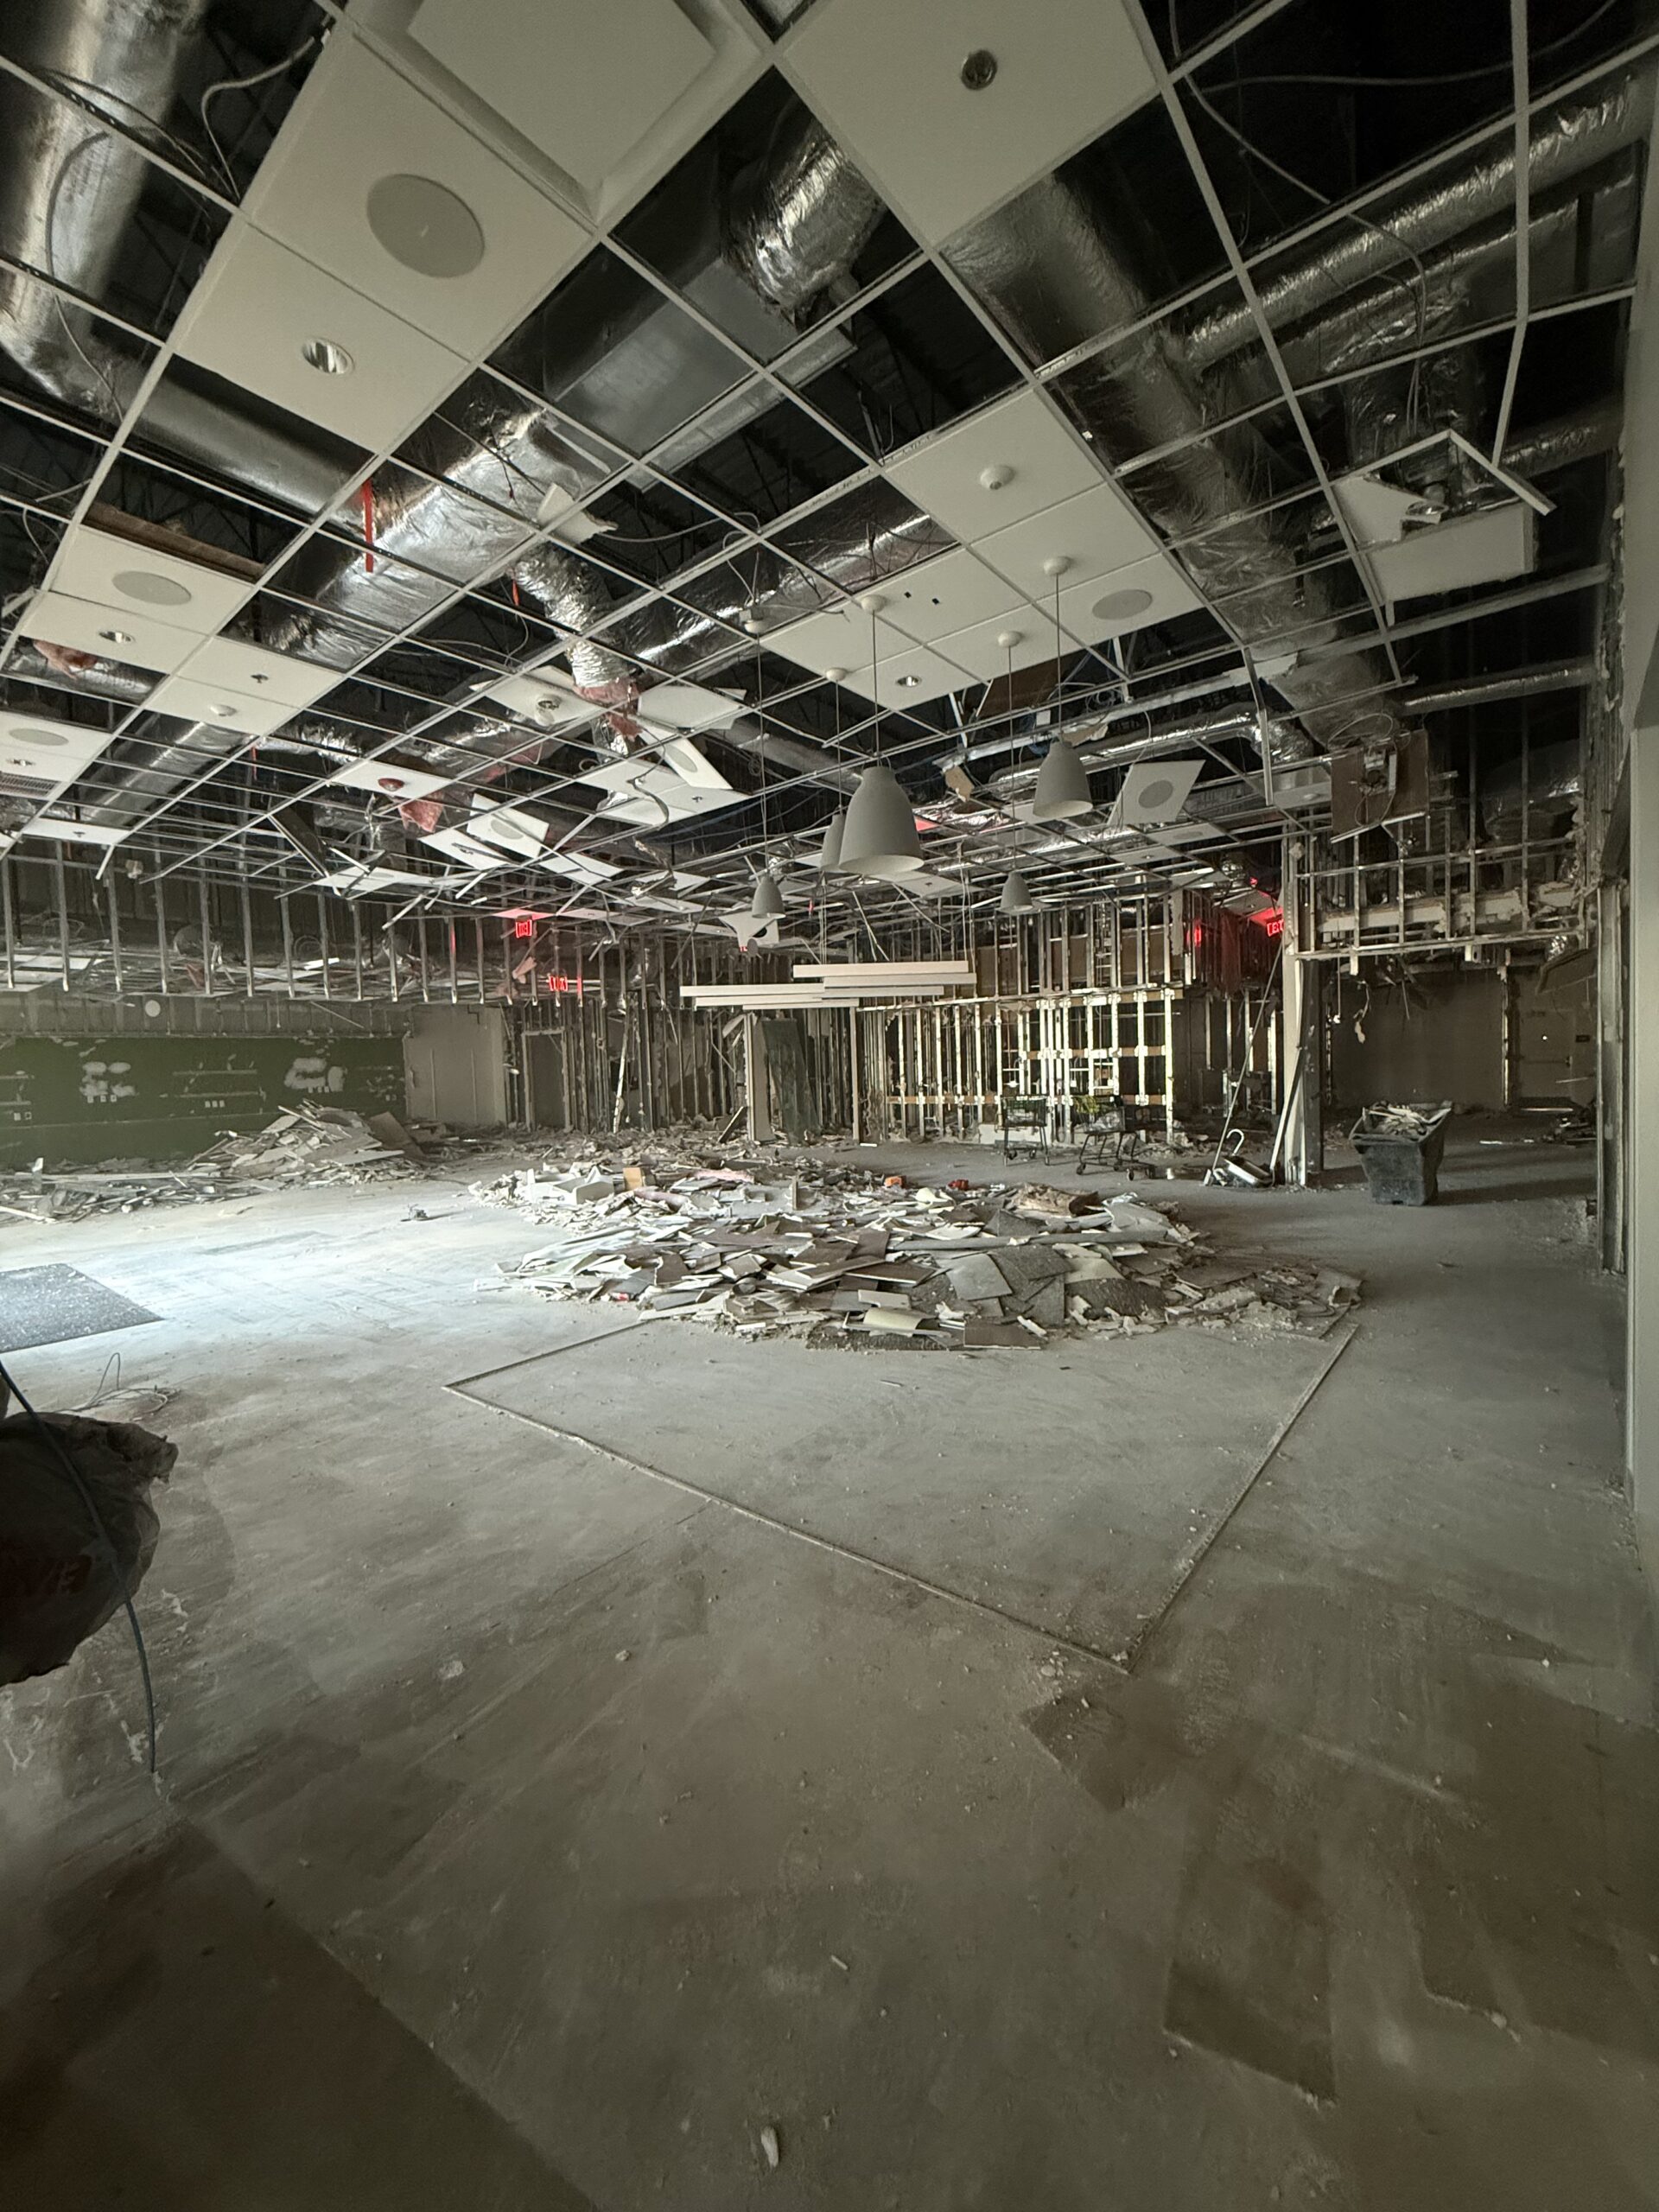
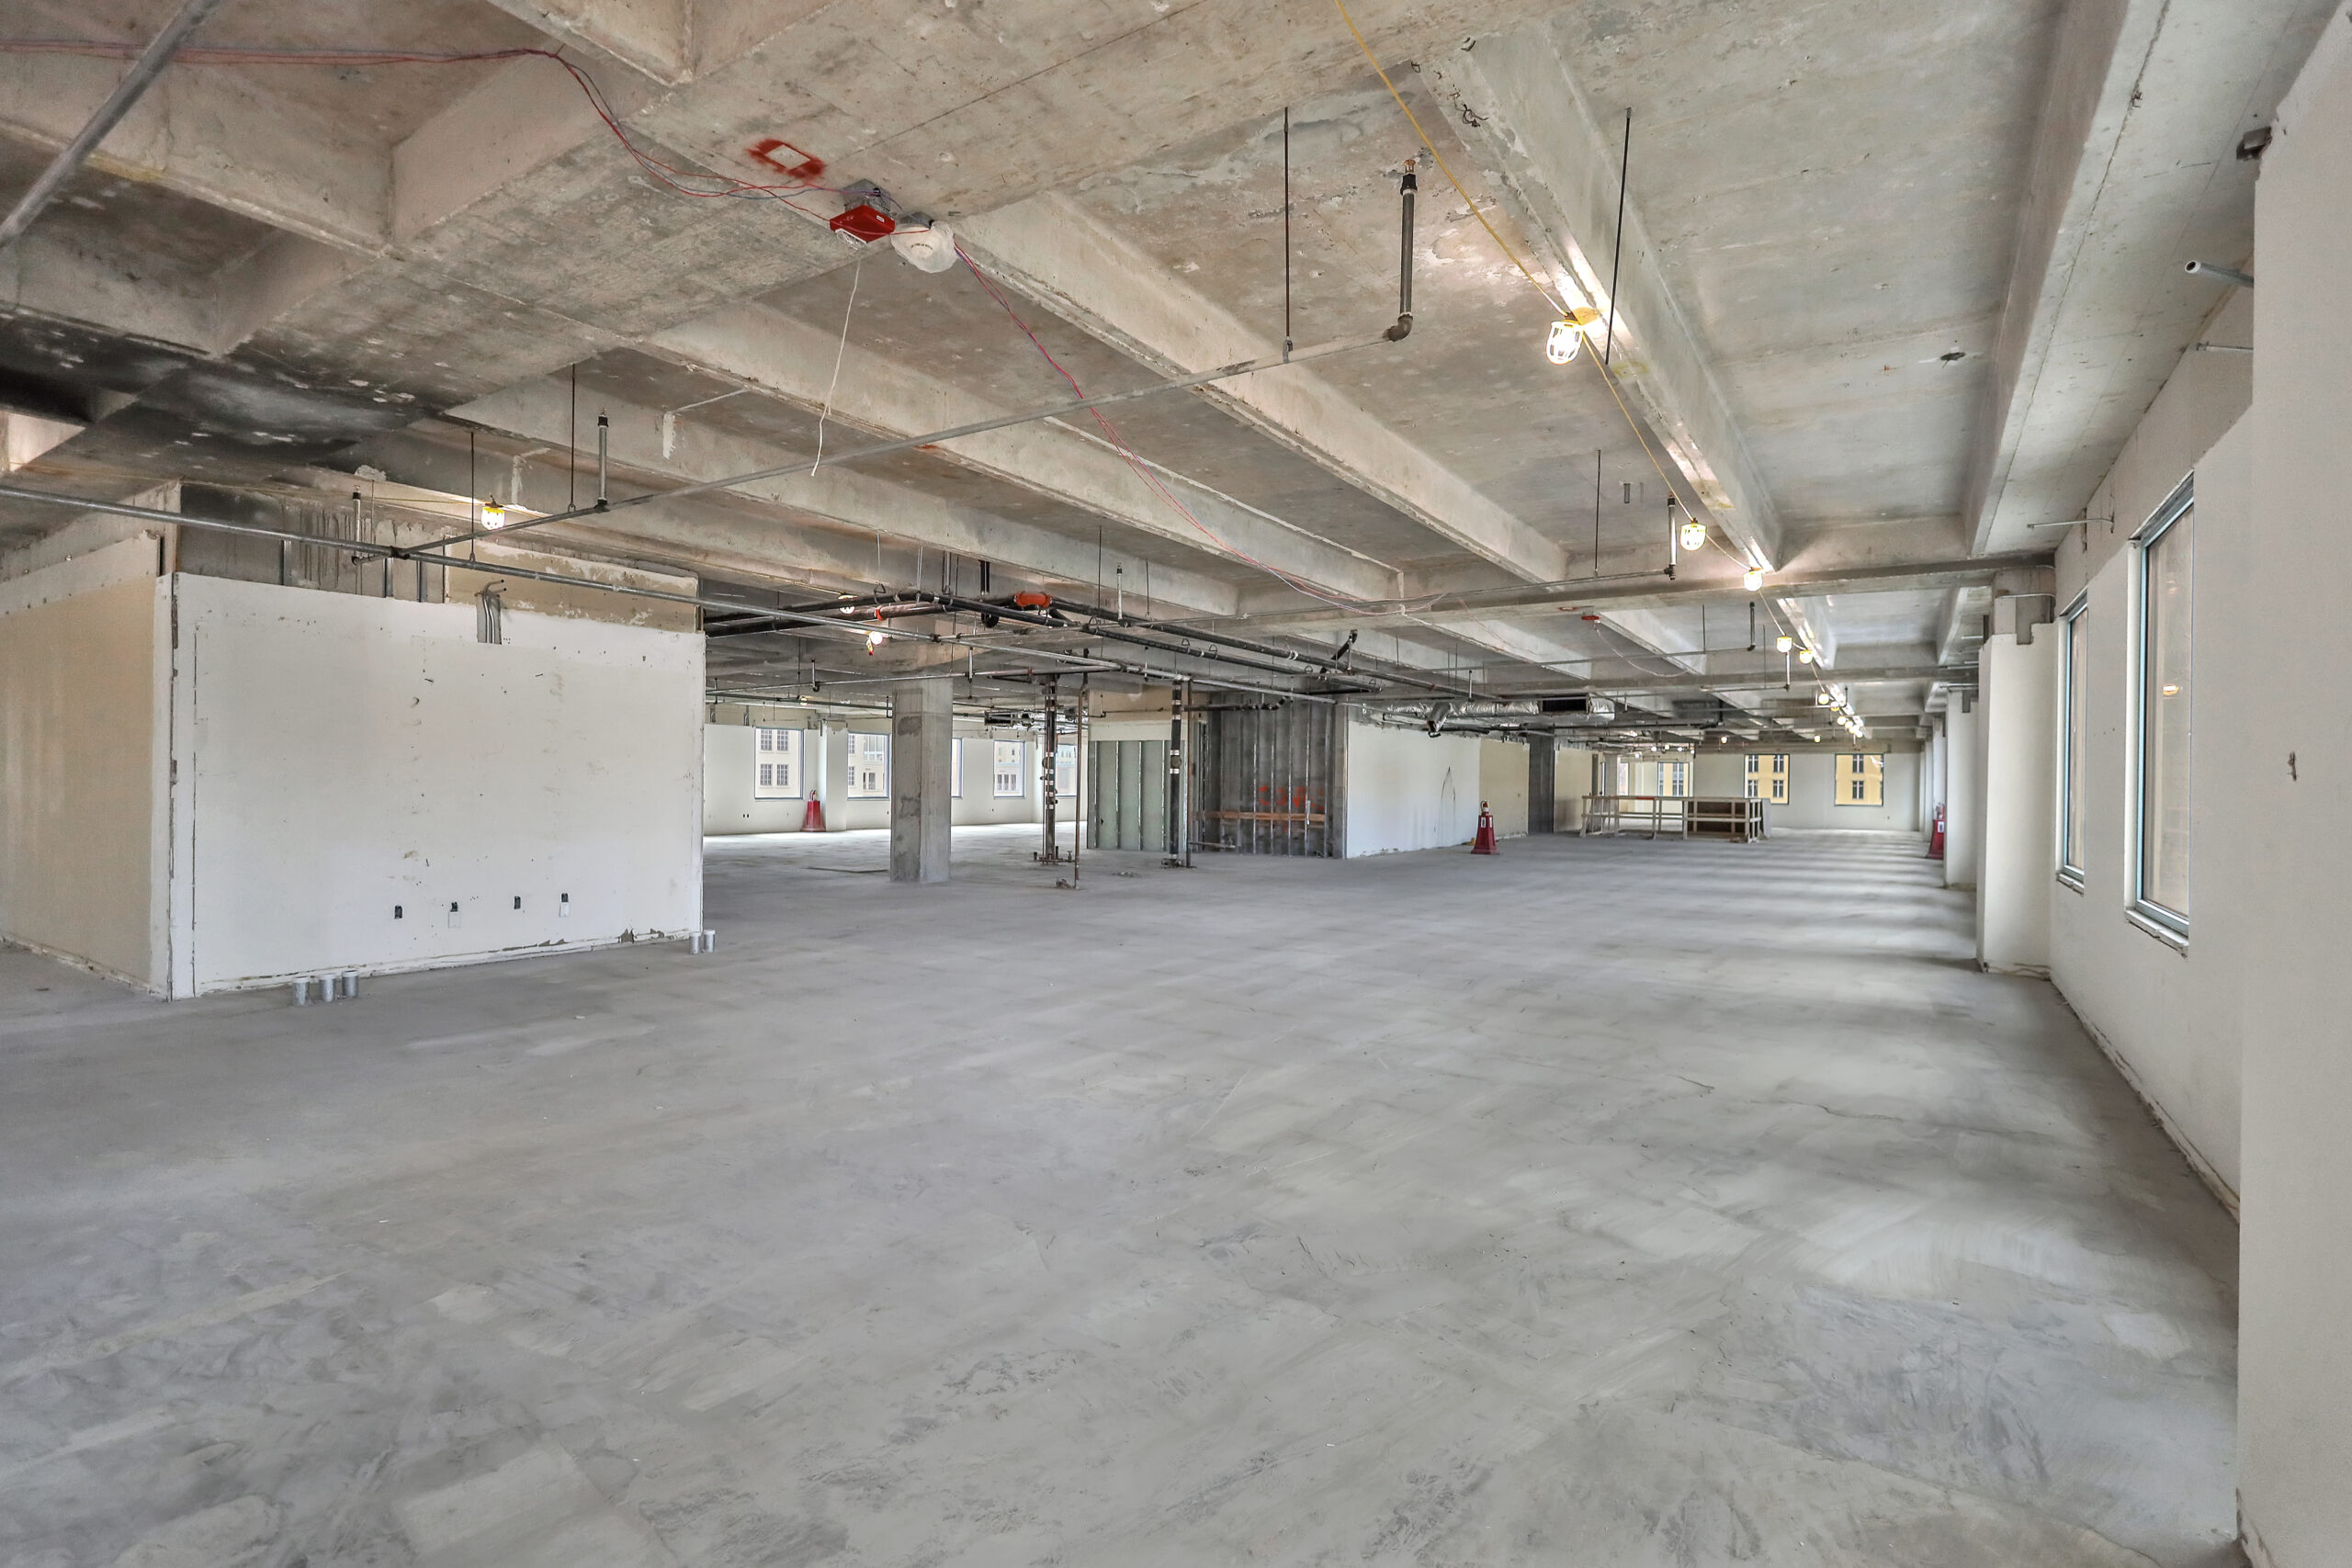
This involves removing non-structural elements like furniture, fixtures, cabinets, partitions, drywall, carpets, and flooring. This step also includes removing any doors, windows, or ceiling tiles.
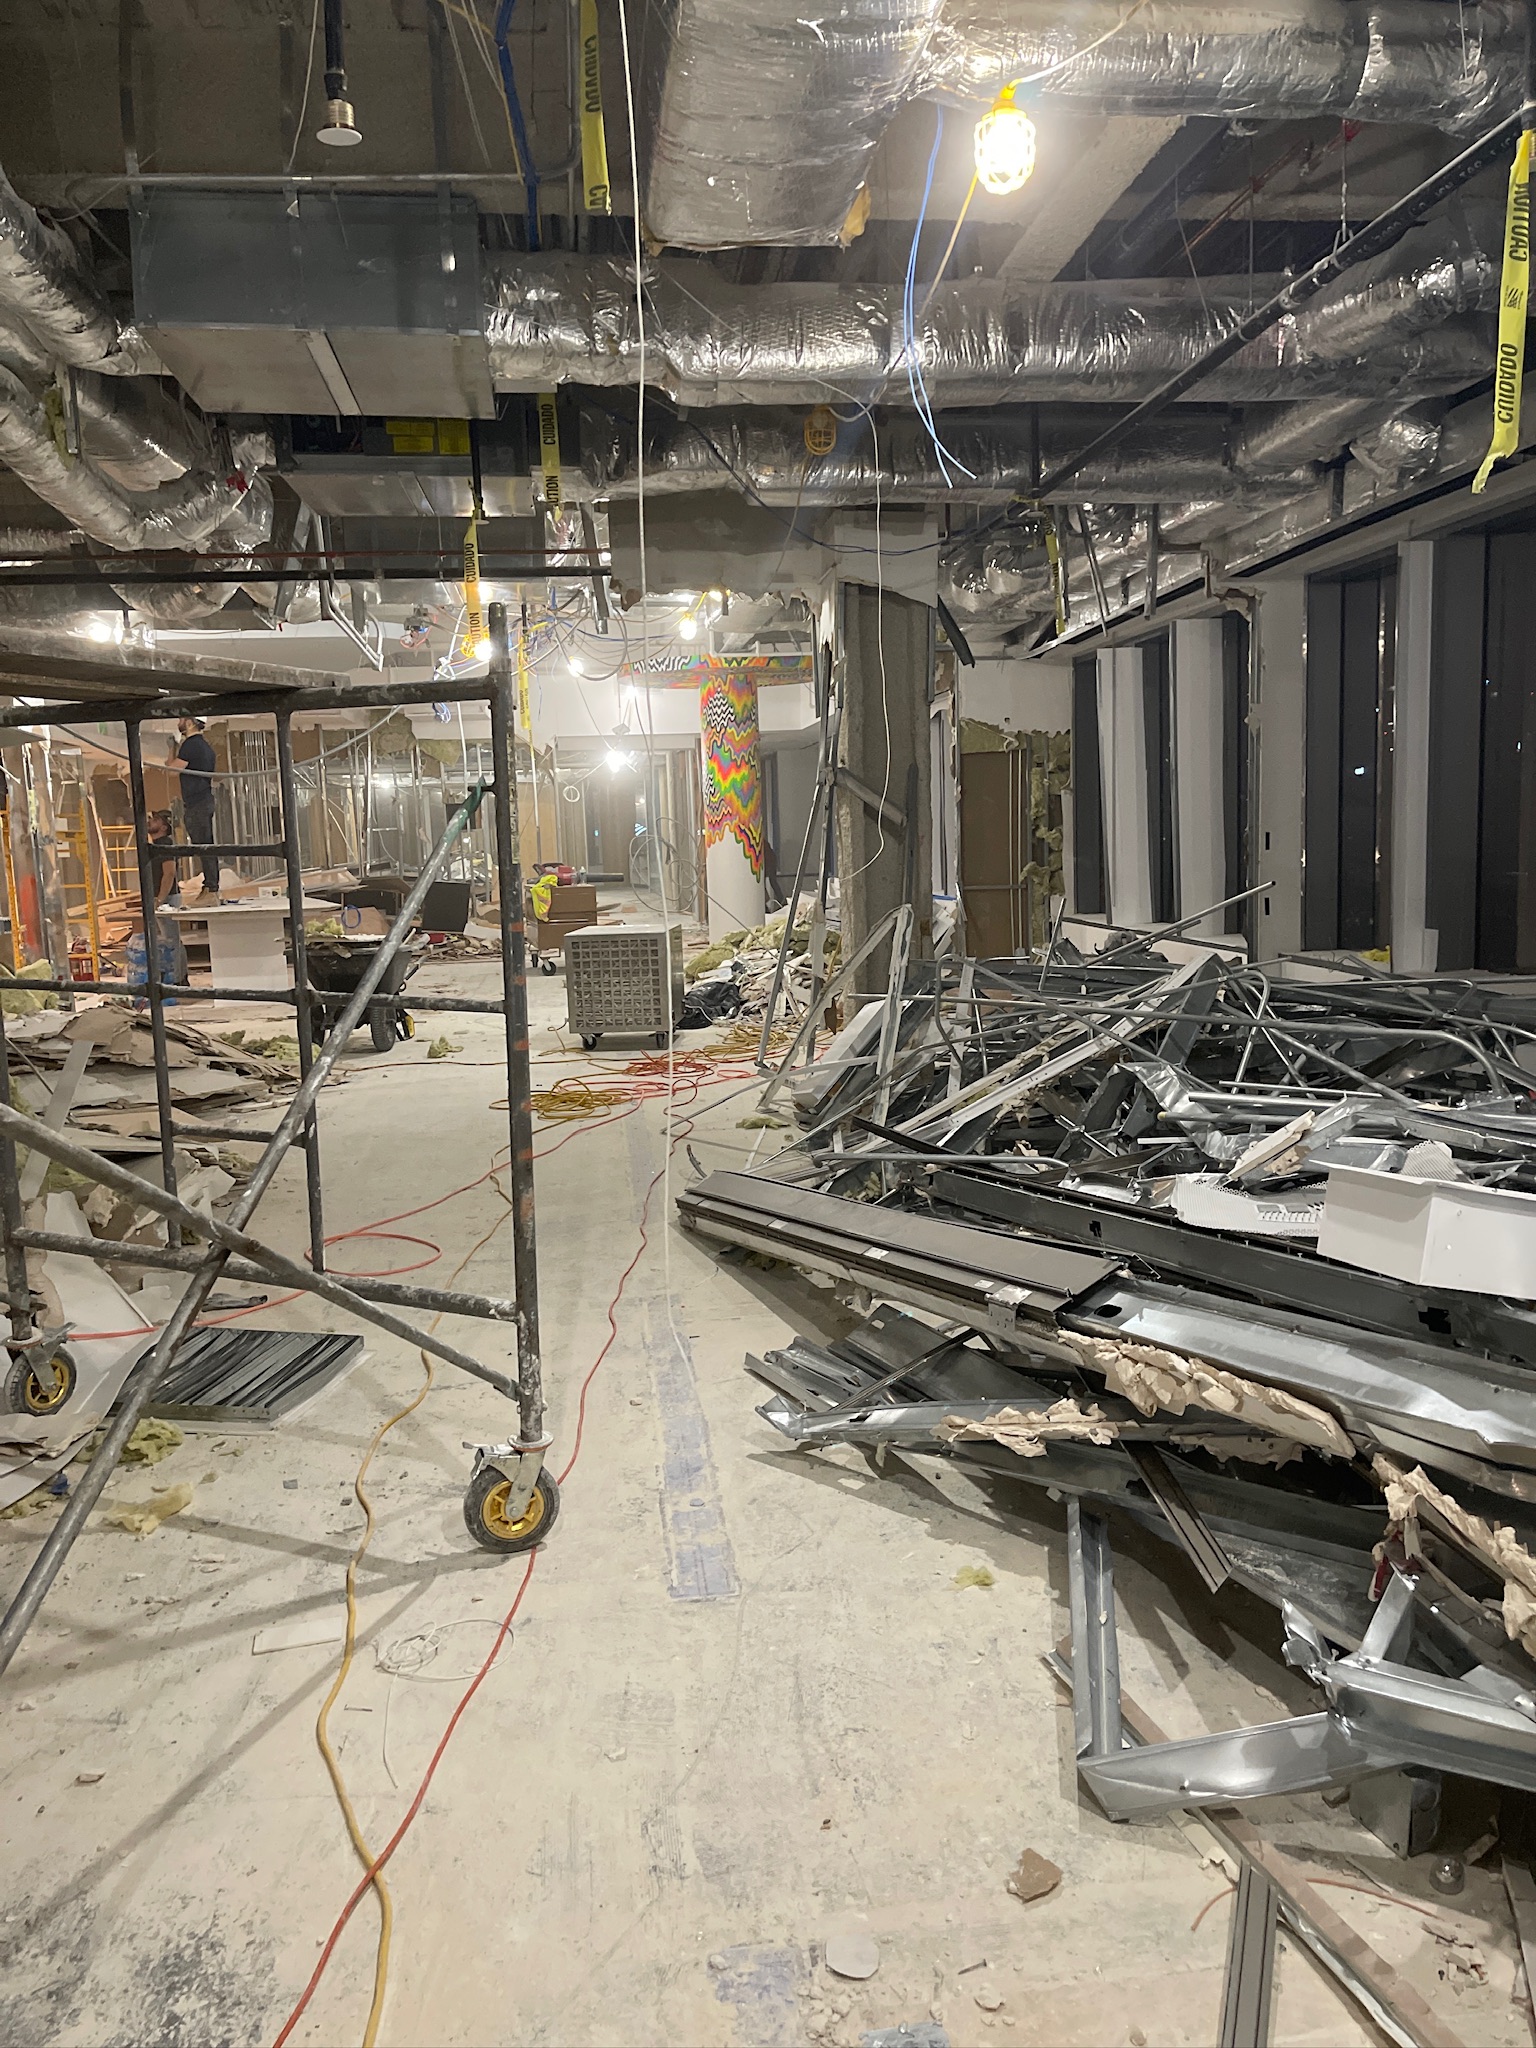
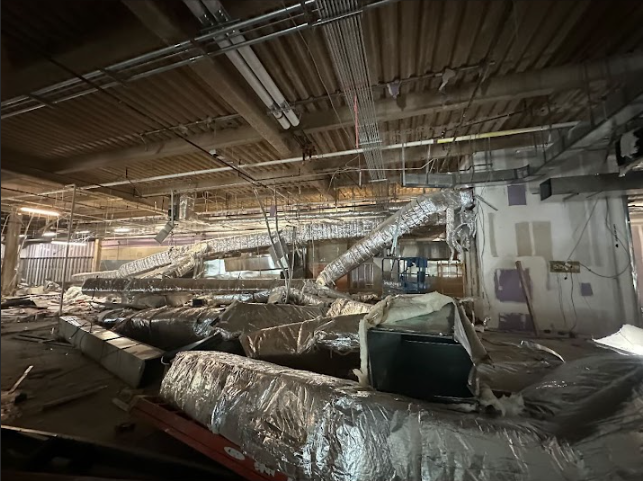
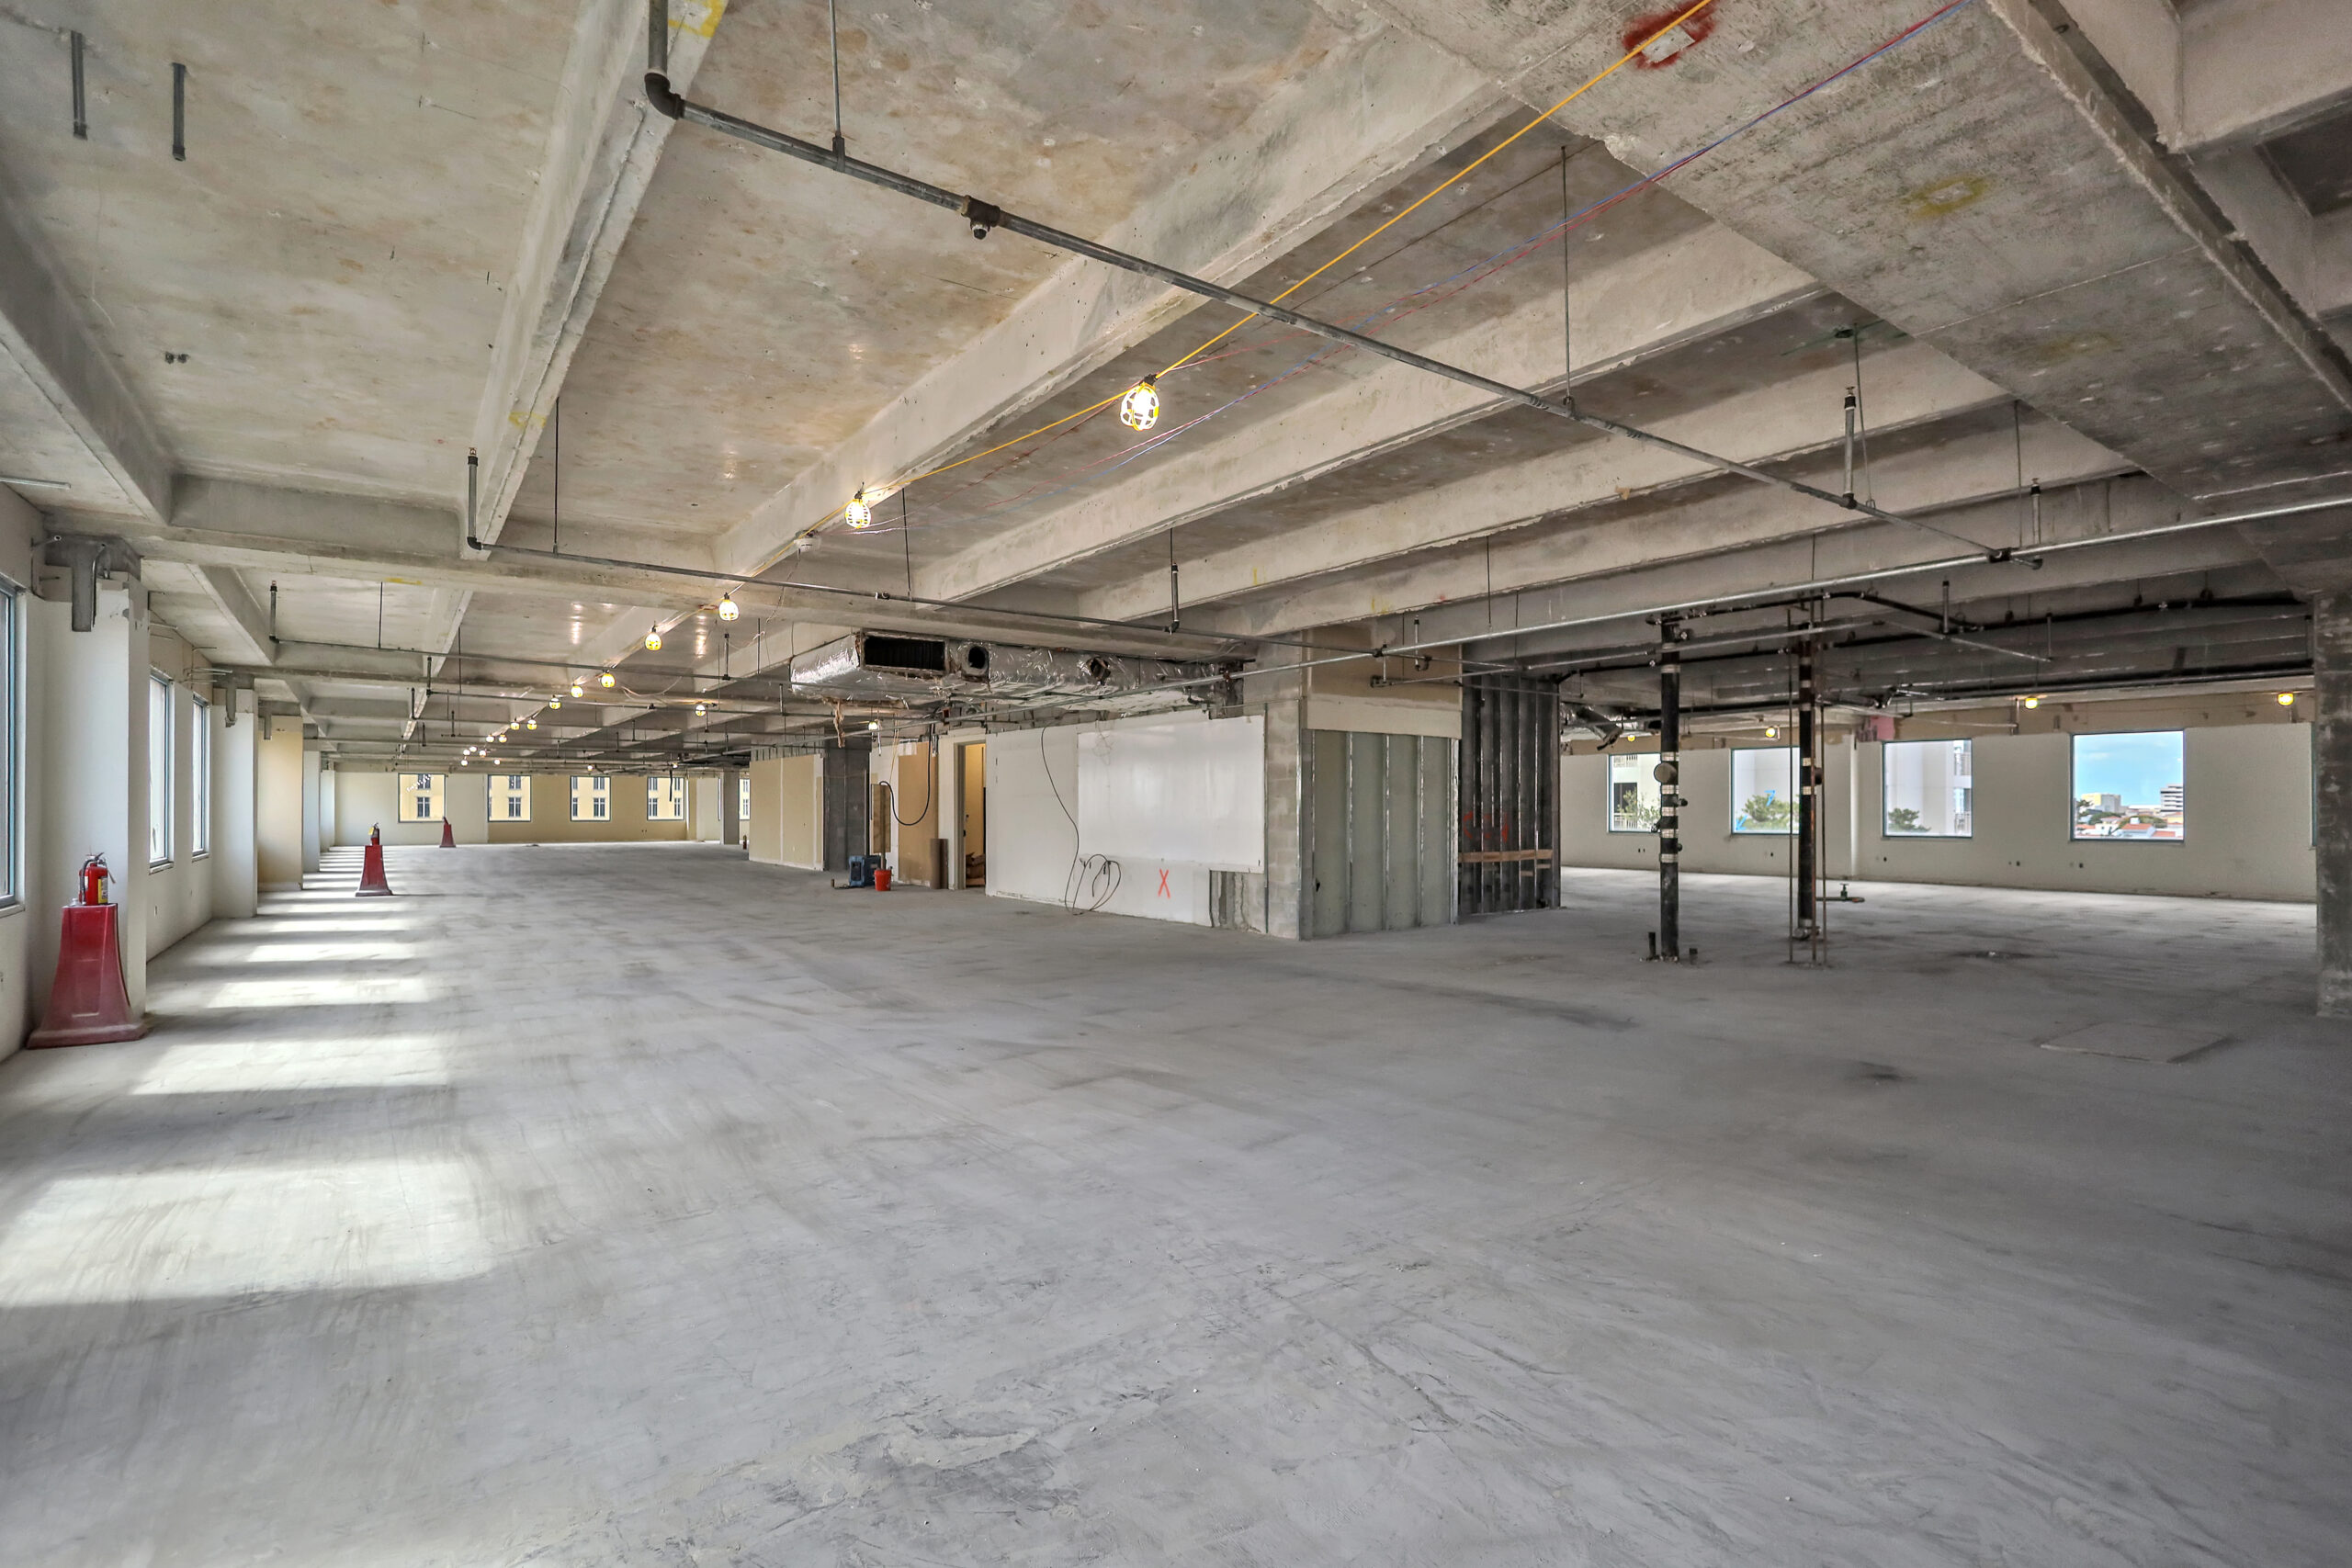
The plumbing and electrical systems, including pipes, wiring, and lighting, are carefully dismantled and removed. This often requires coordination with licensed professionals to ensure all systems are properly disconnected.
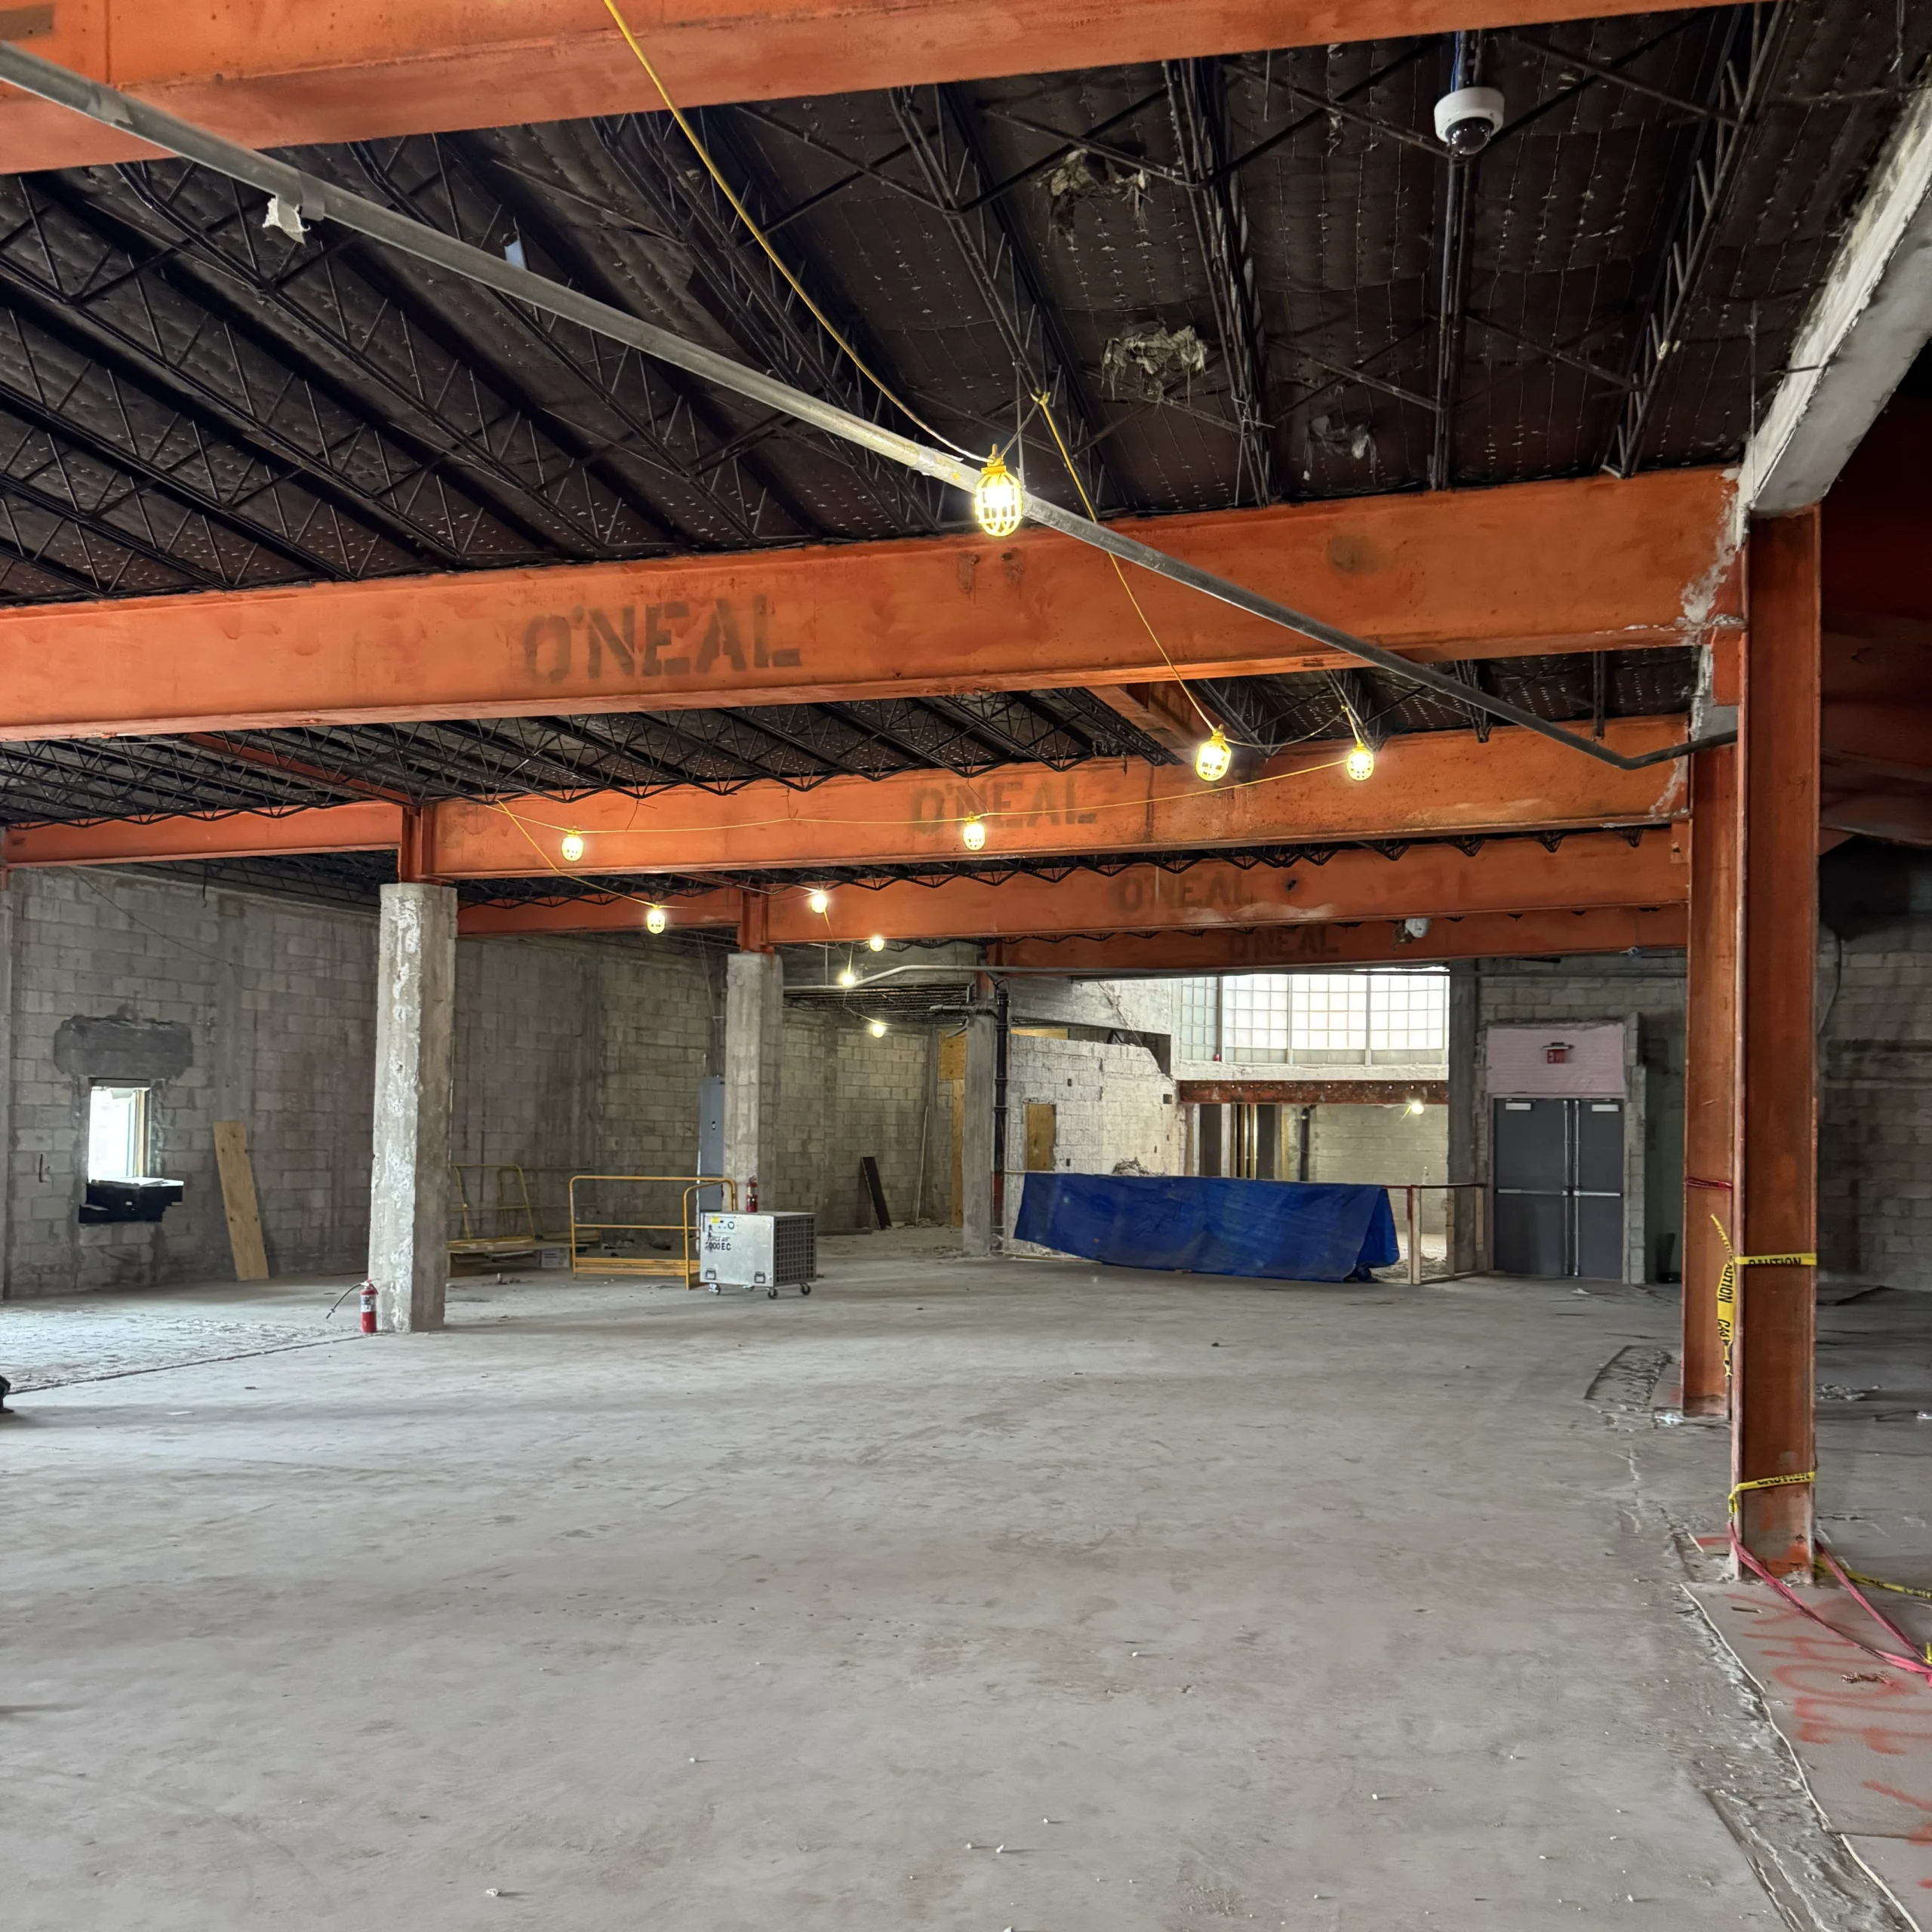
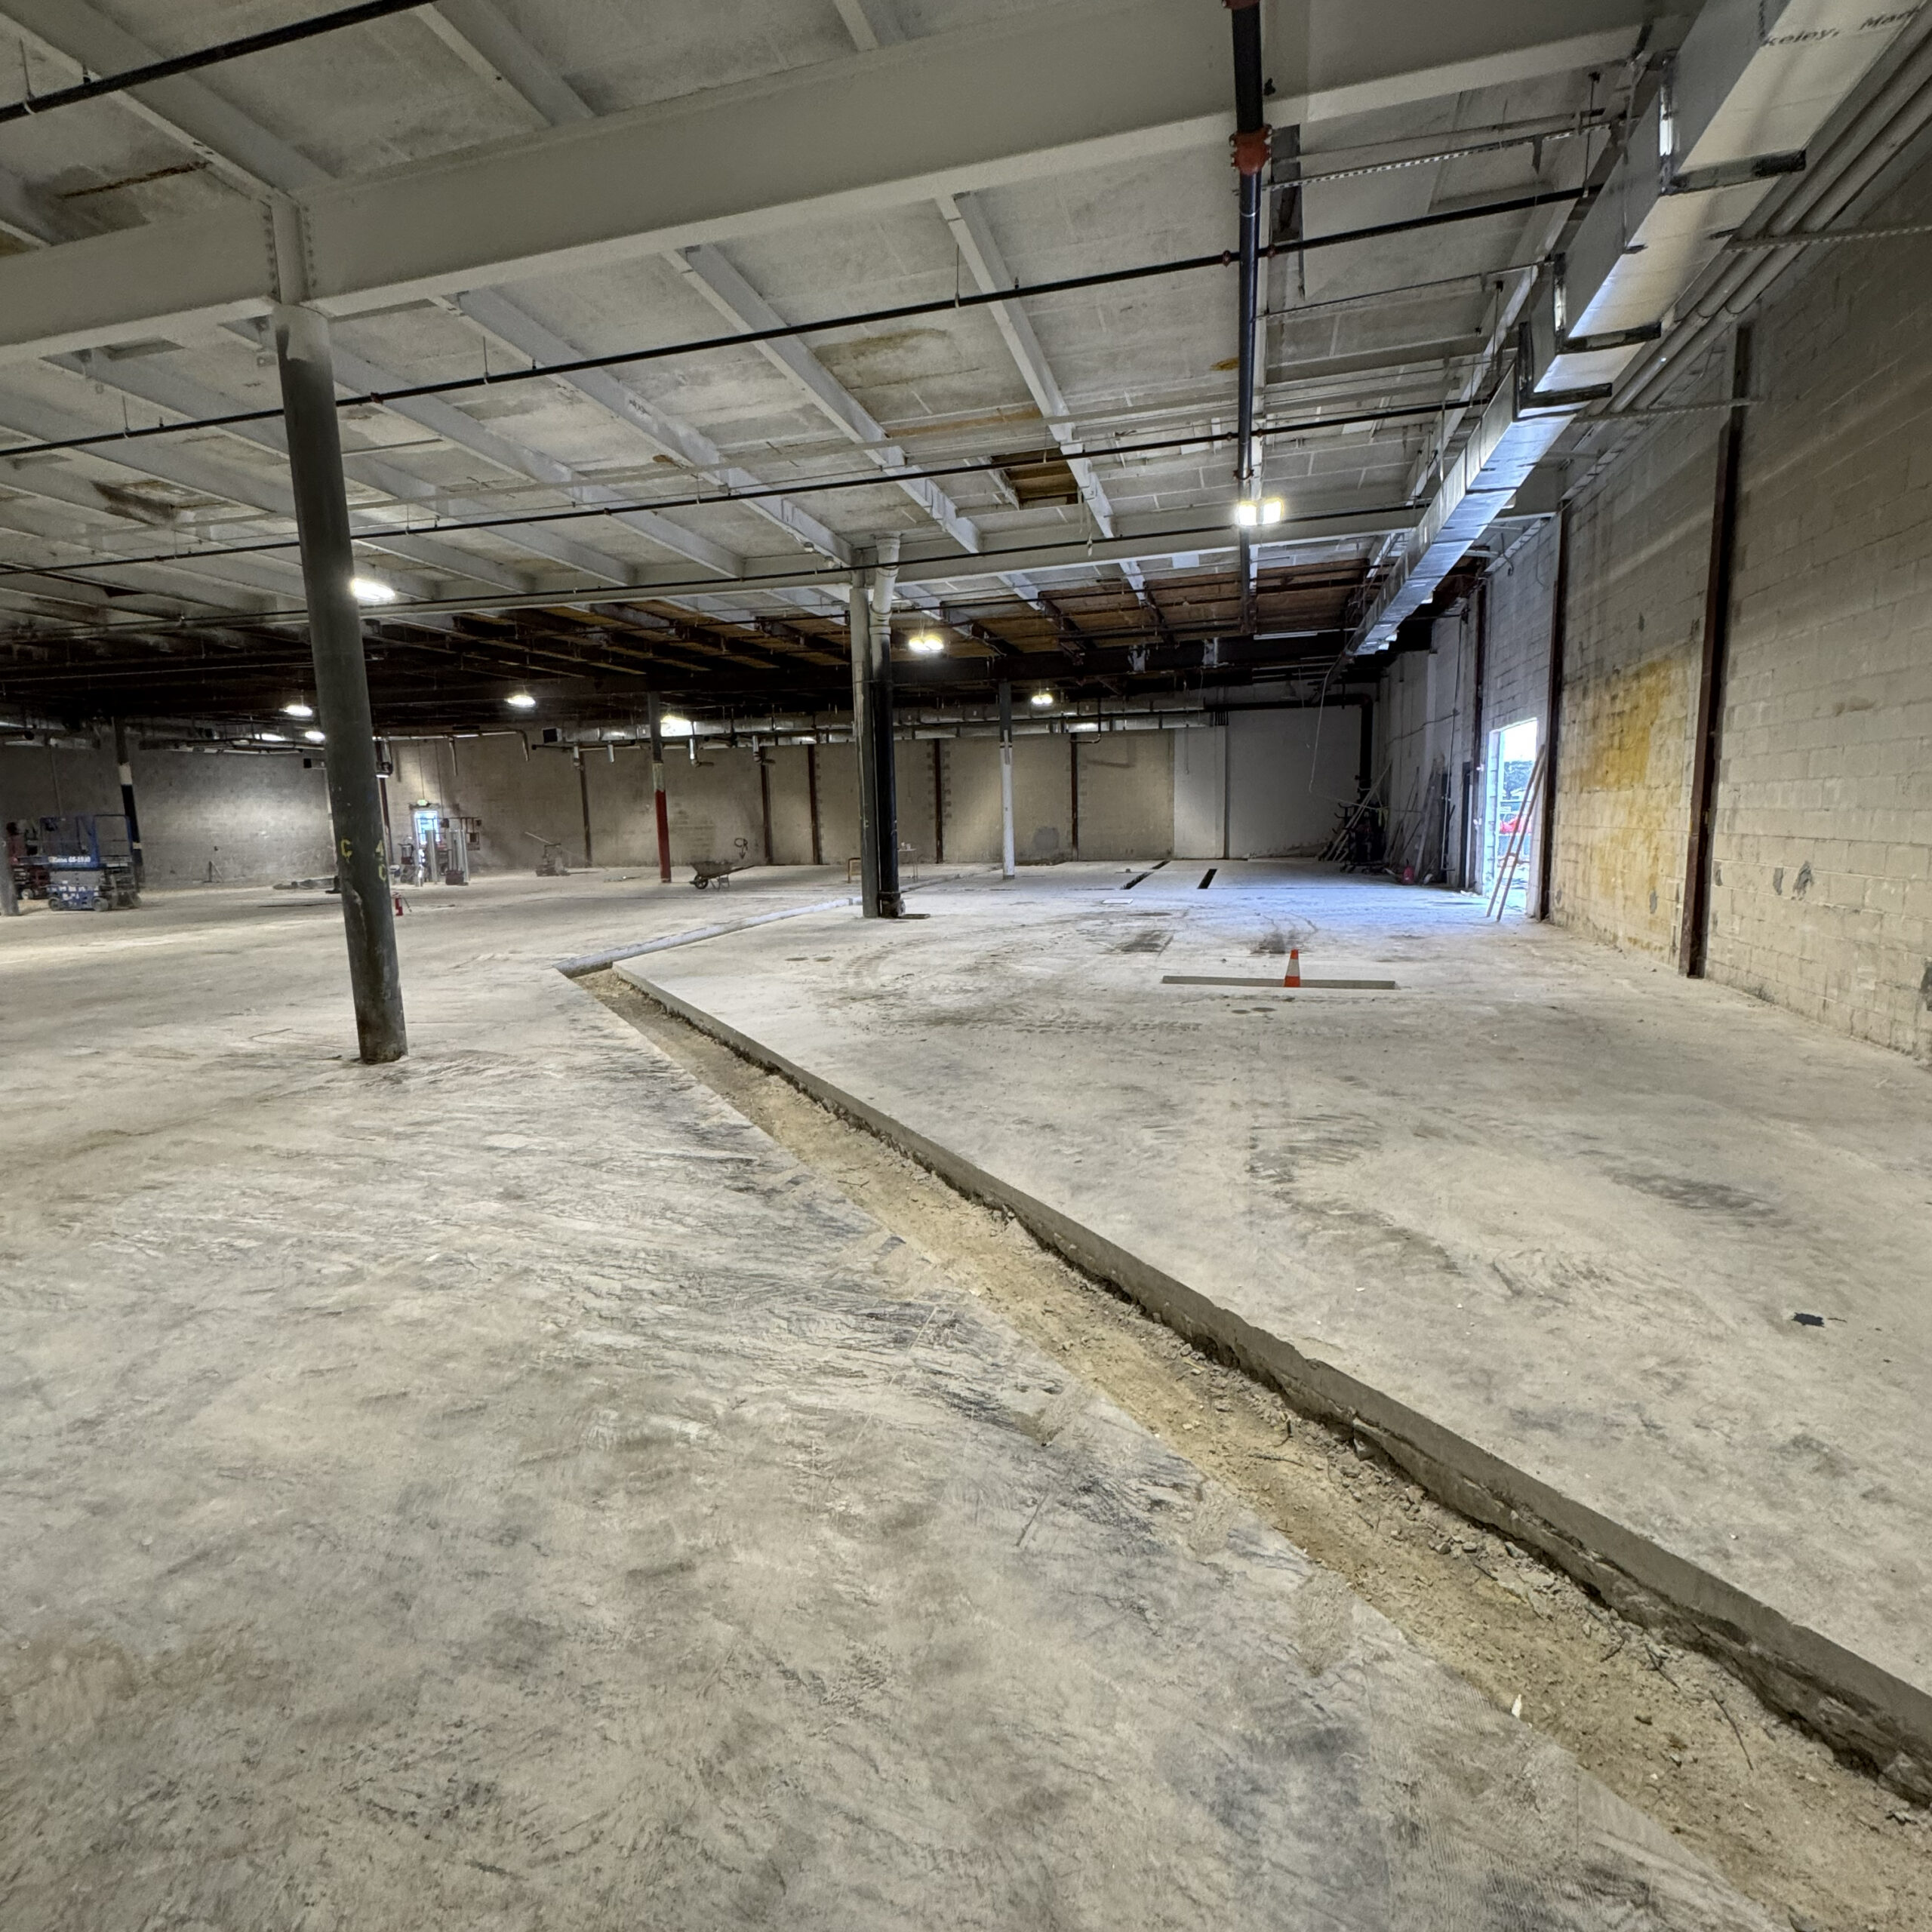
If the project involves removing structural elements like beams, columns, or load-bearing walls, these are carefully demolished to avoid compromising the building’s integrity. Specialized equipment may be used depending on the complexity.
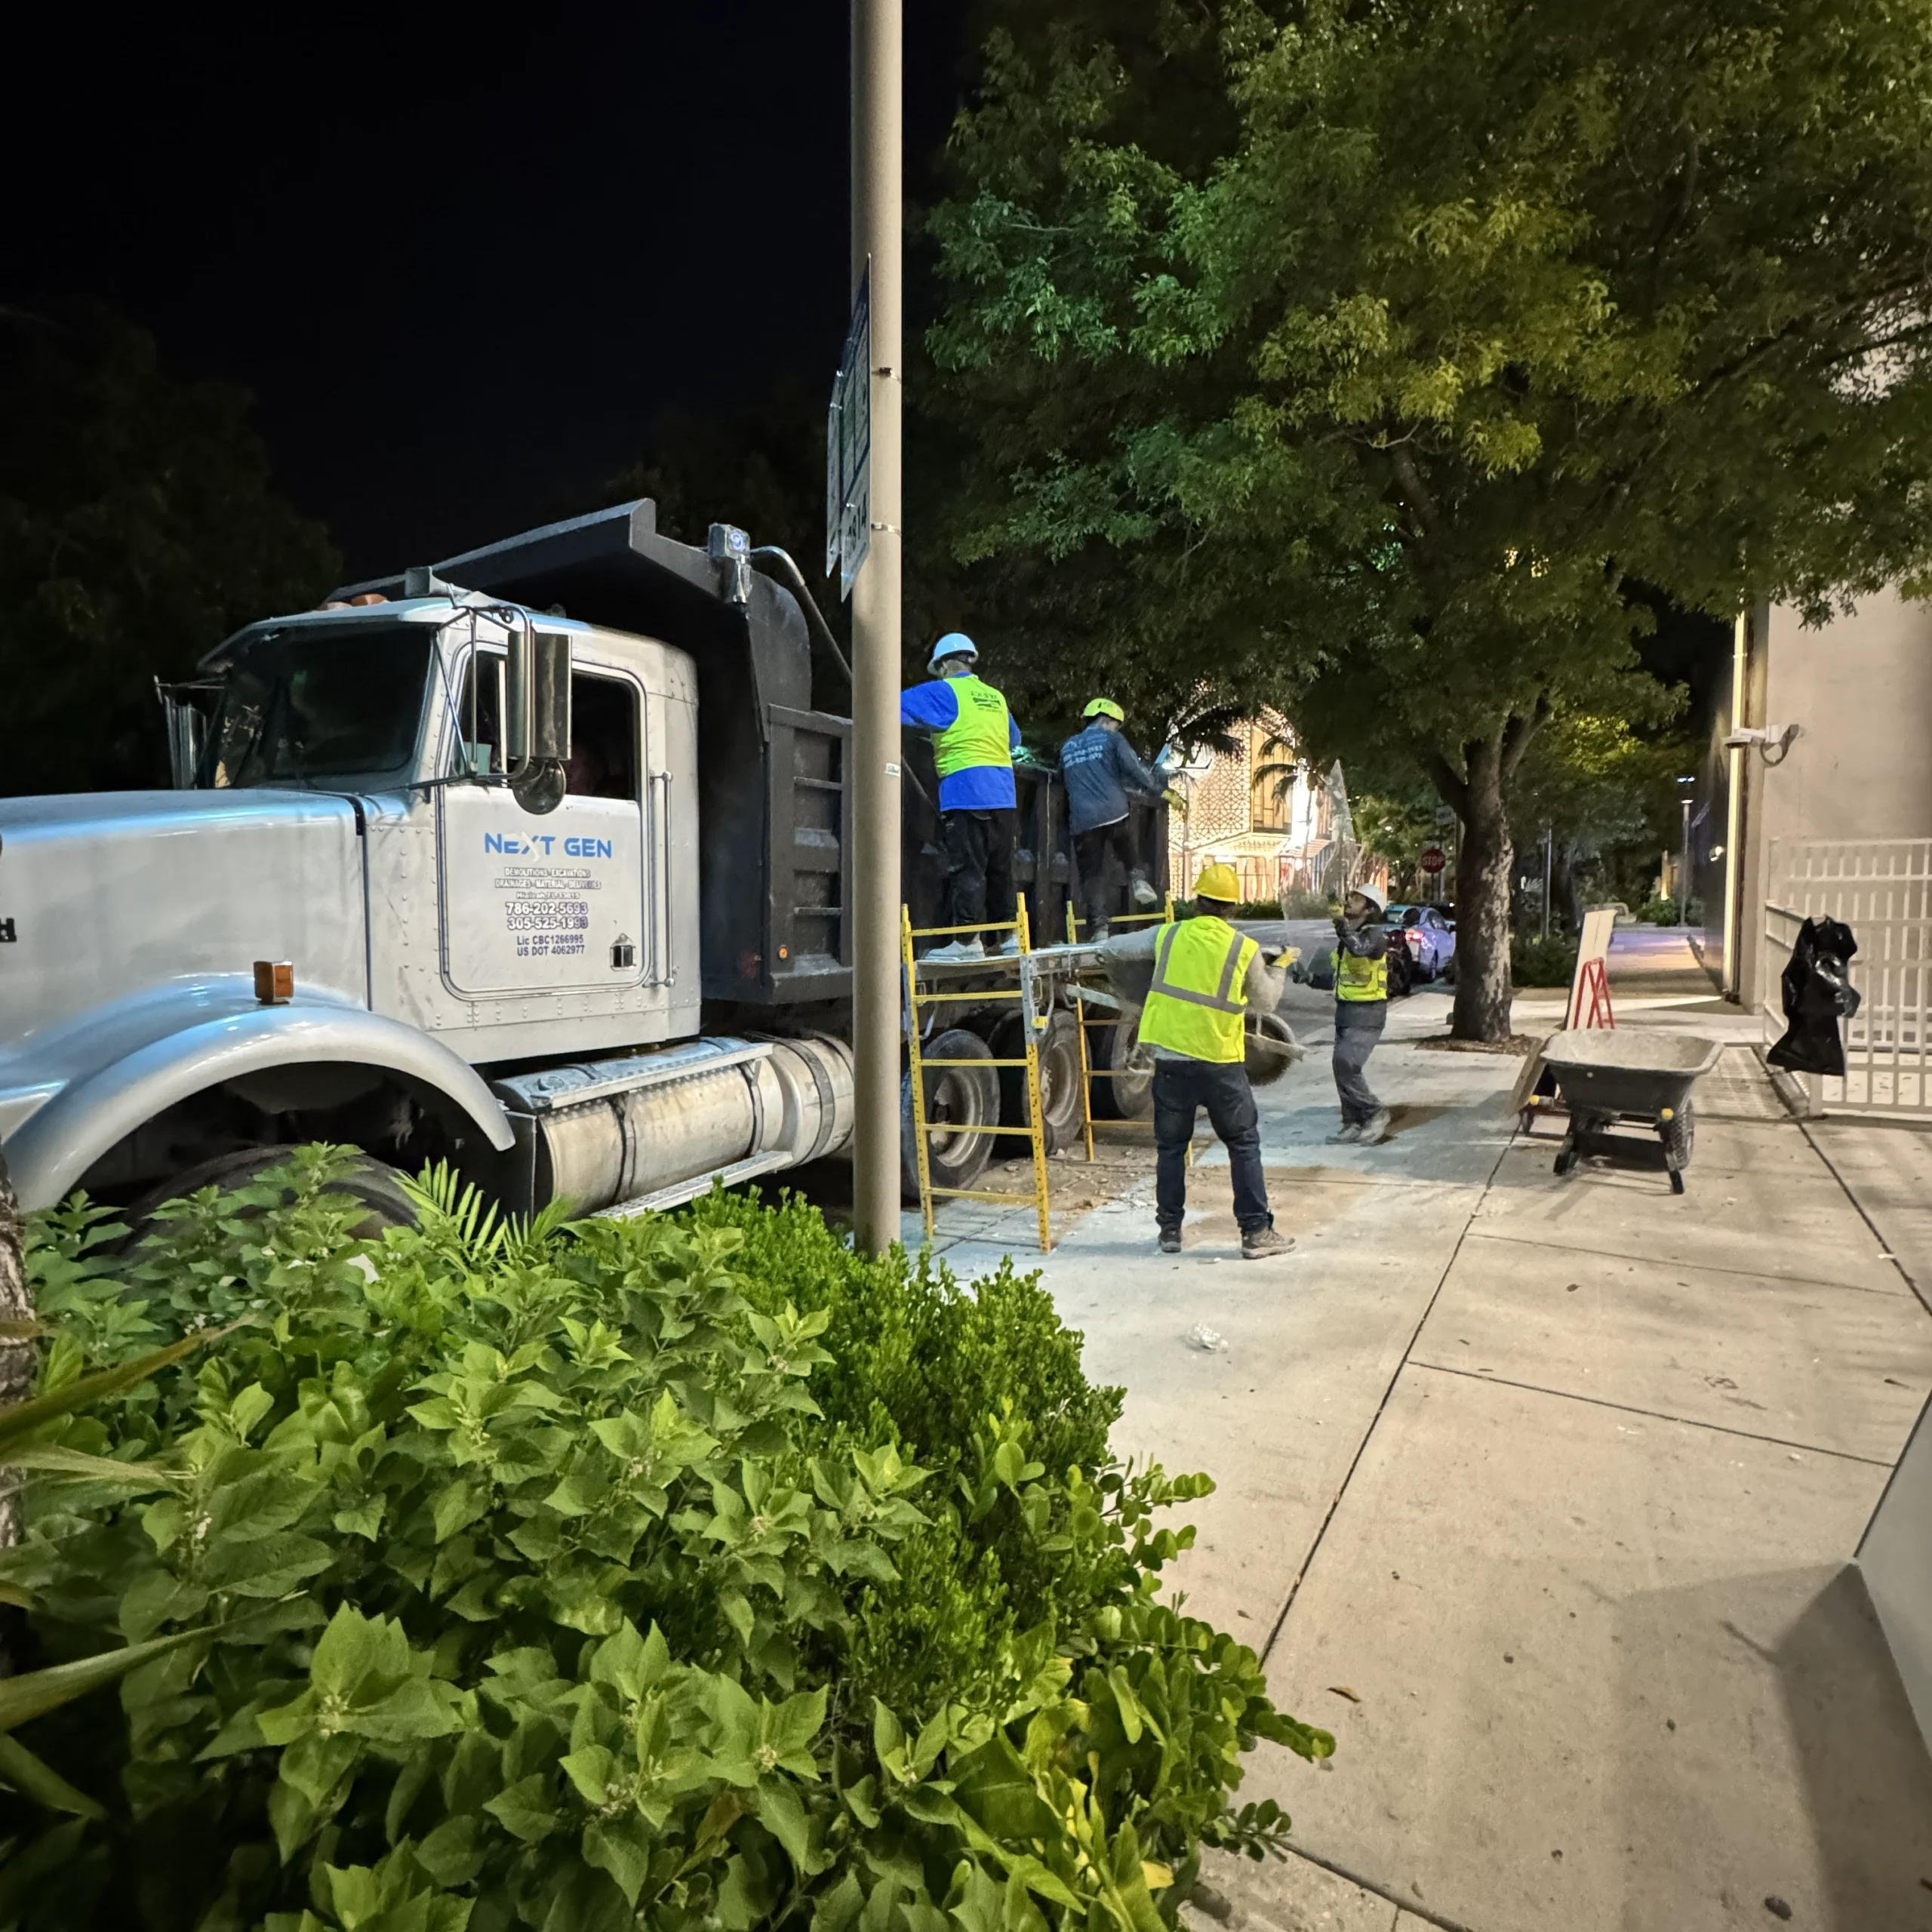
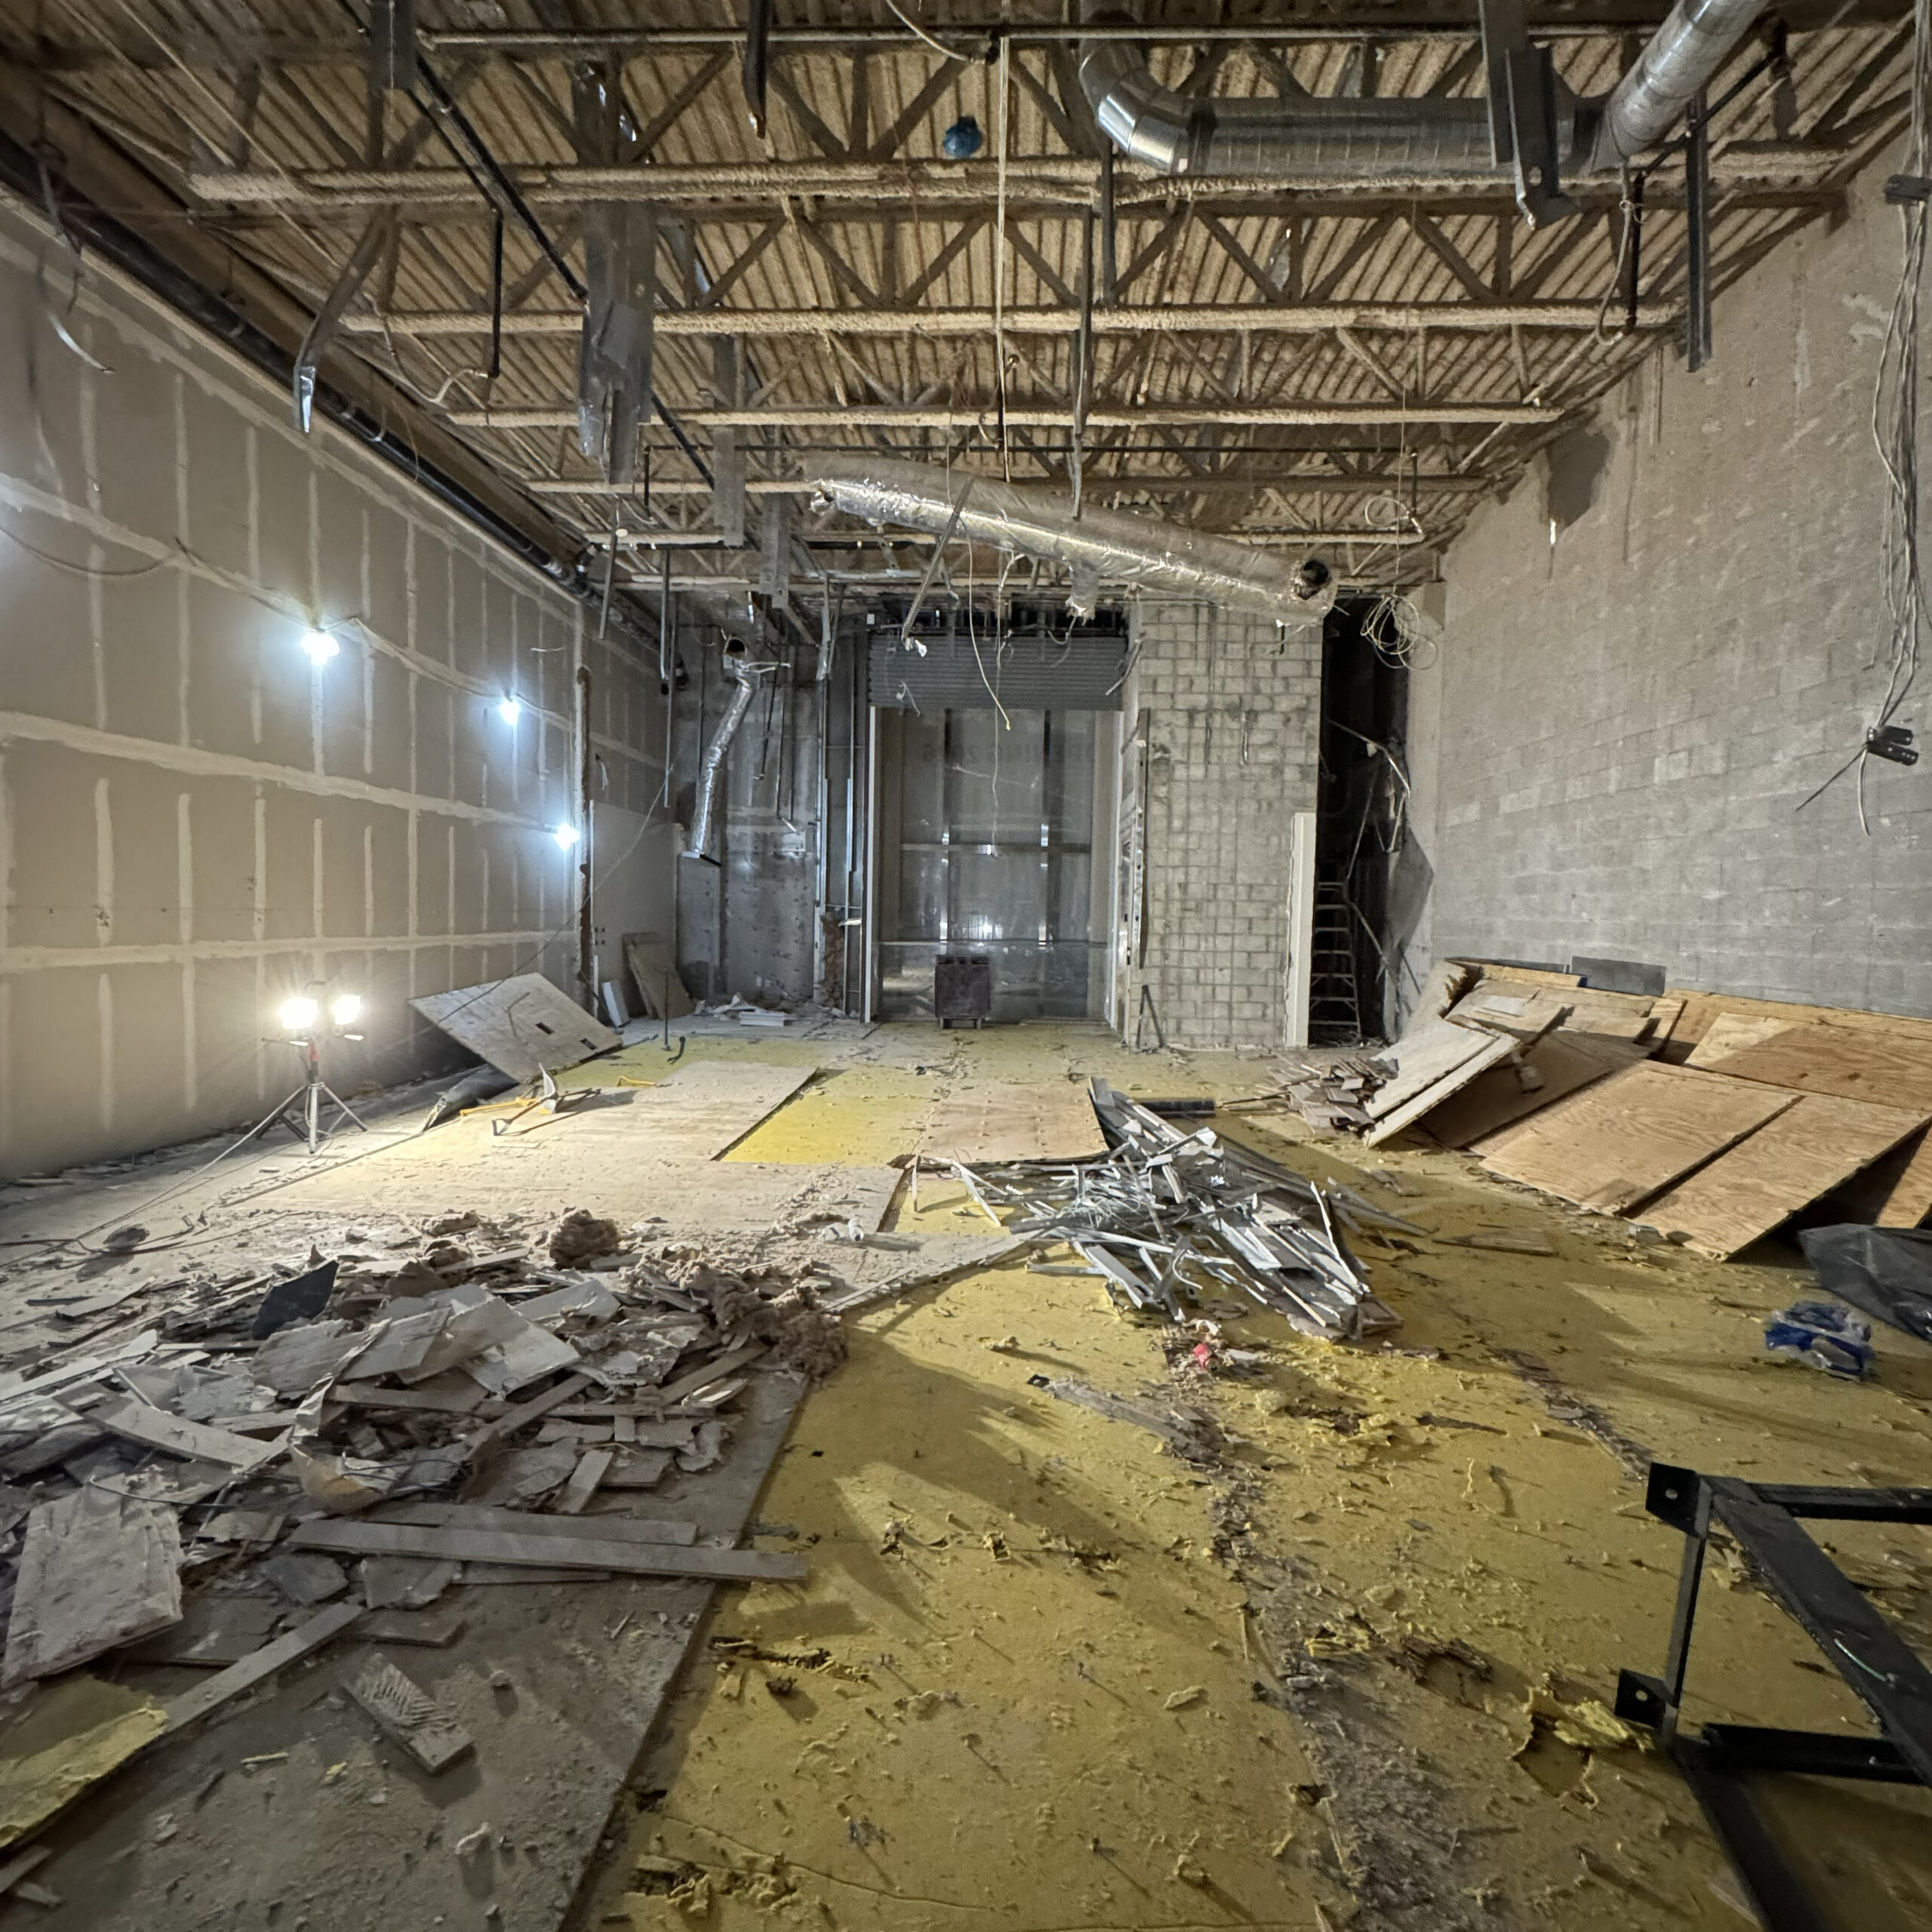
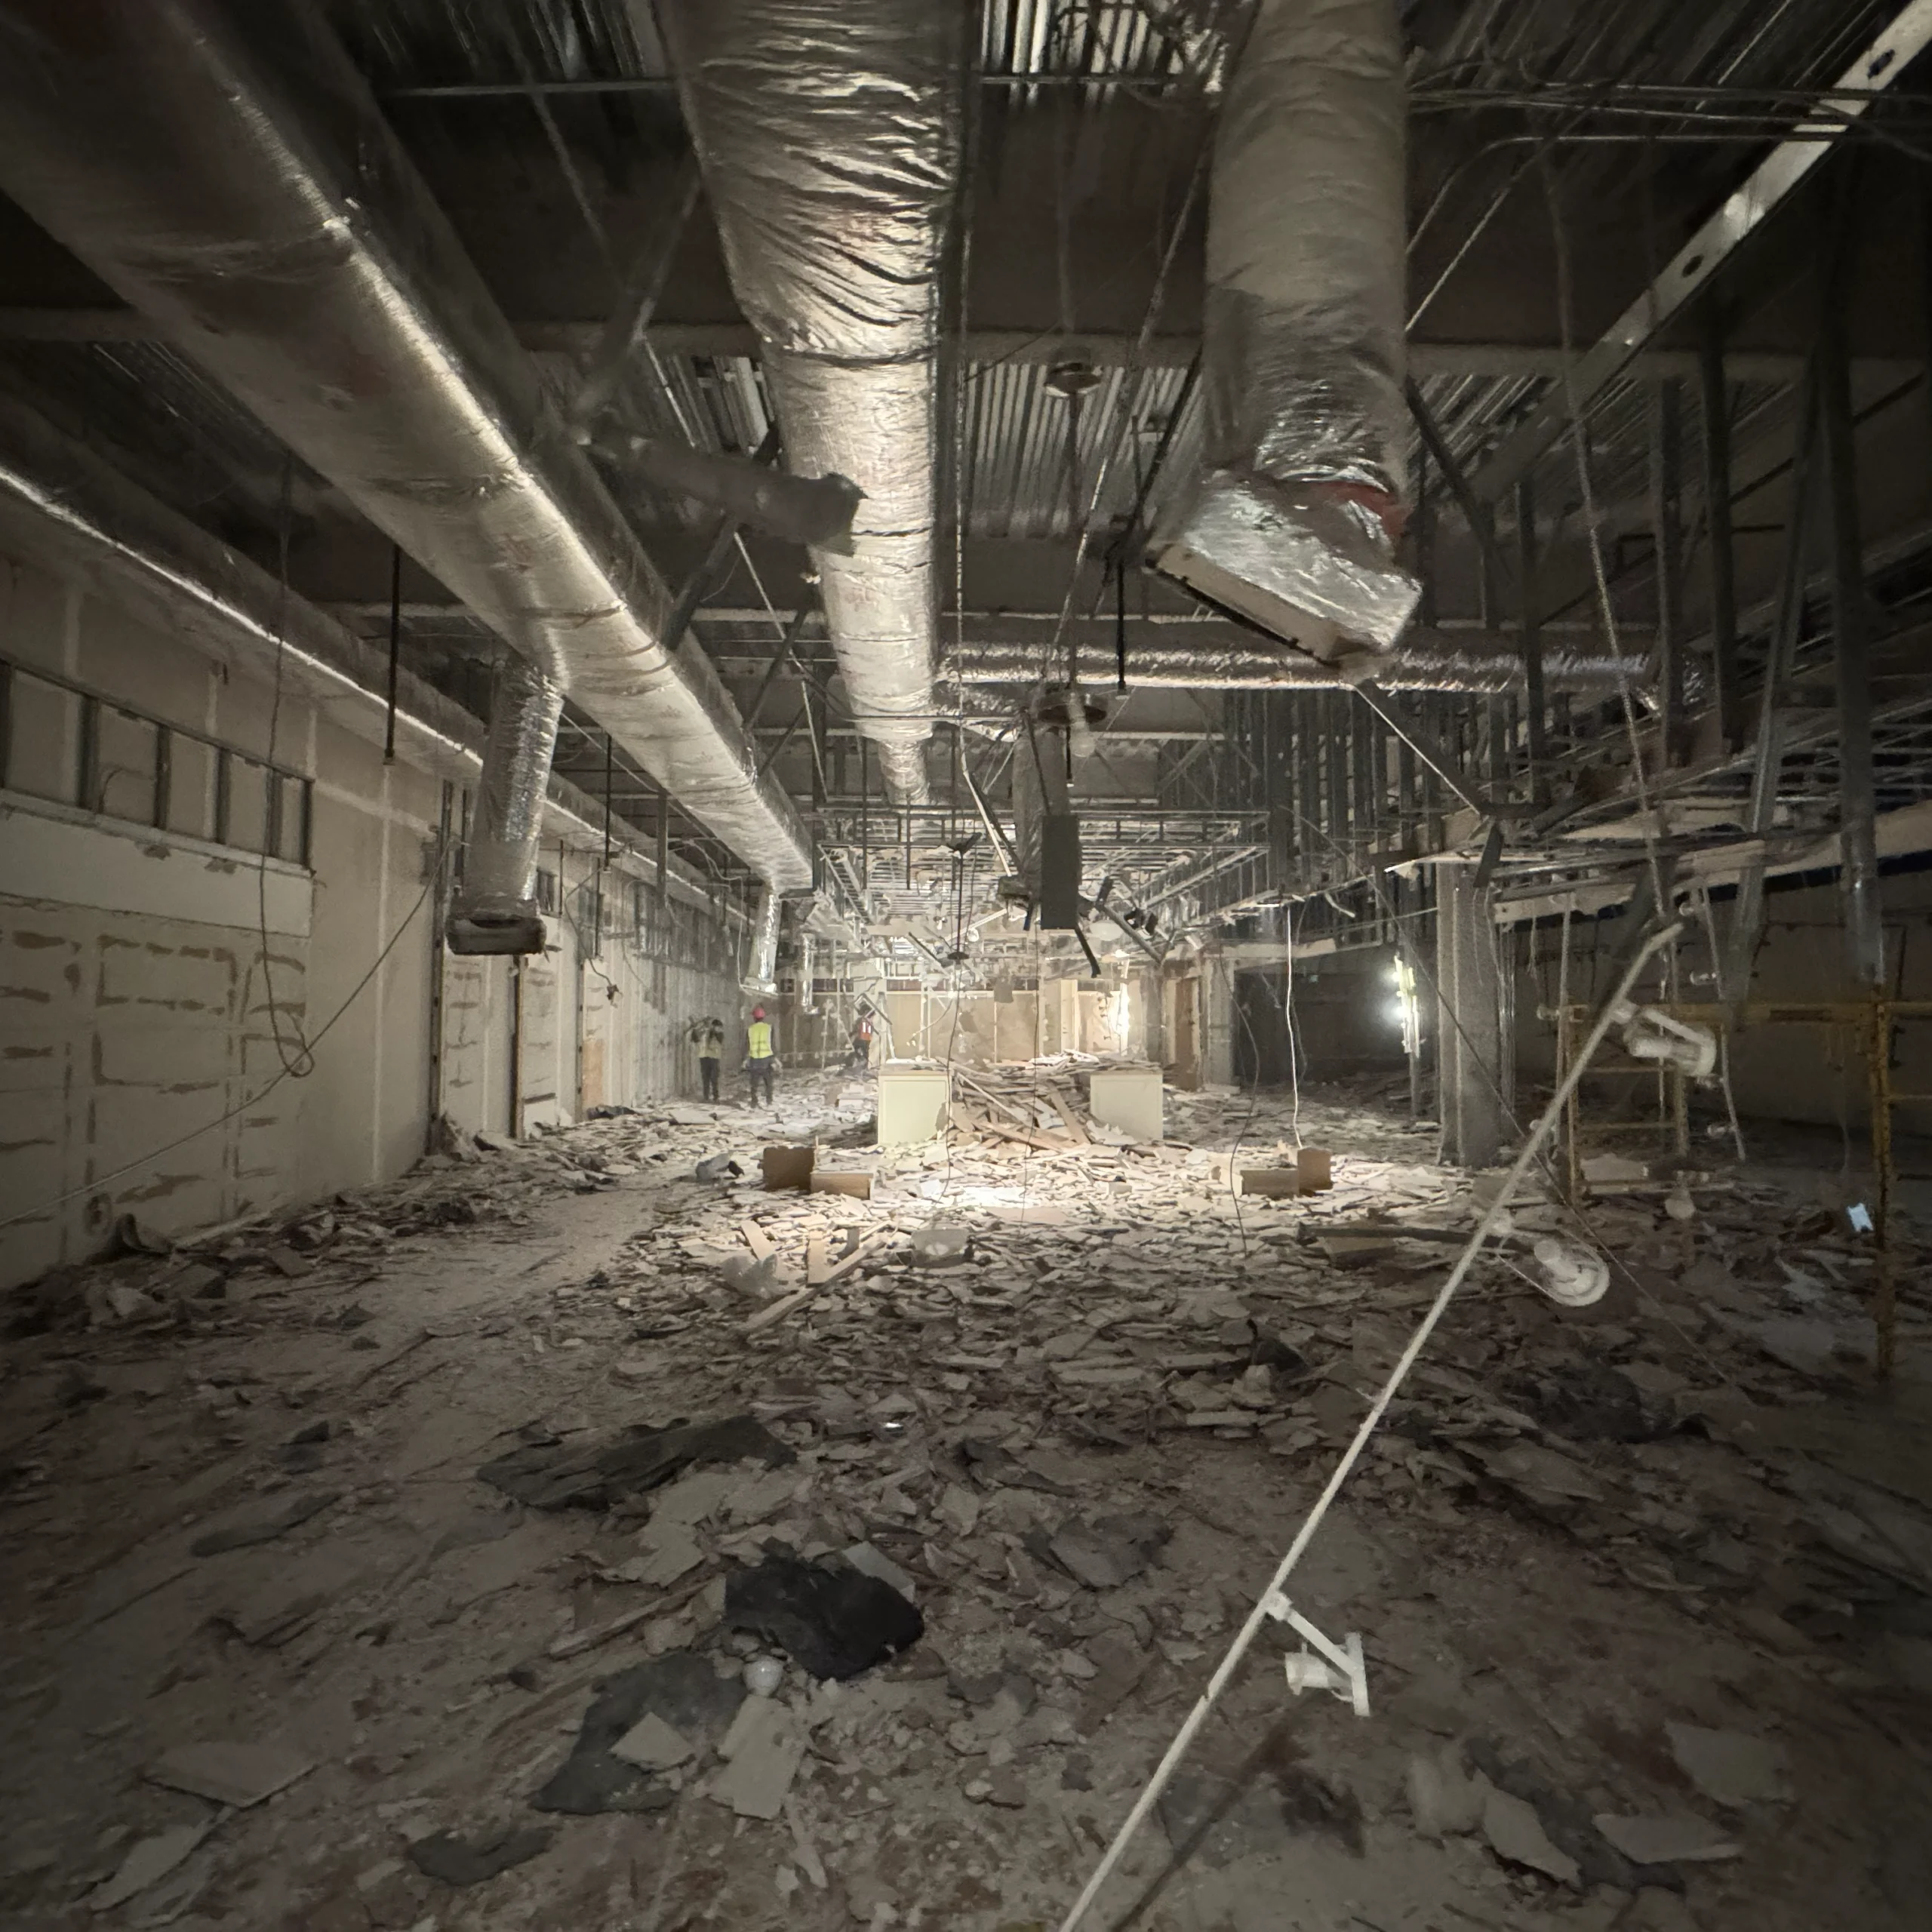
Debris removal must be done through the demolition process to maintain the job clean & Safe
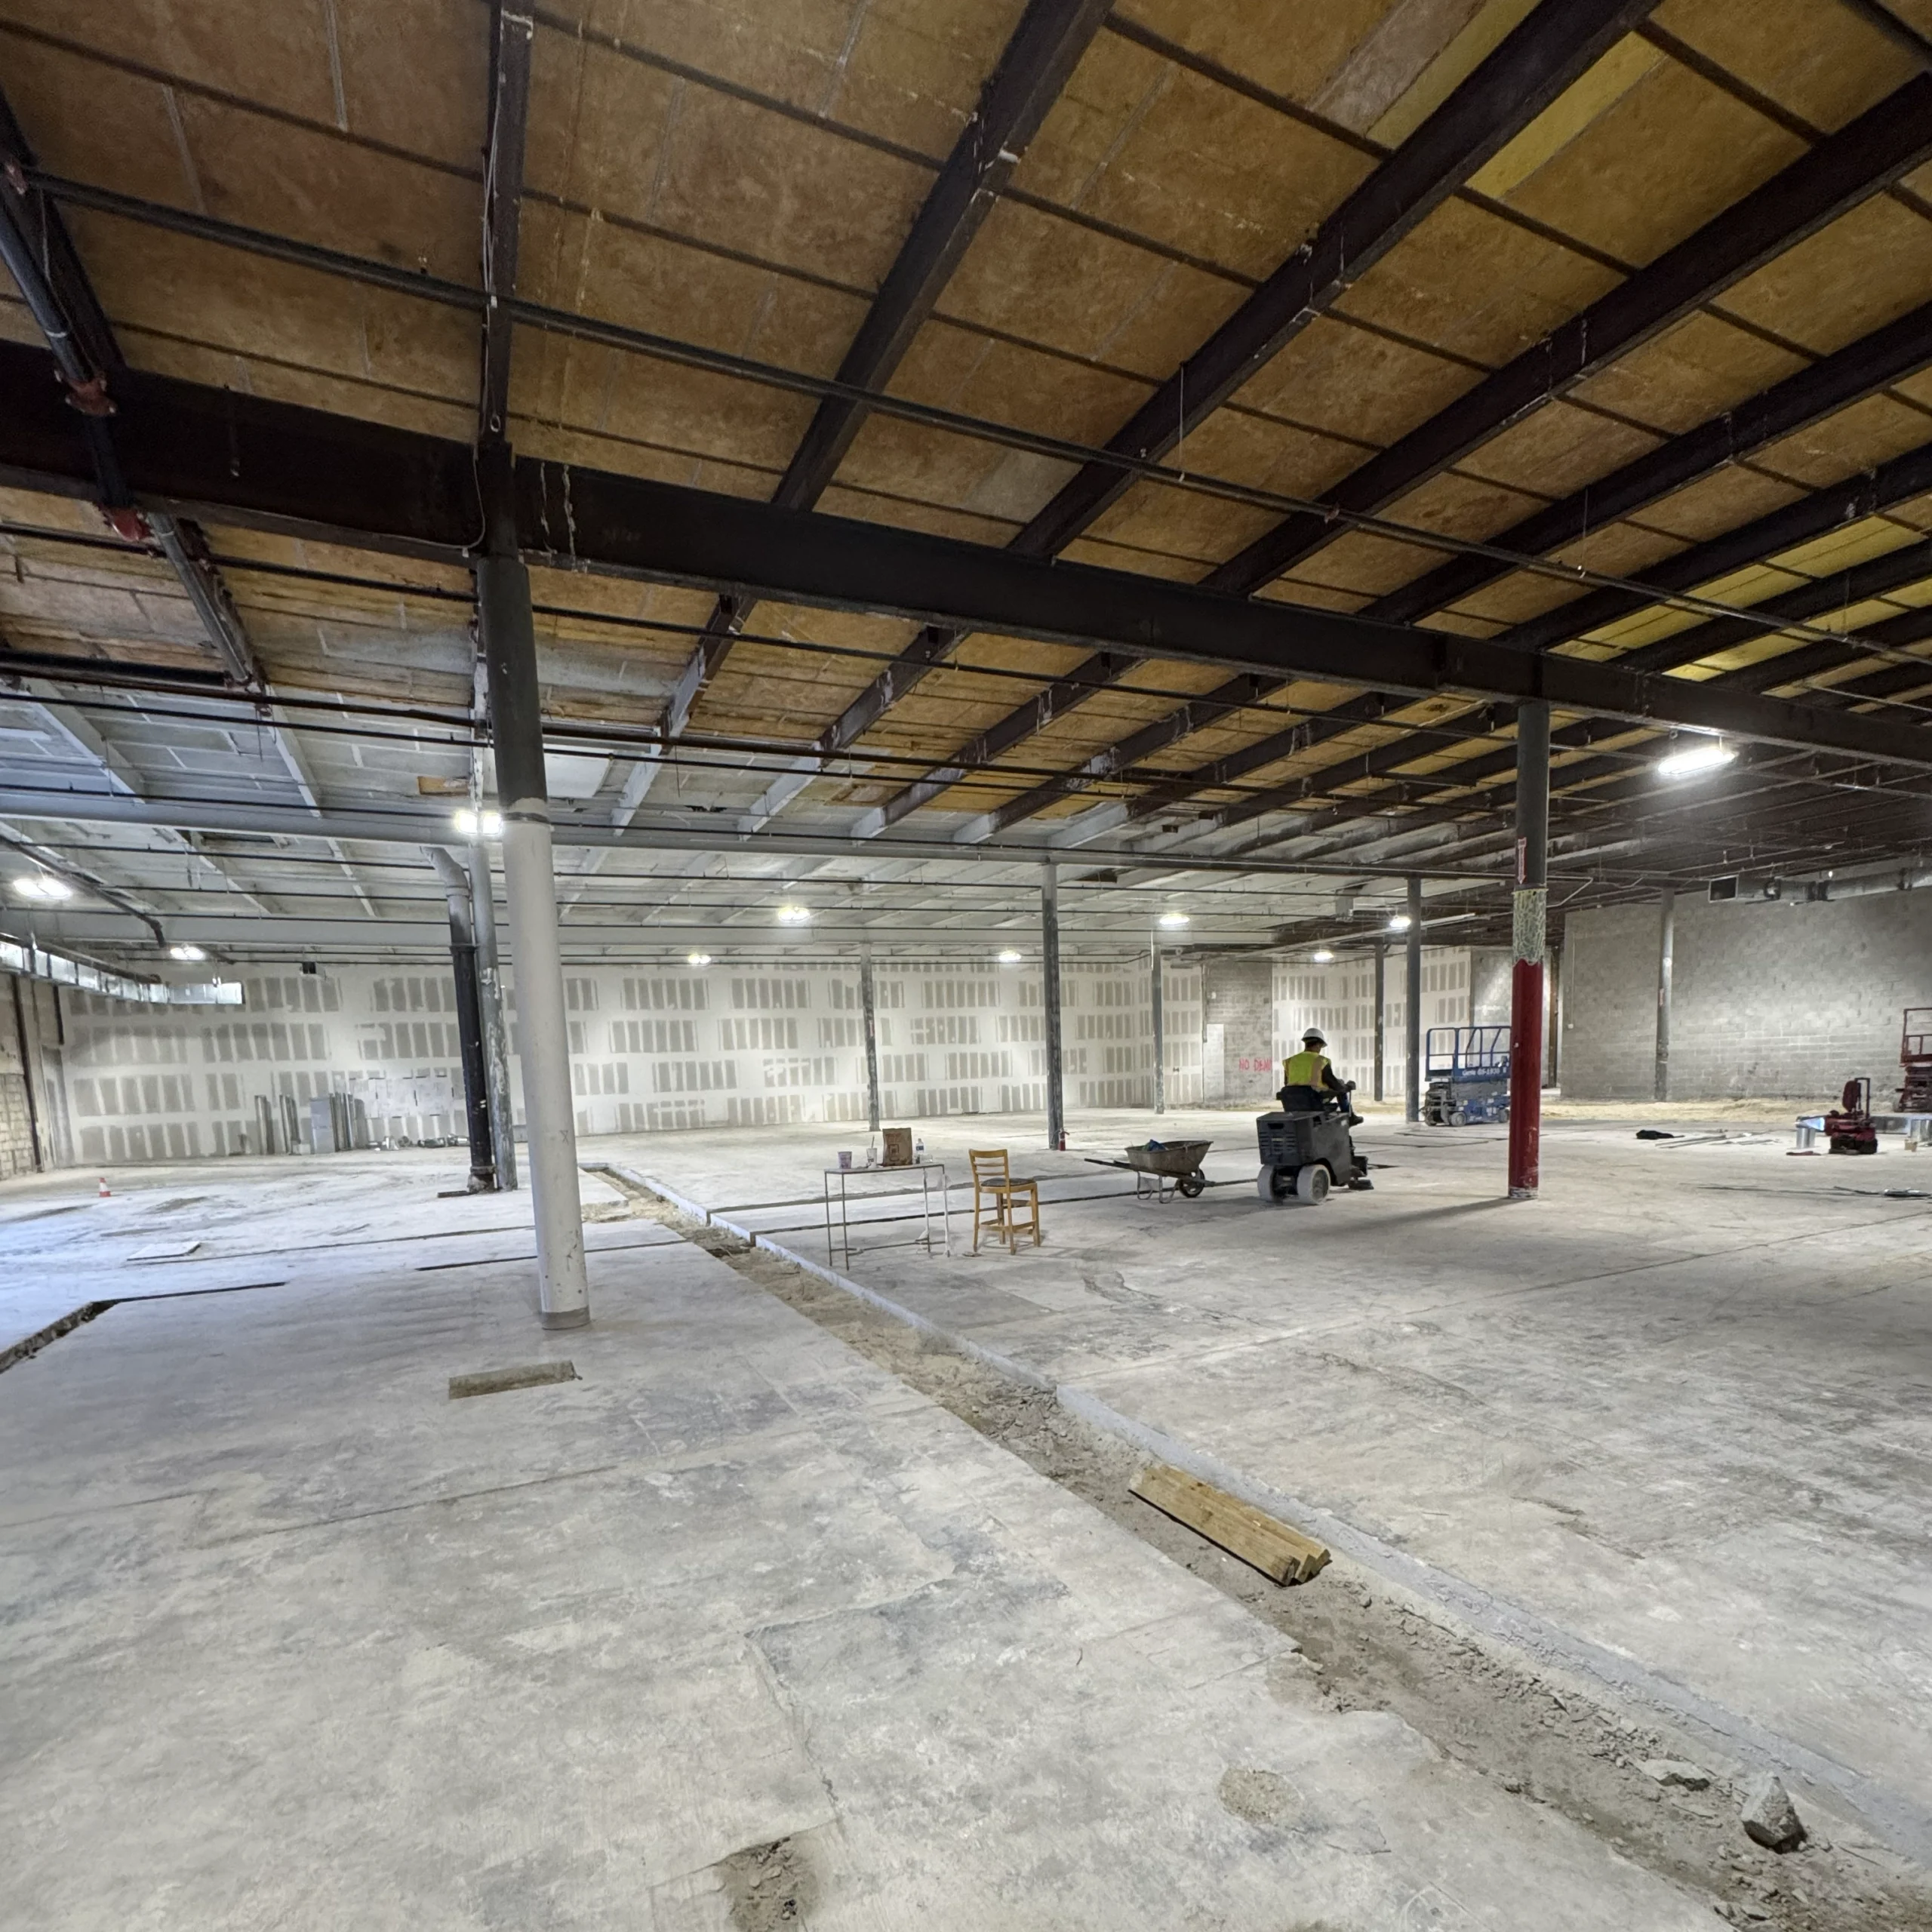
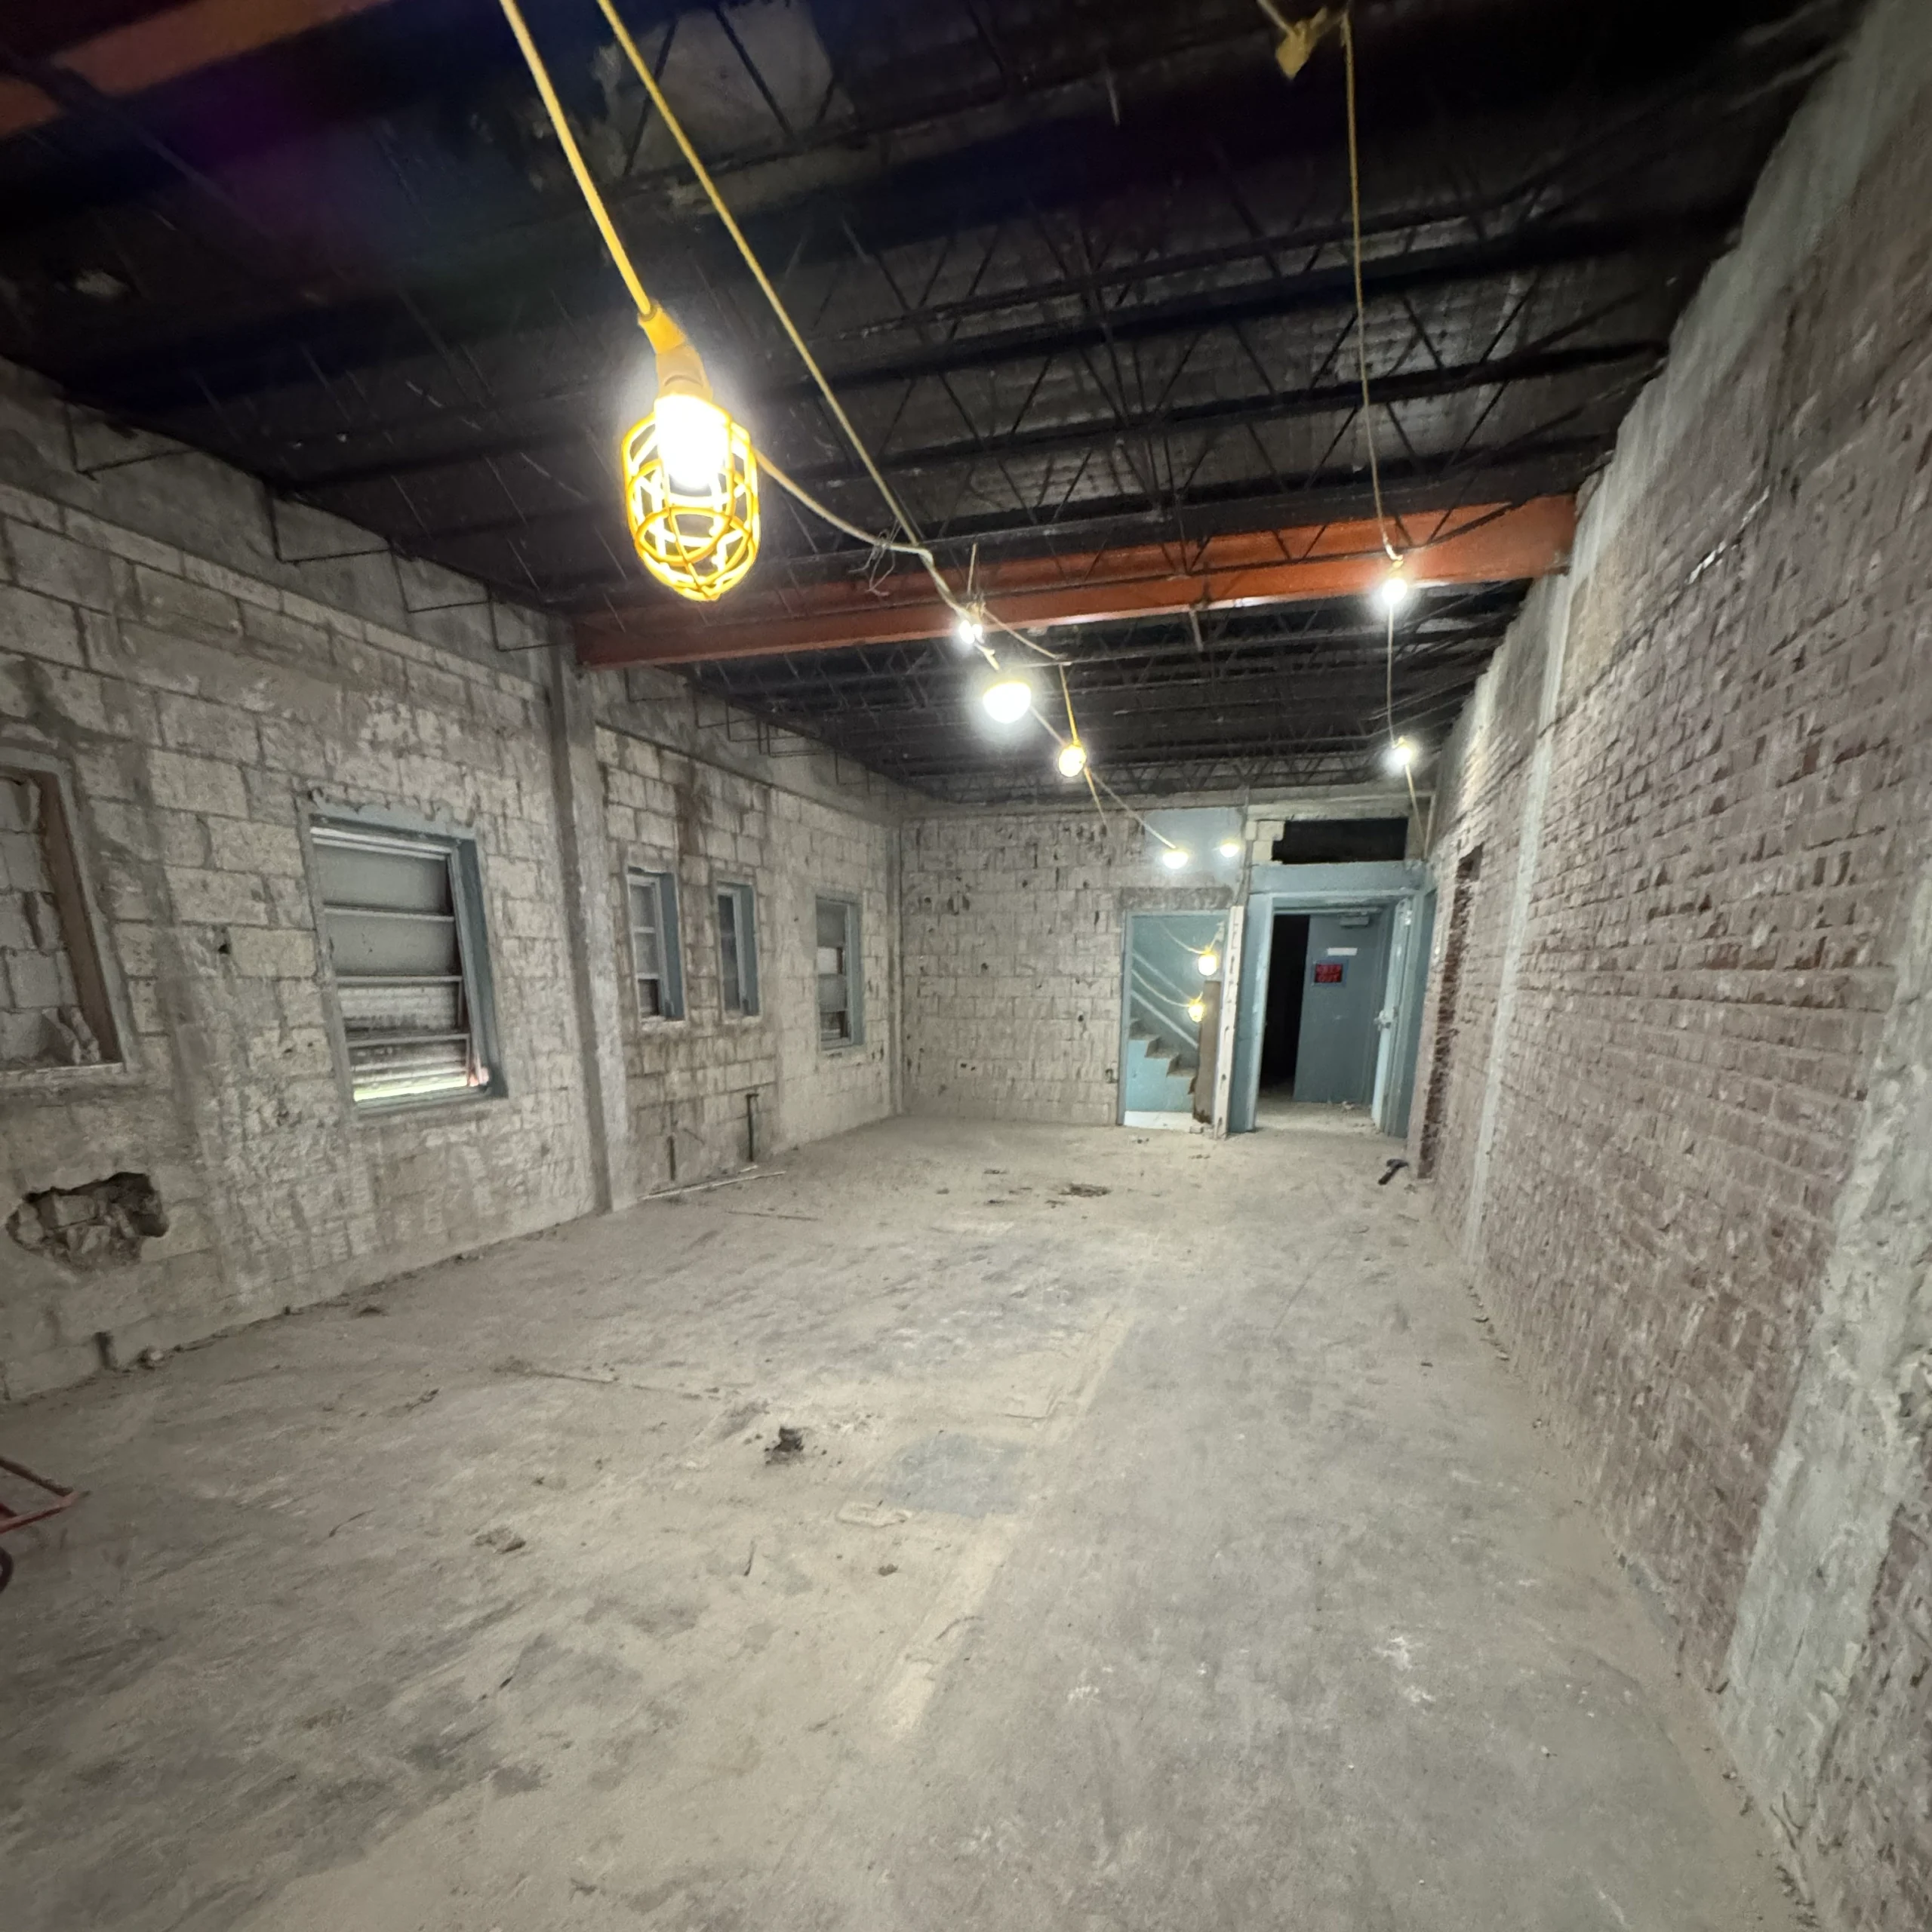
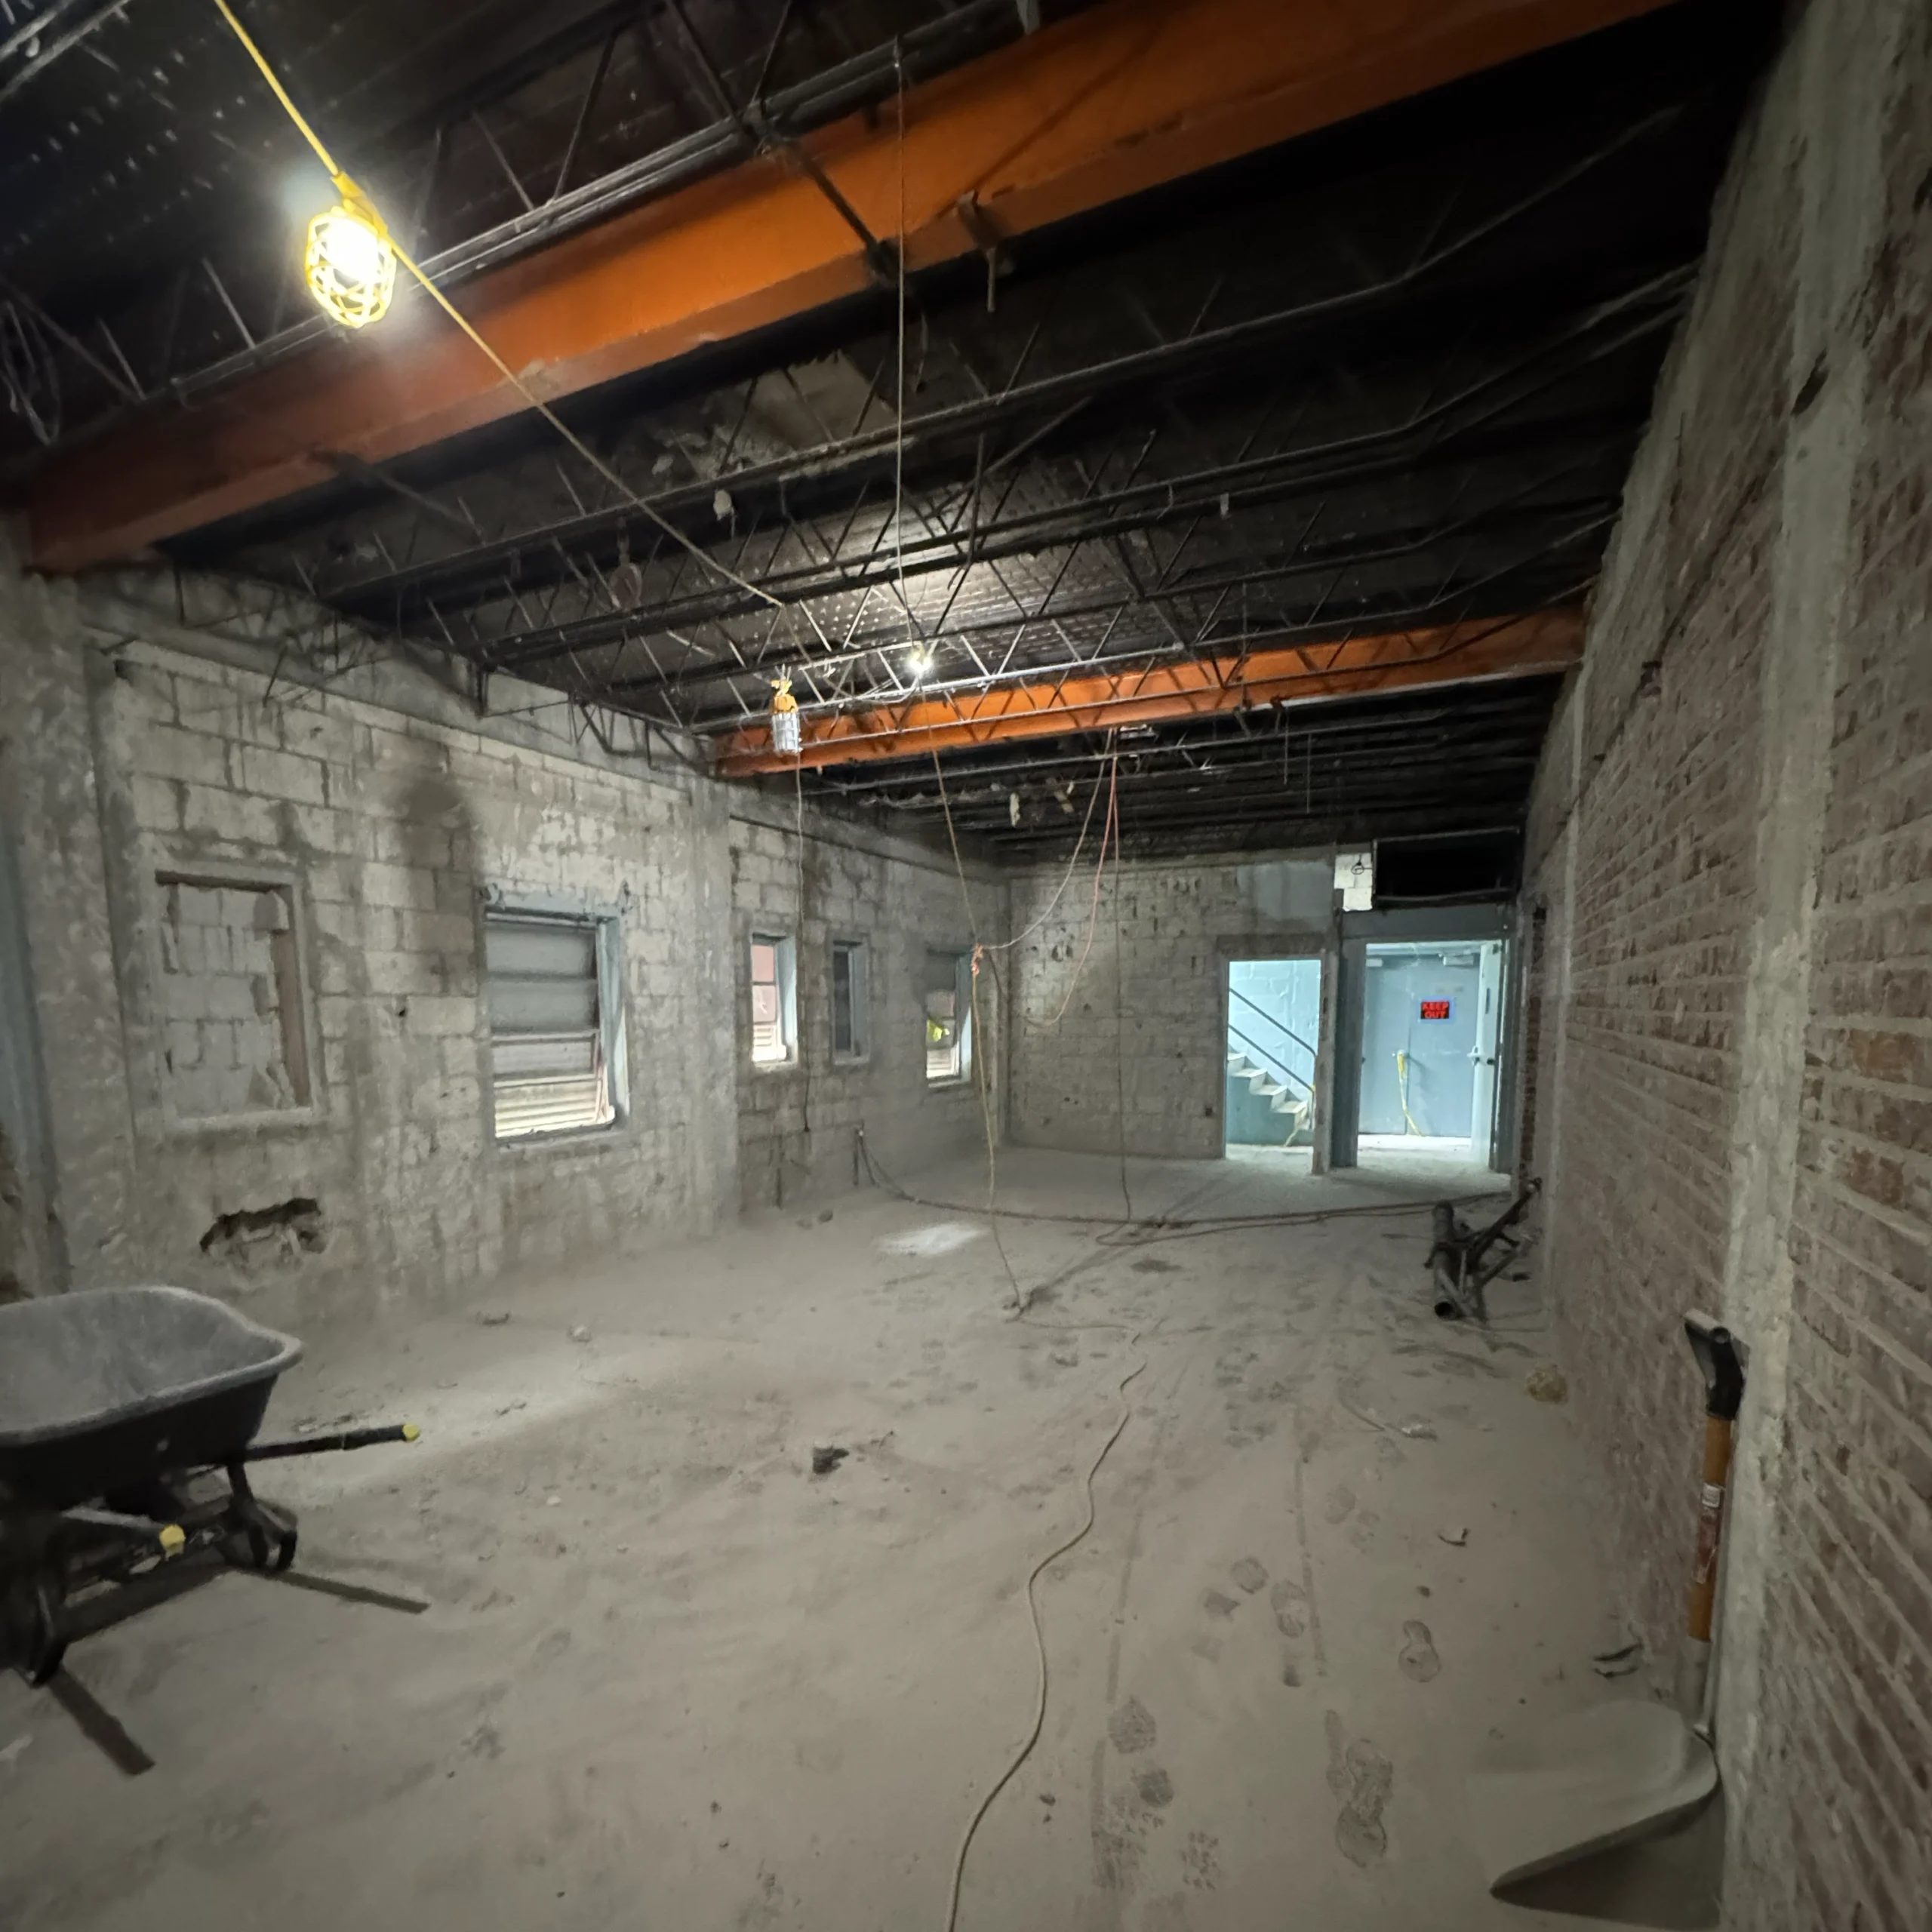
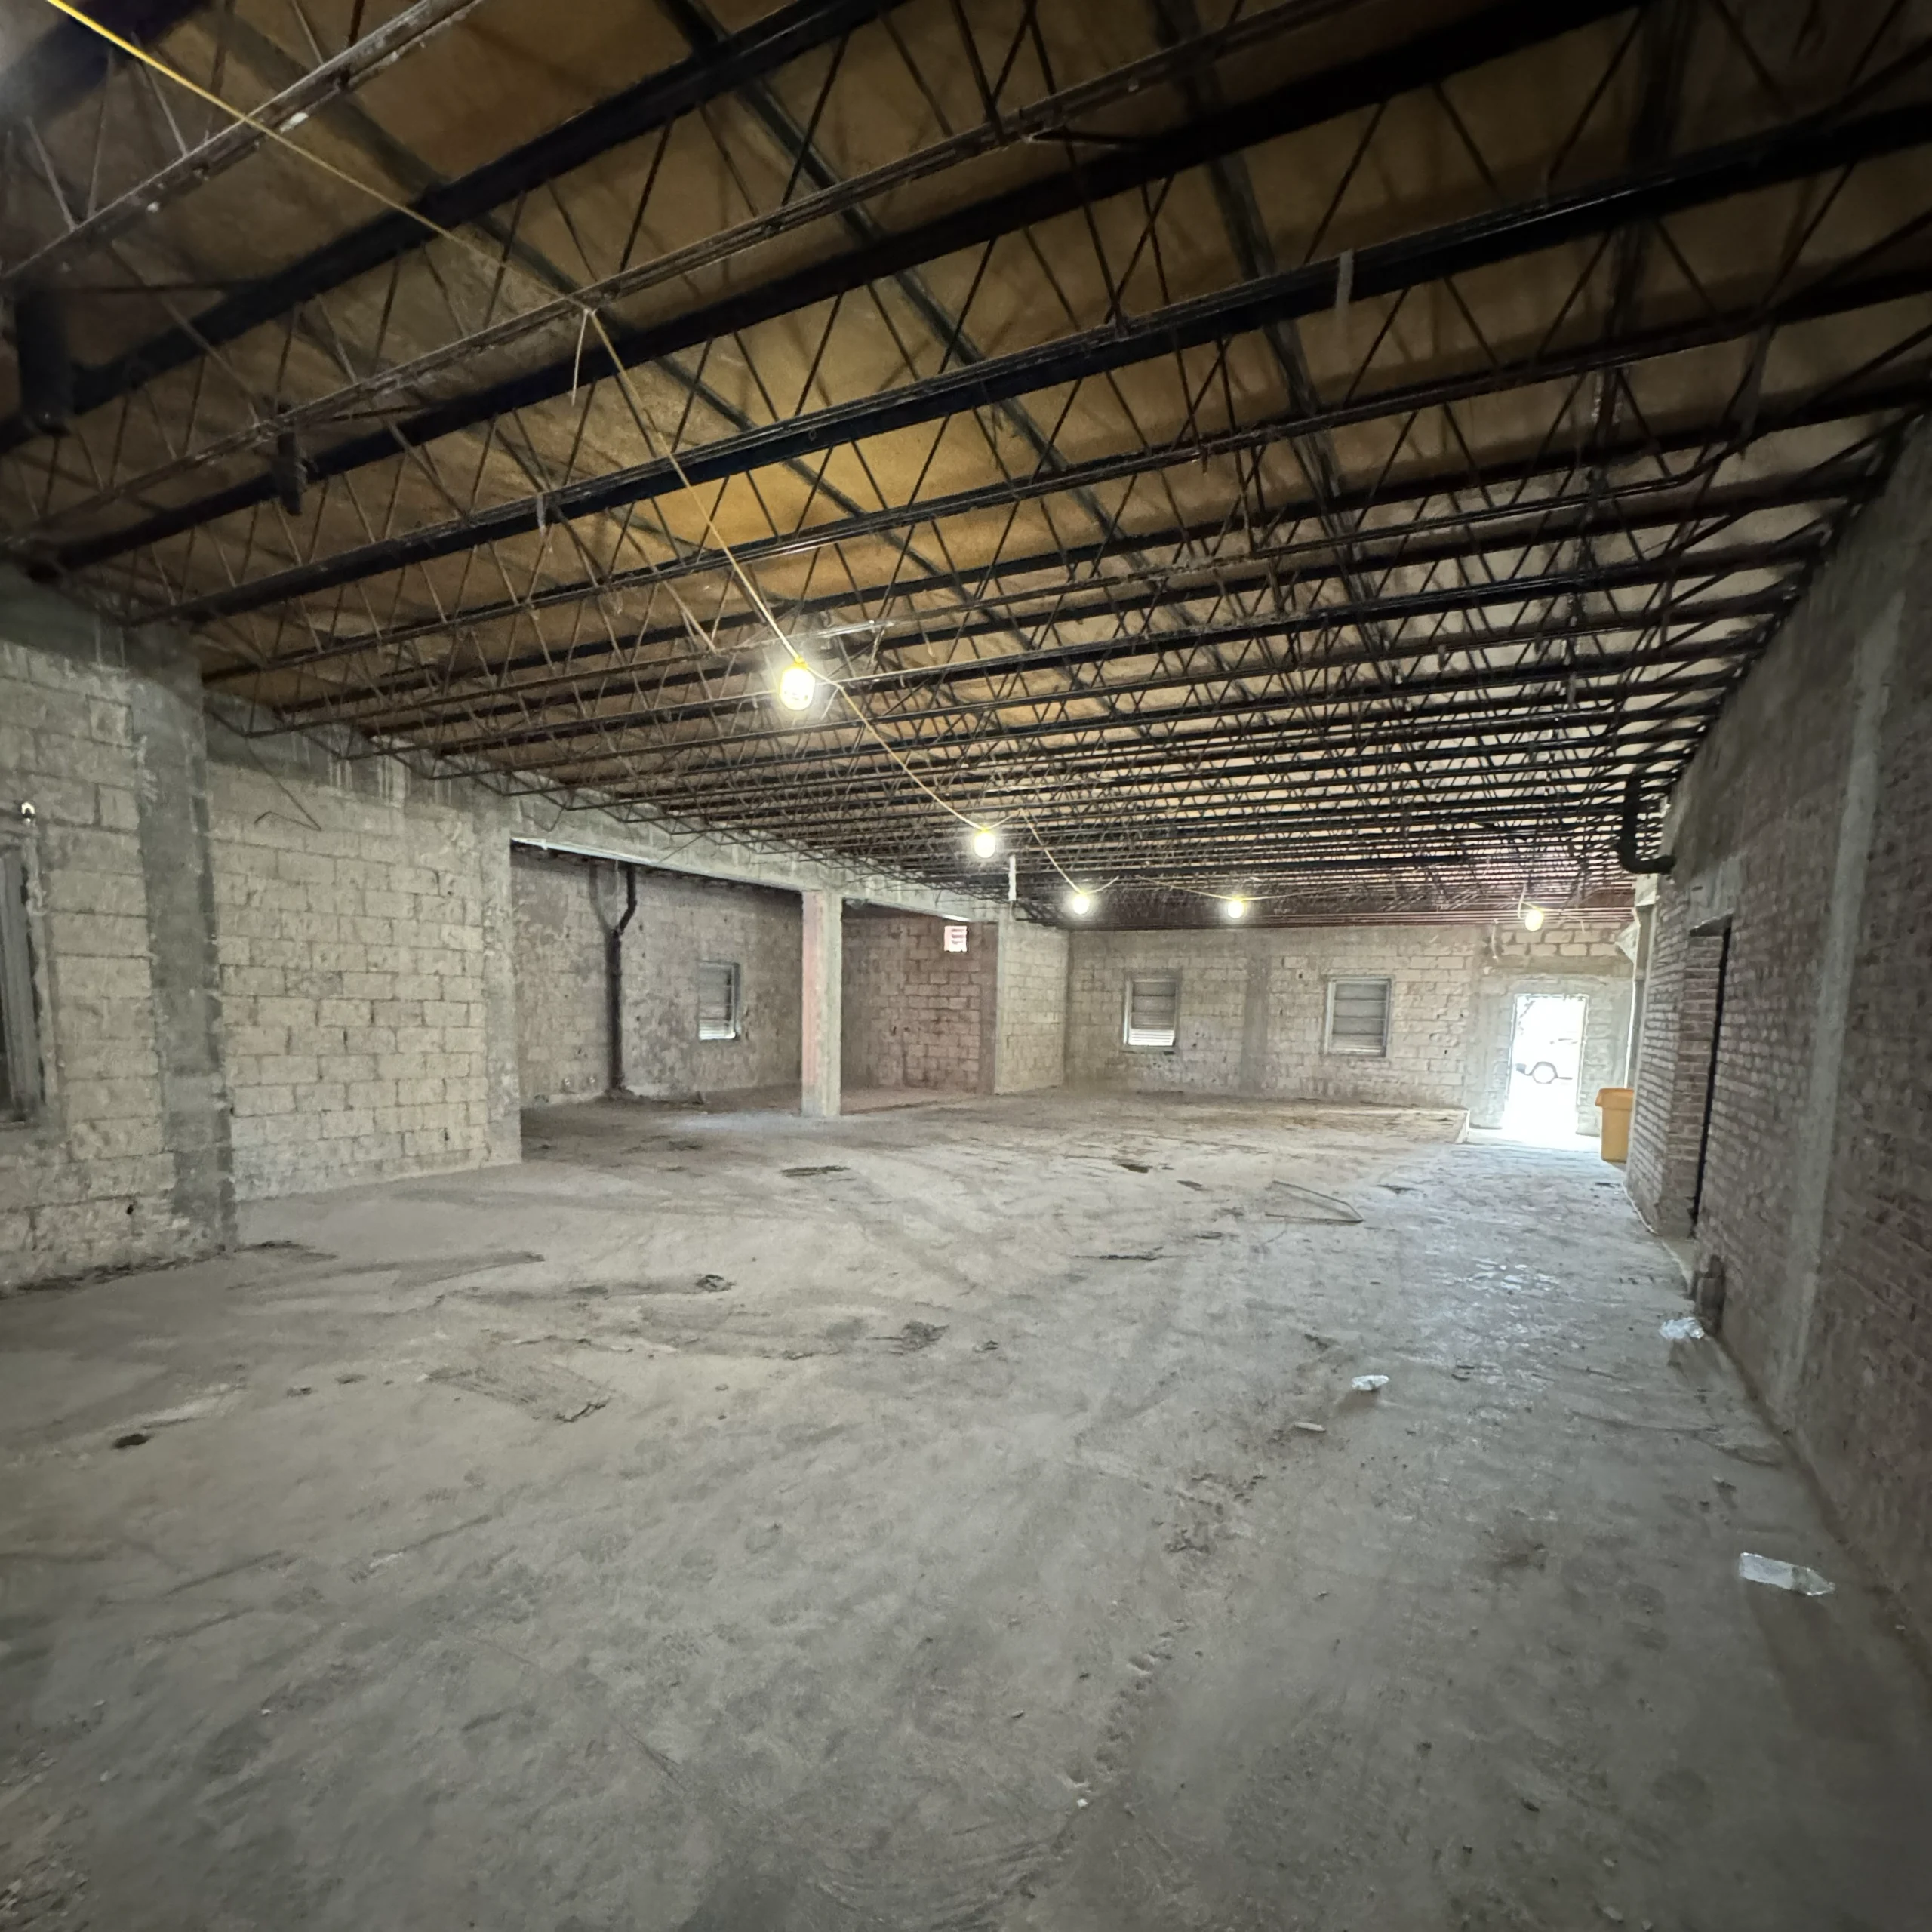
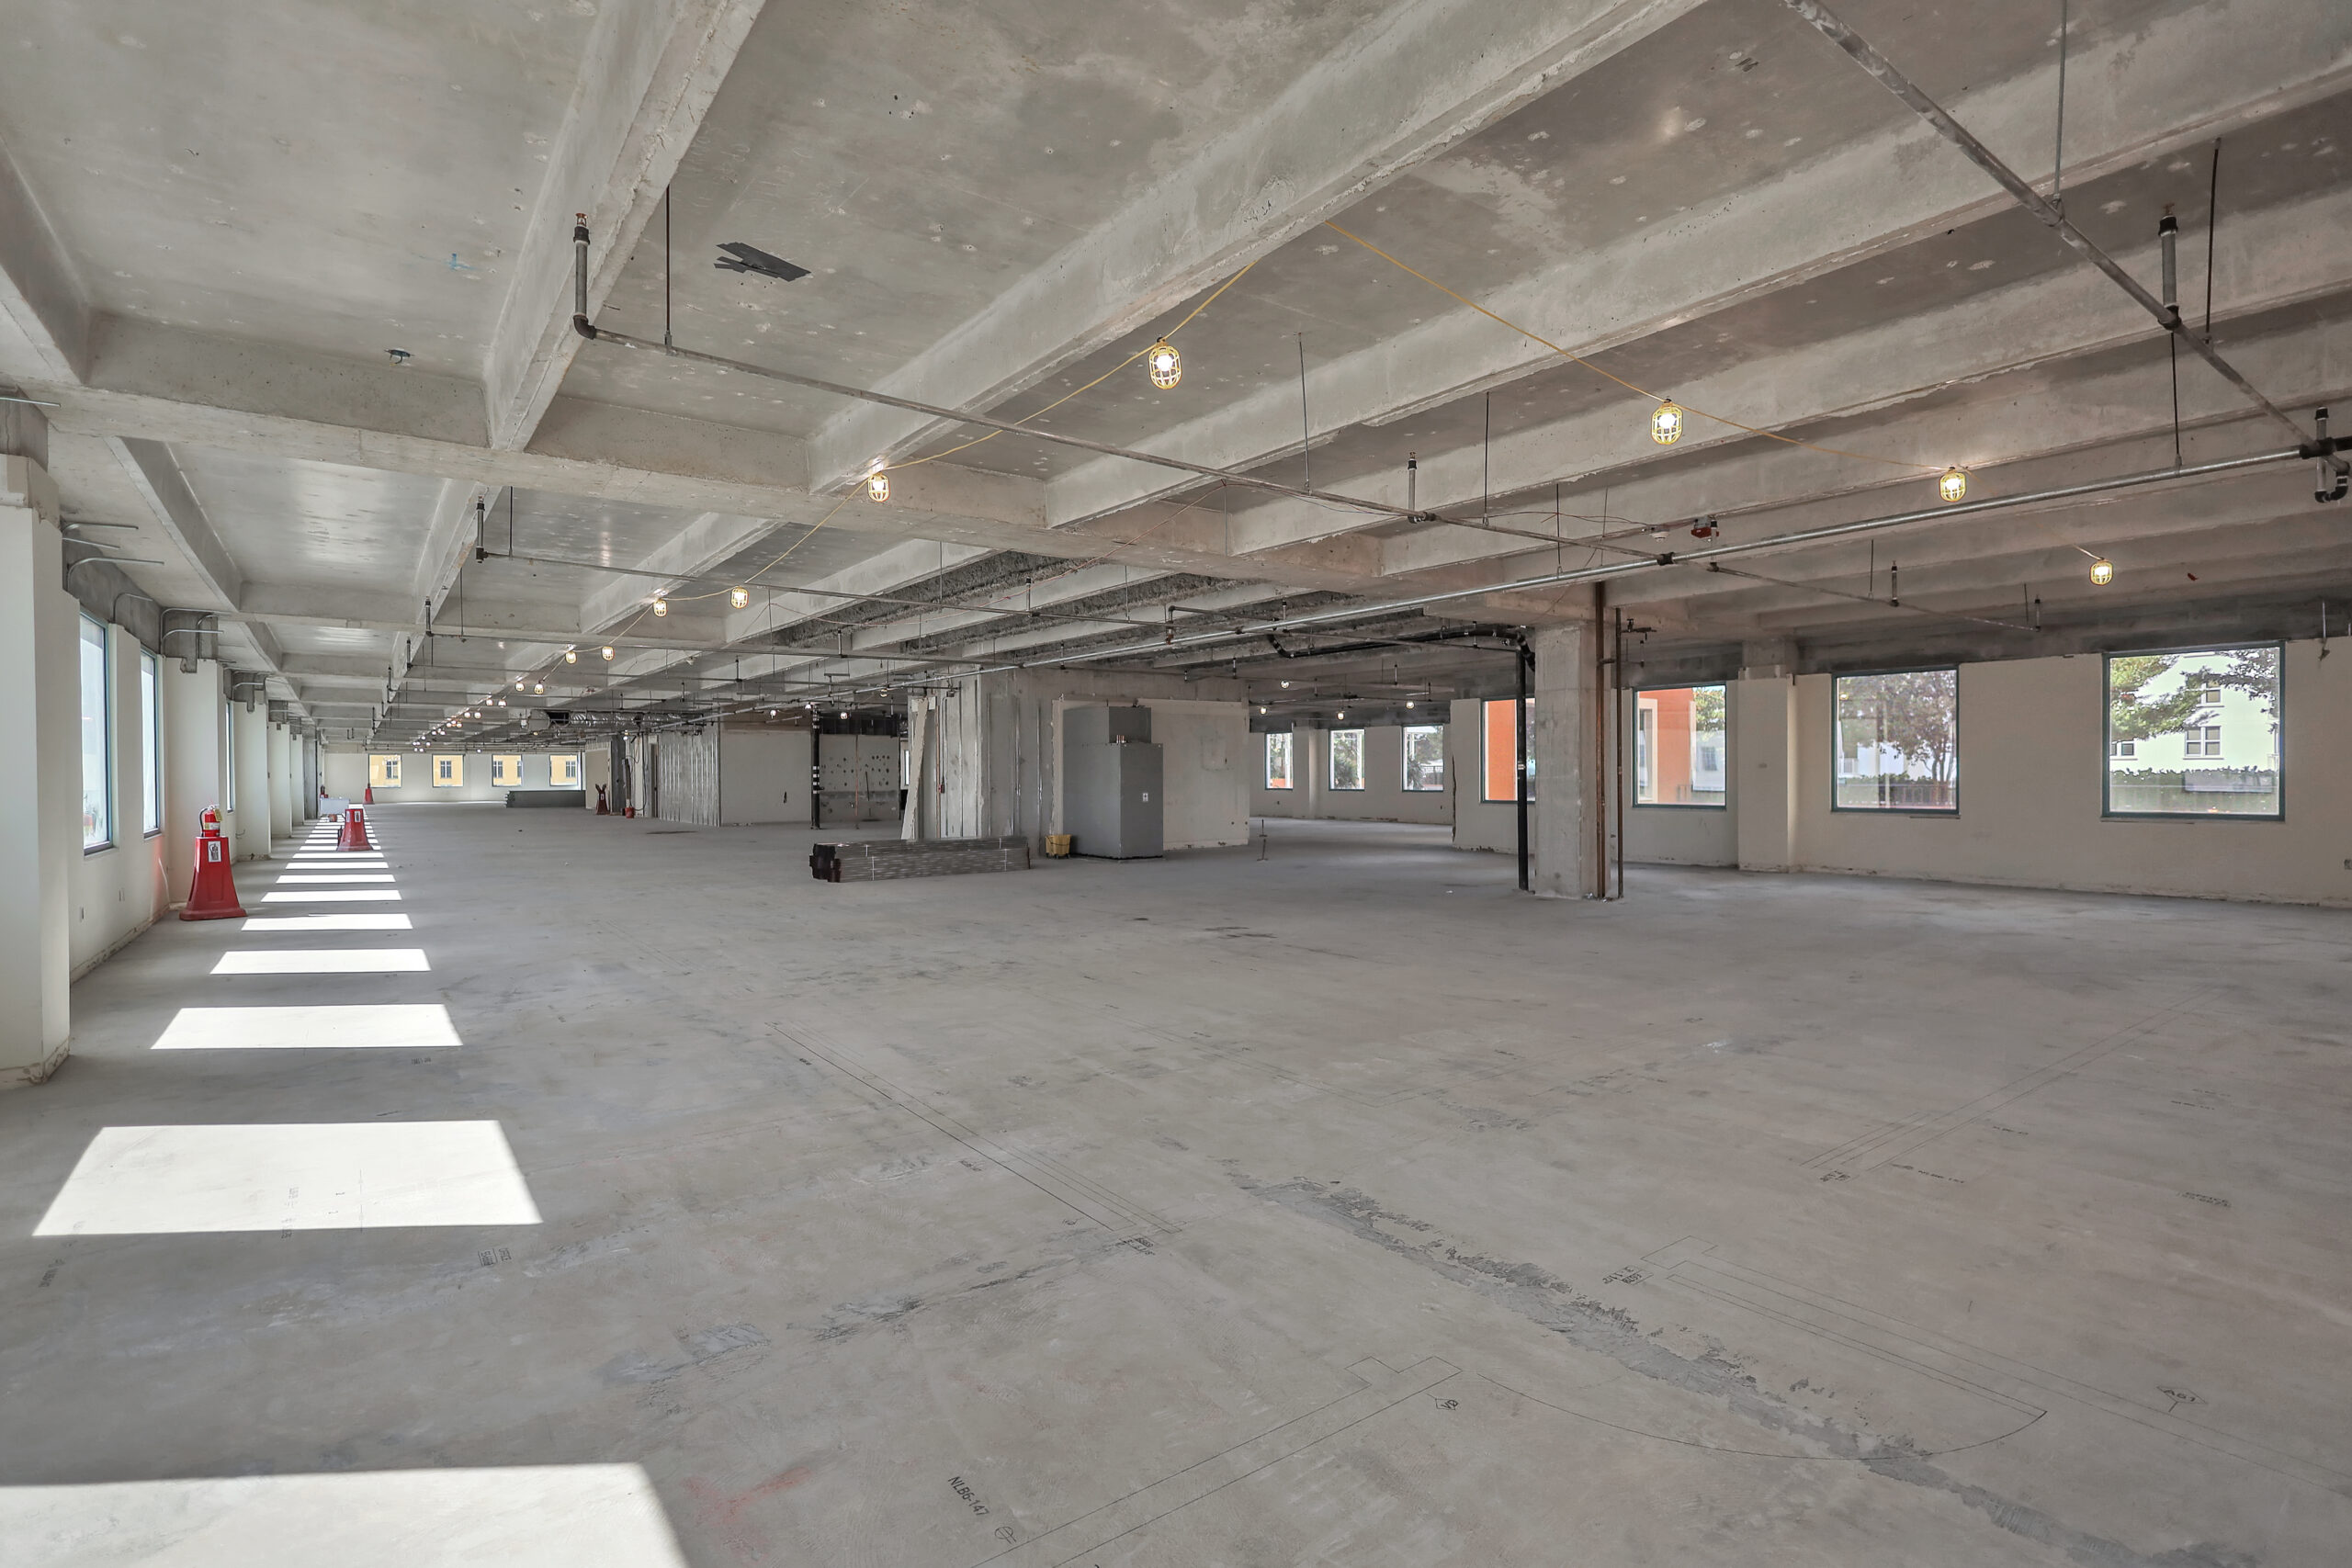
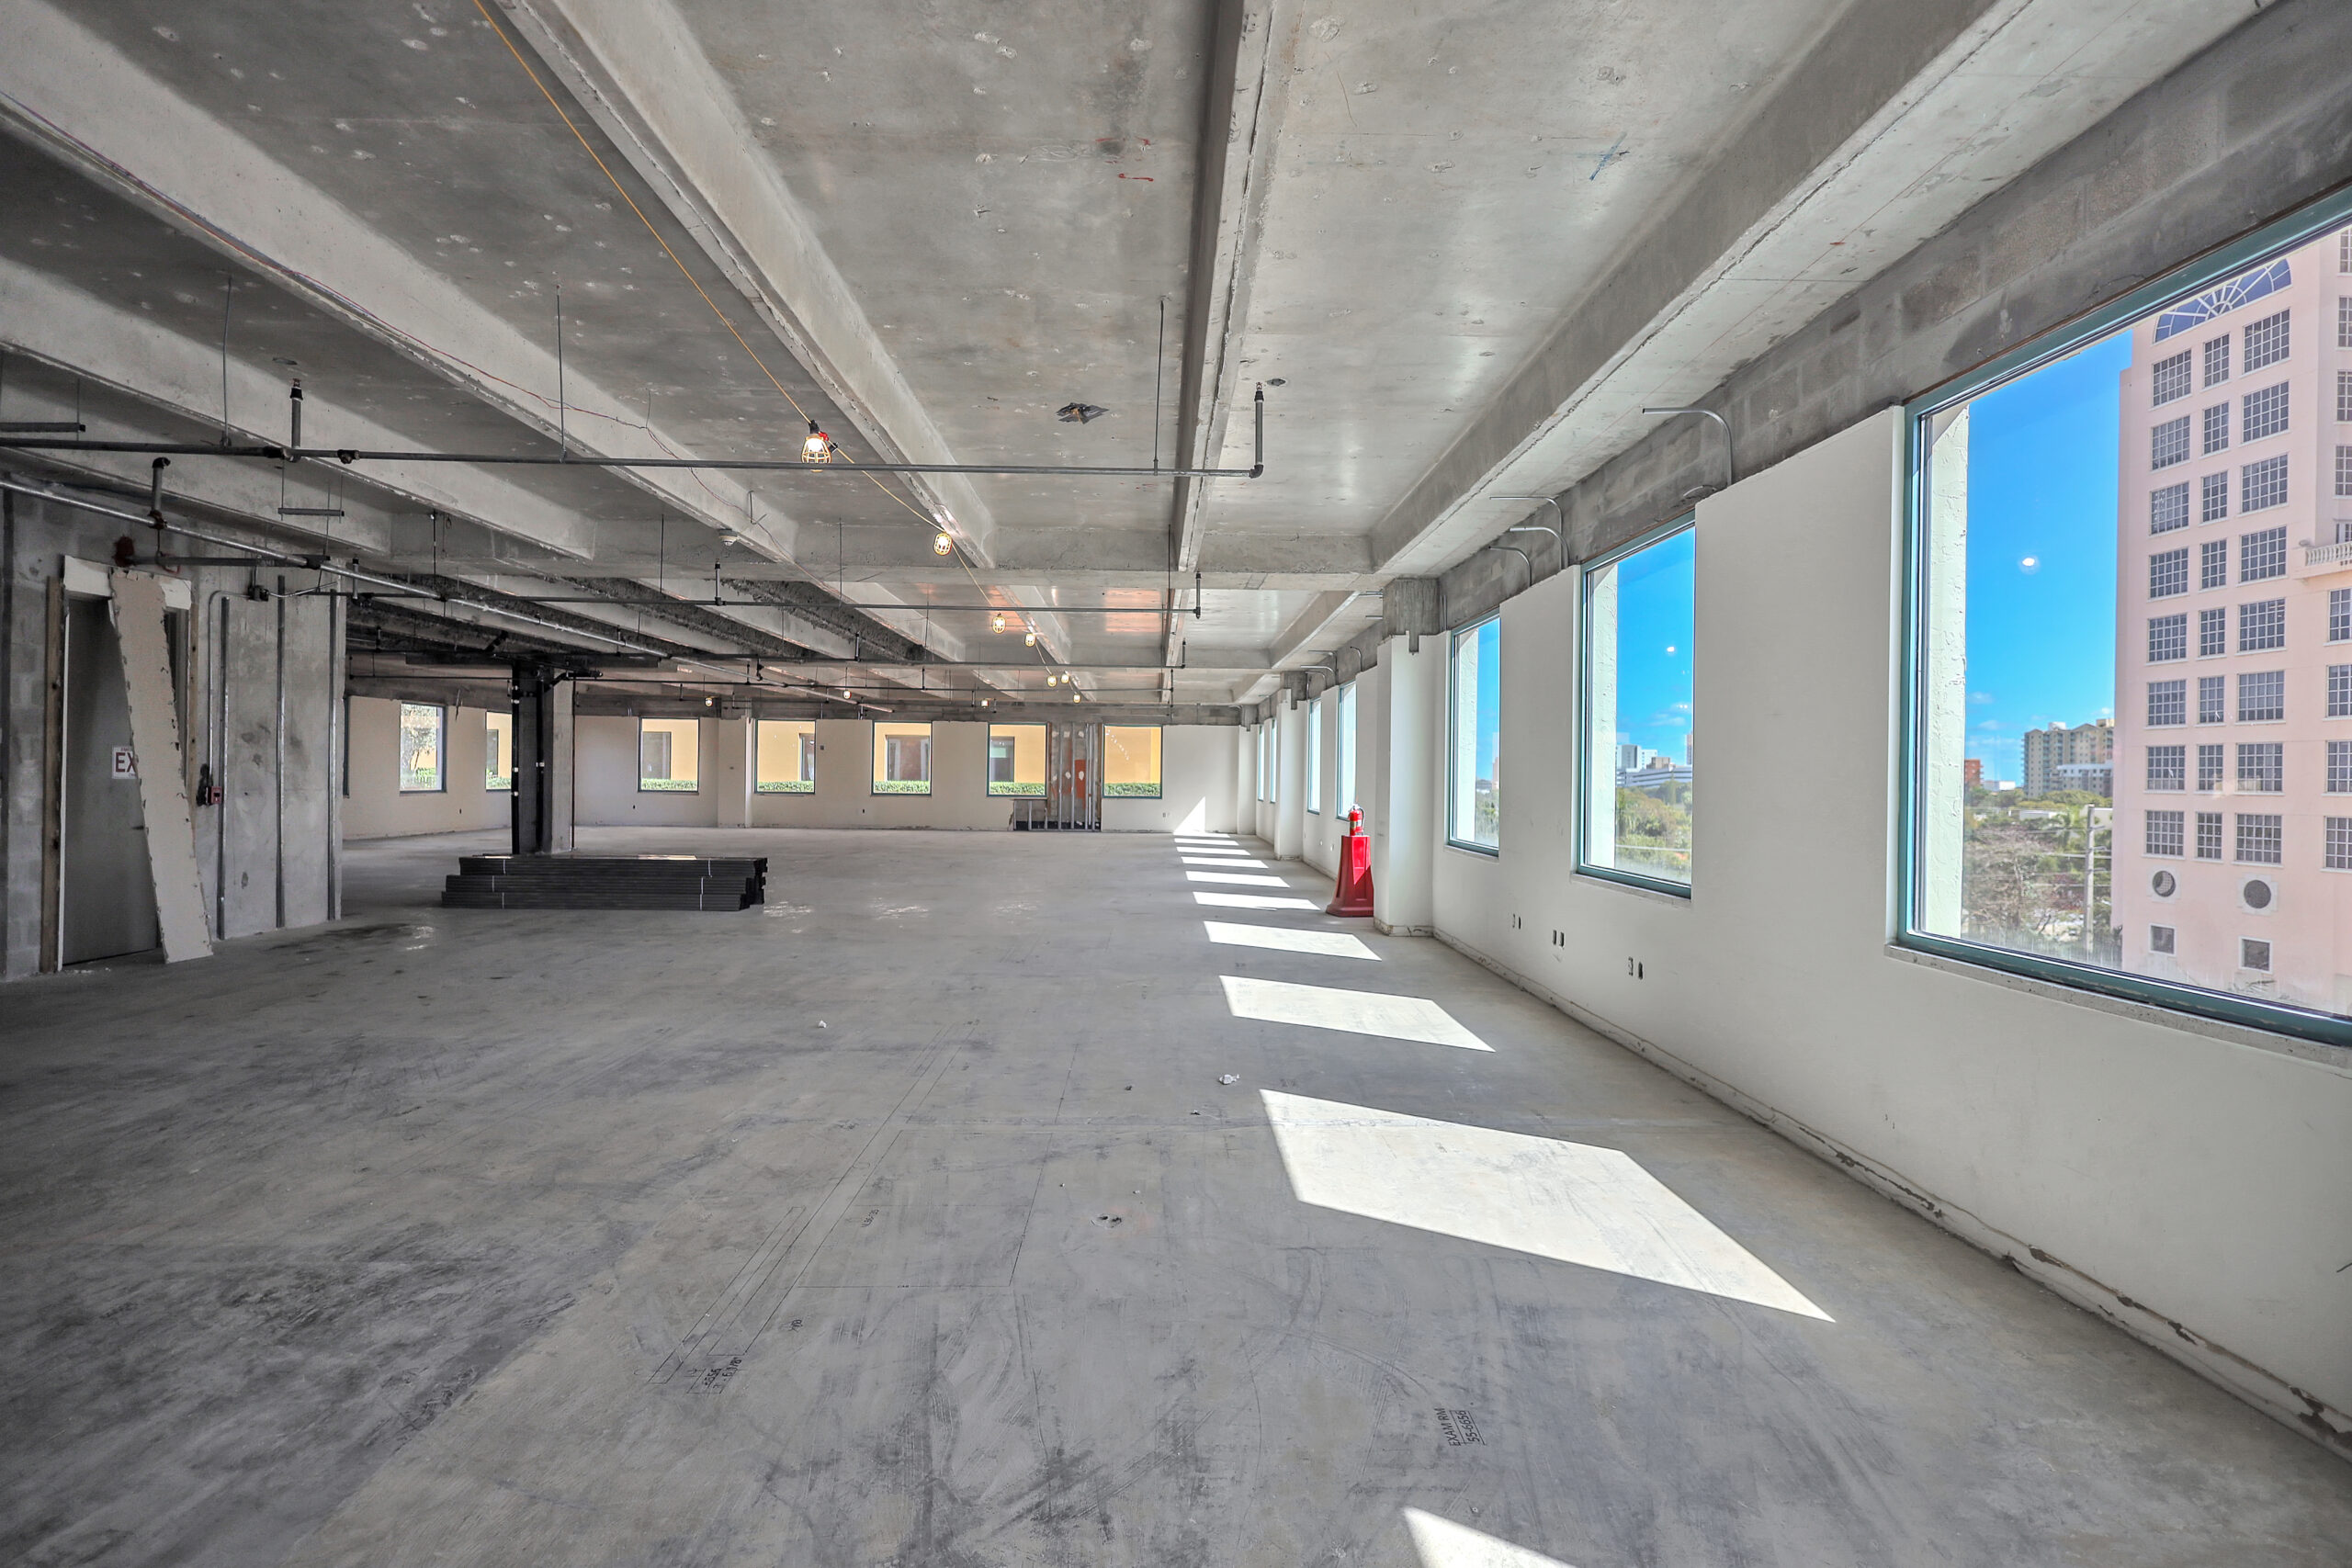
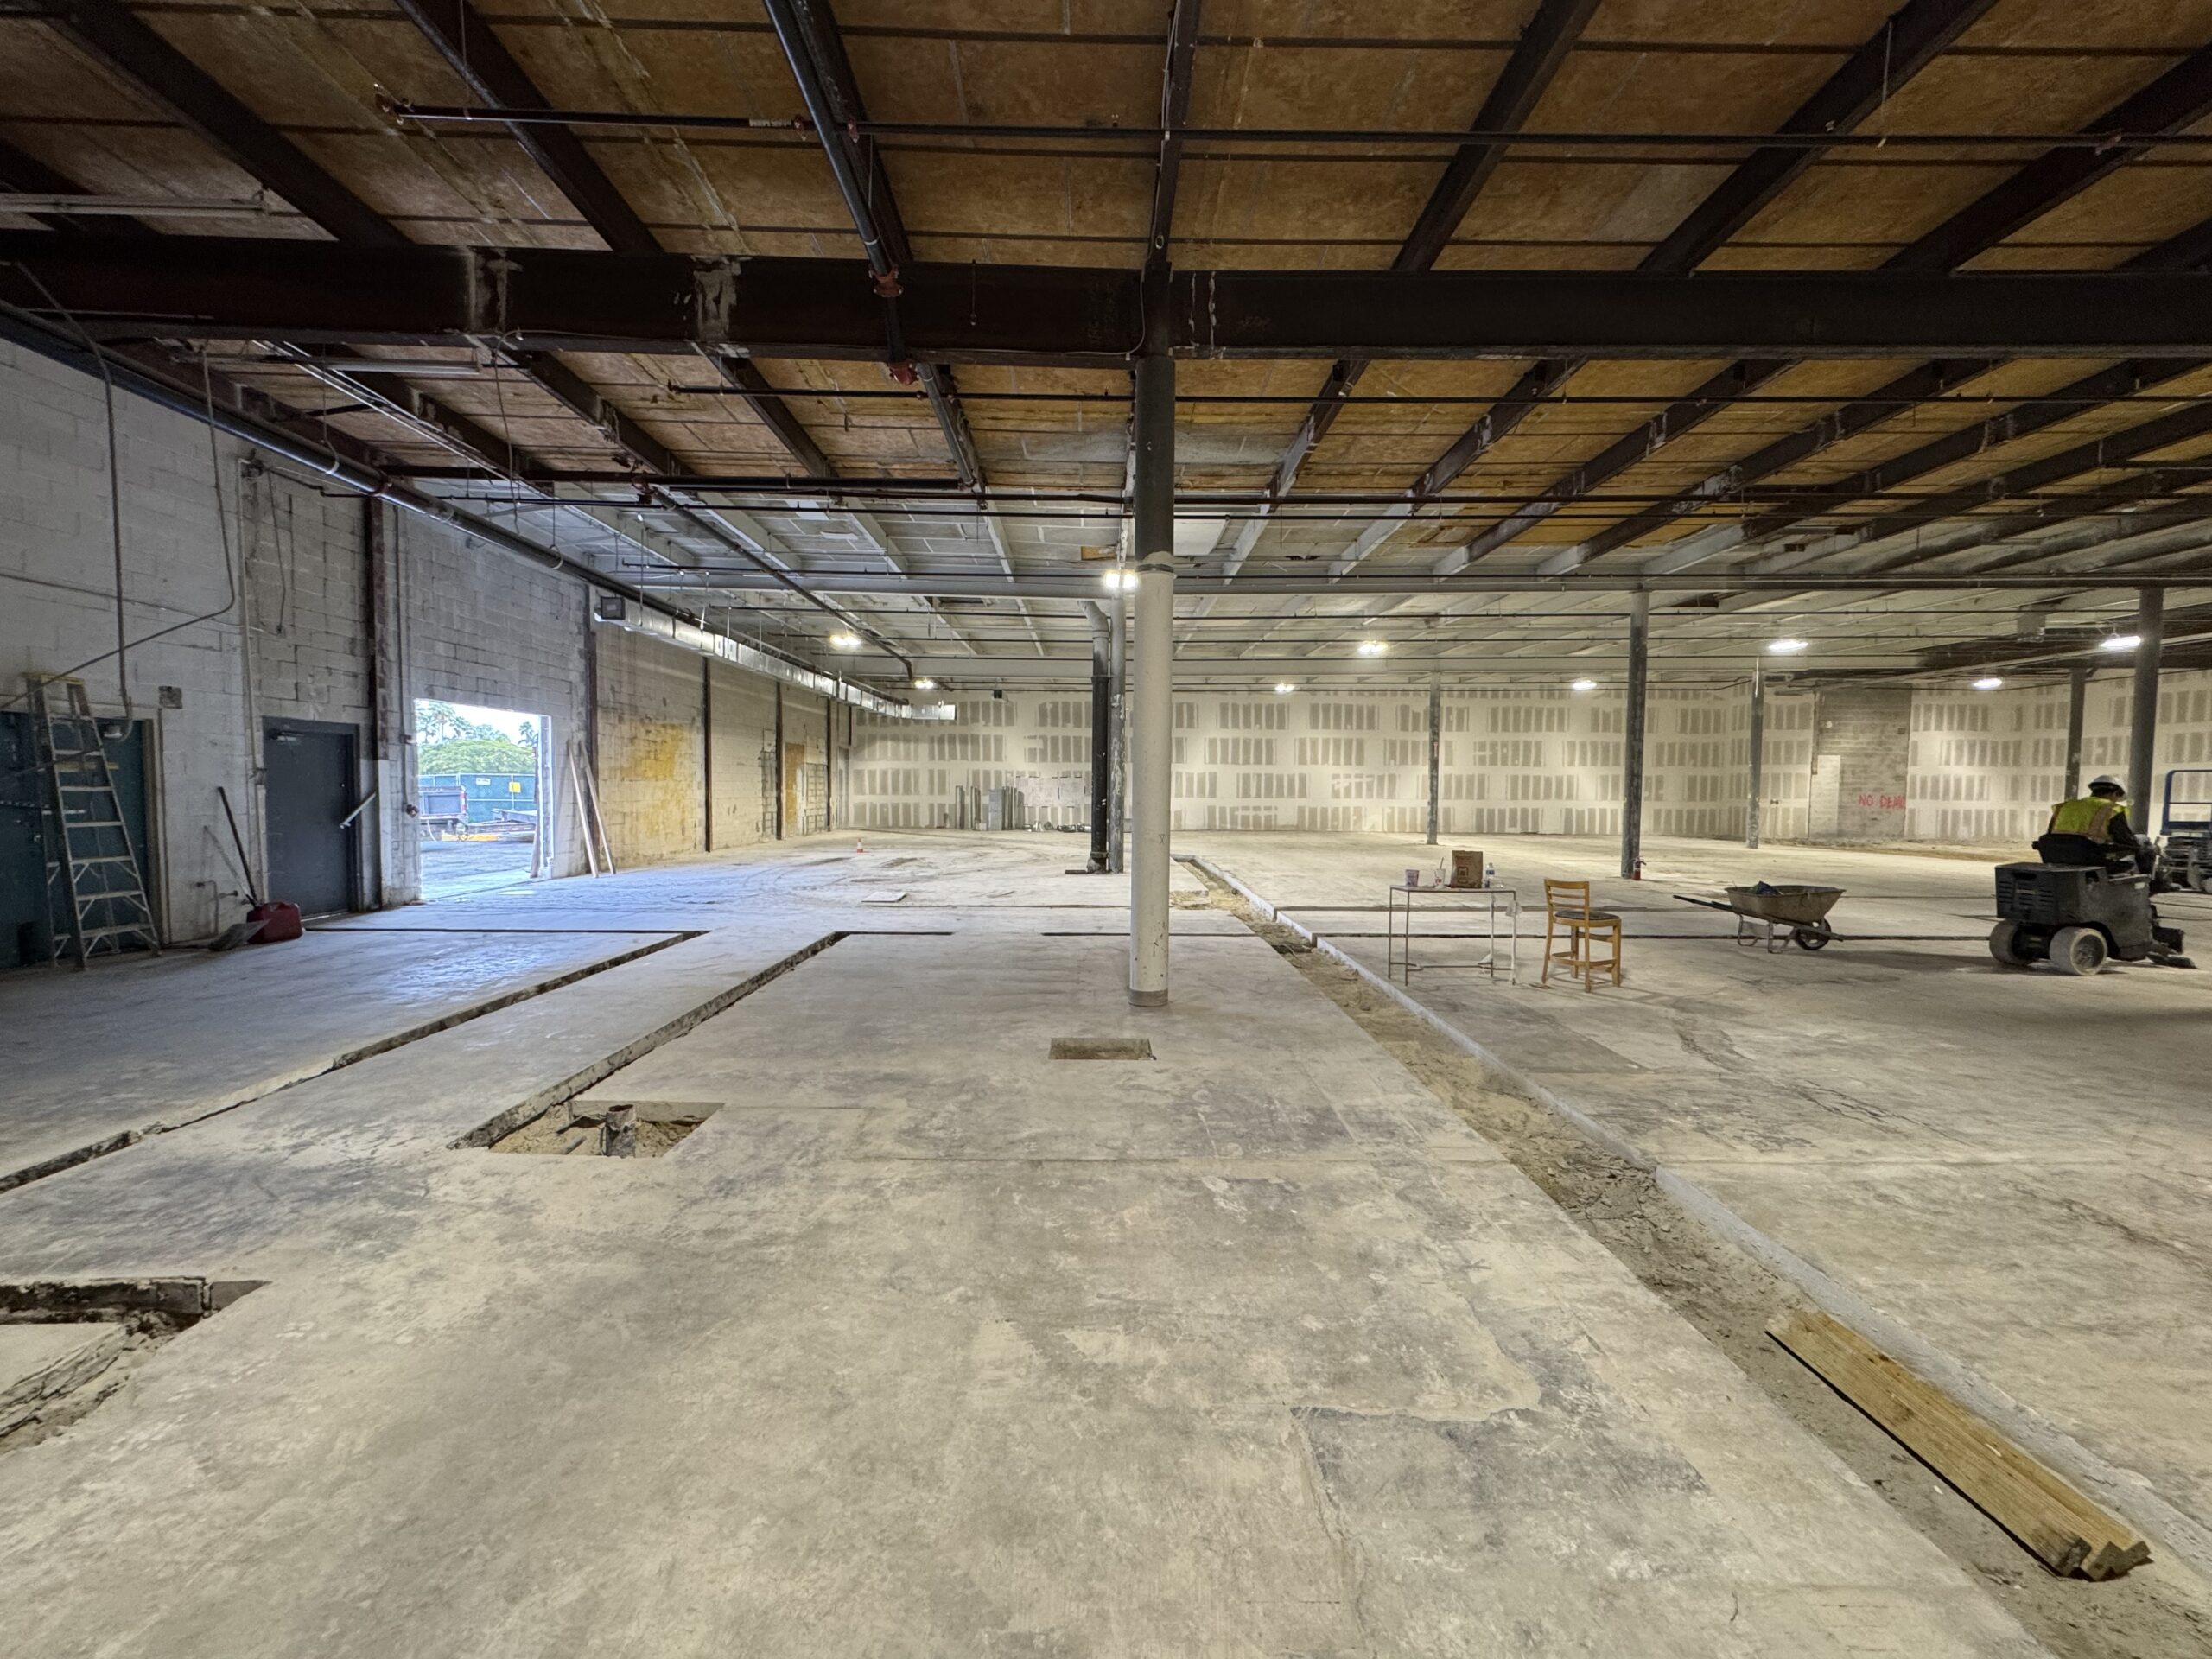
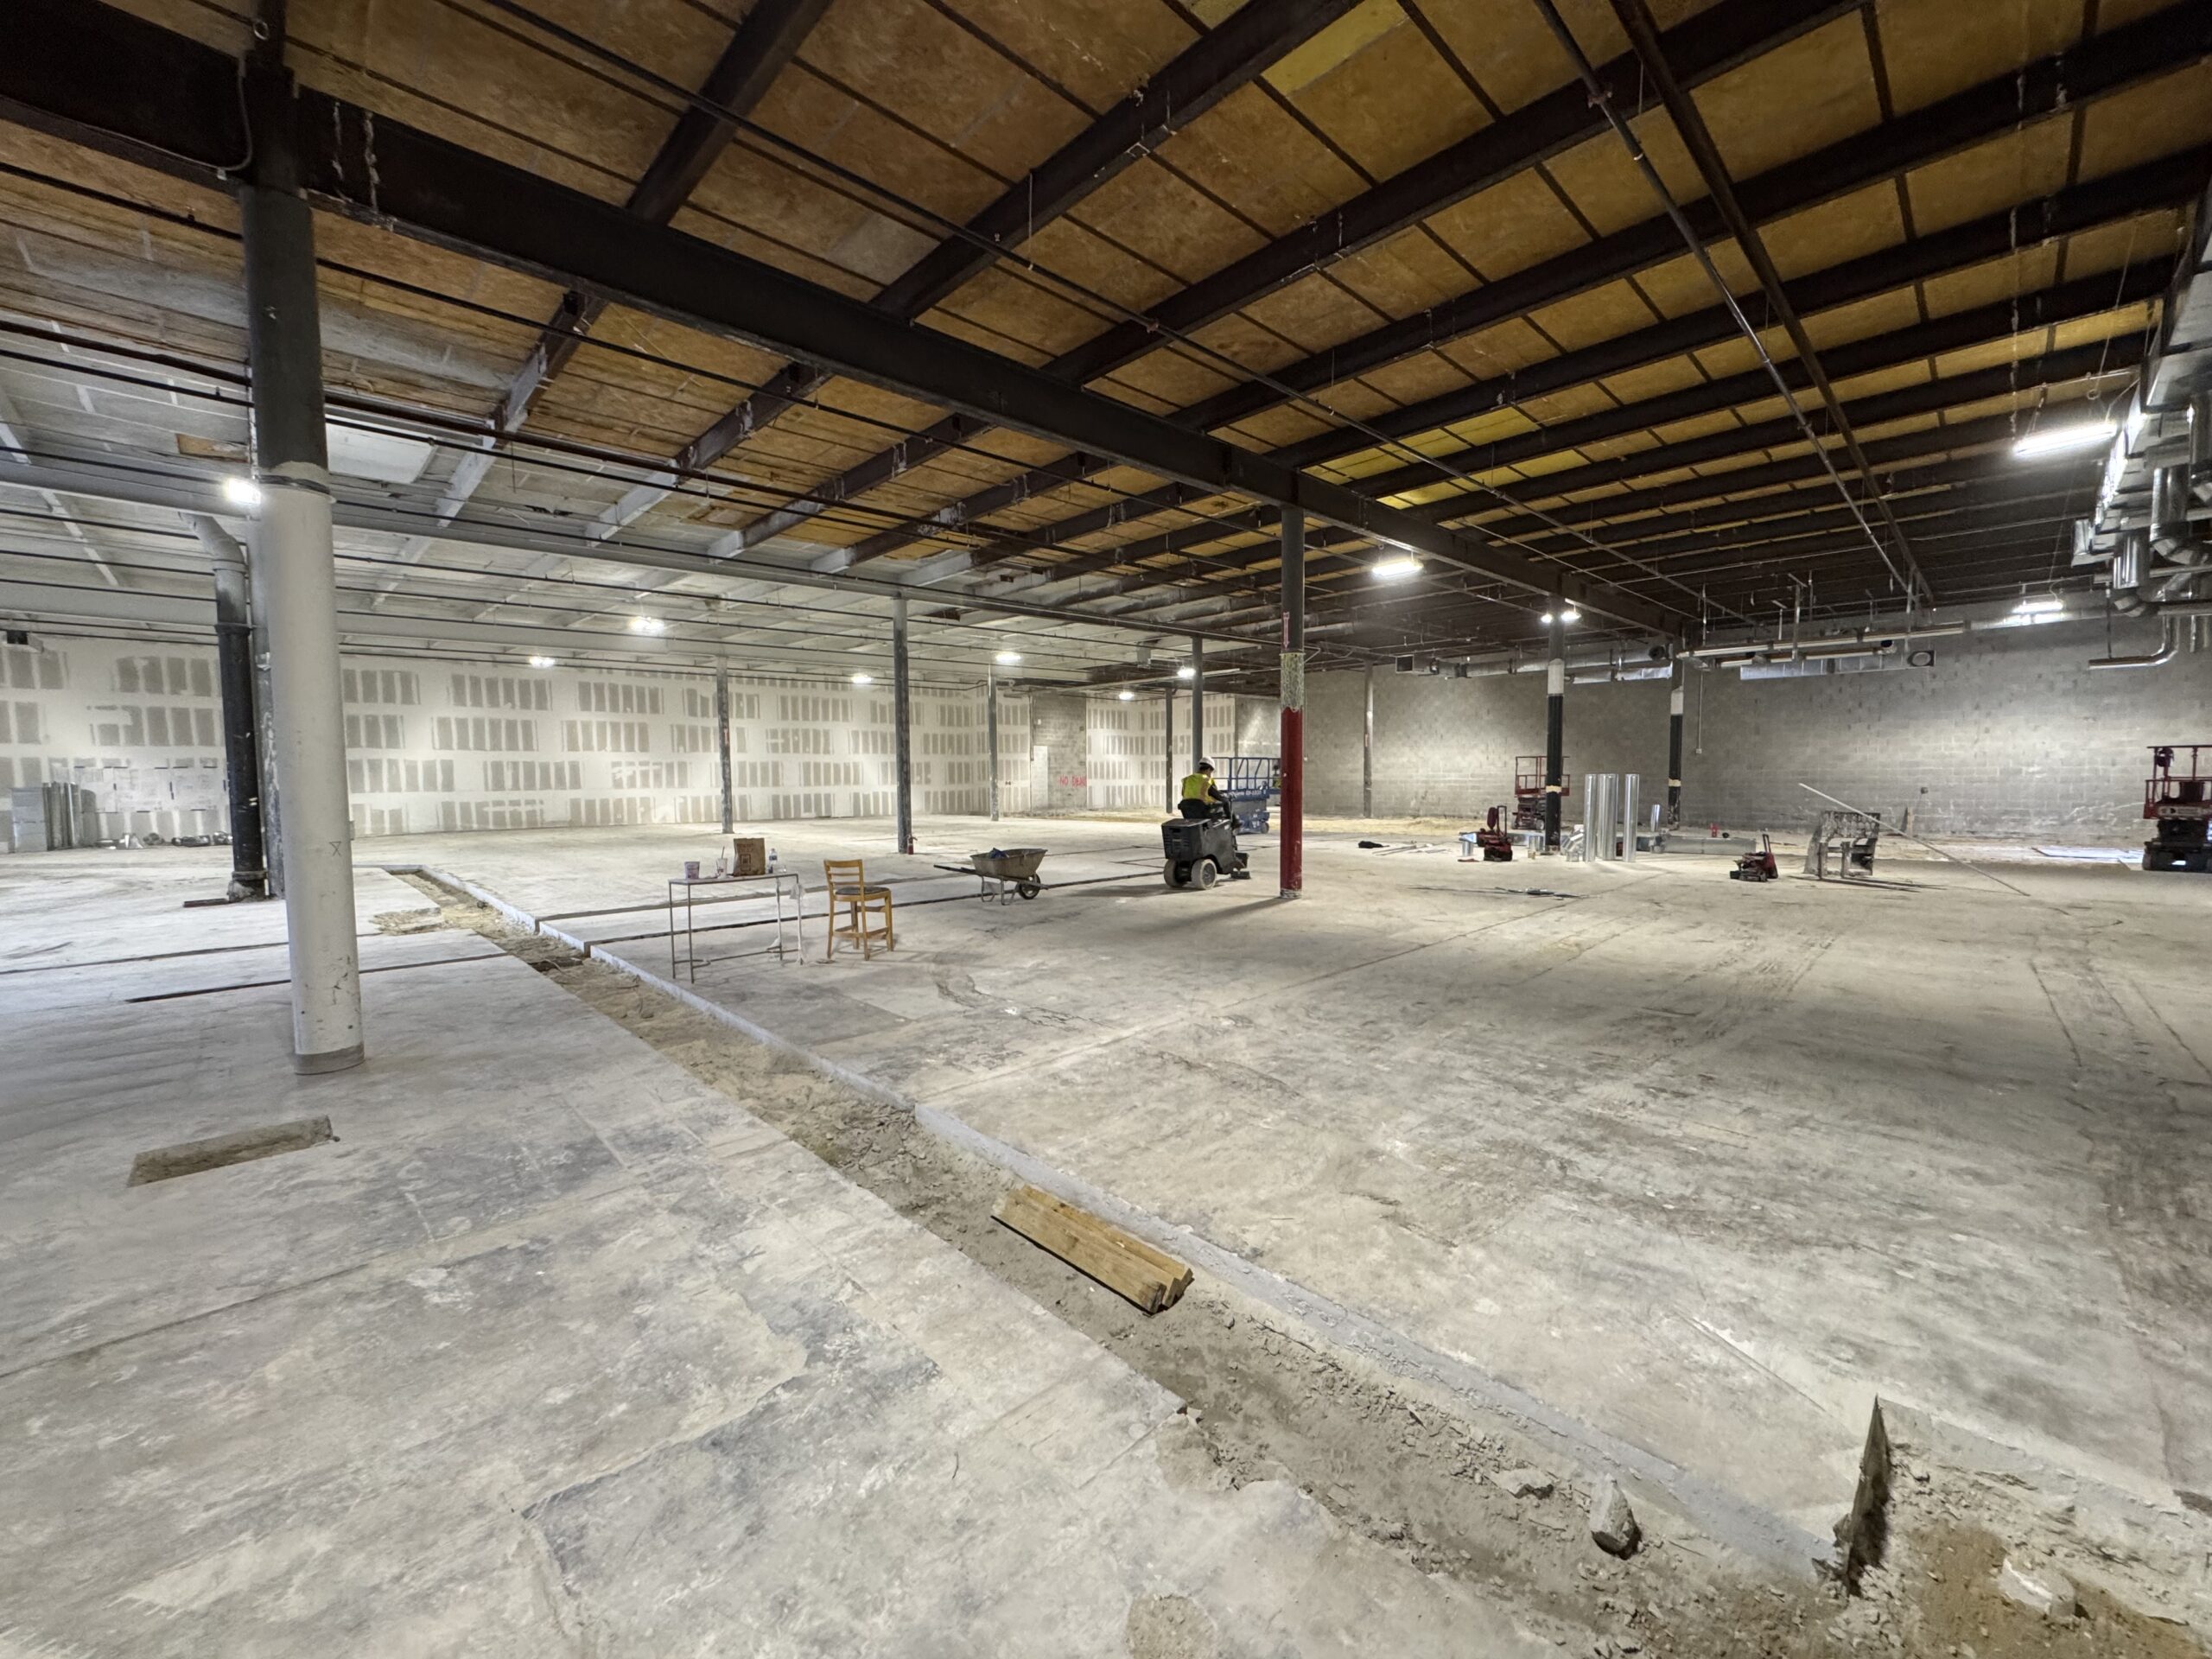
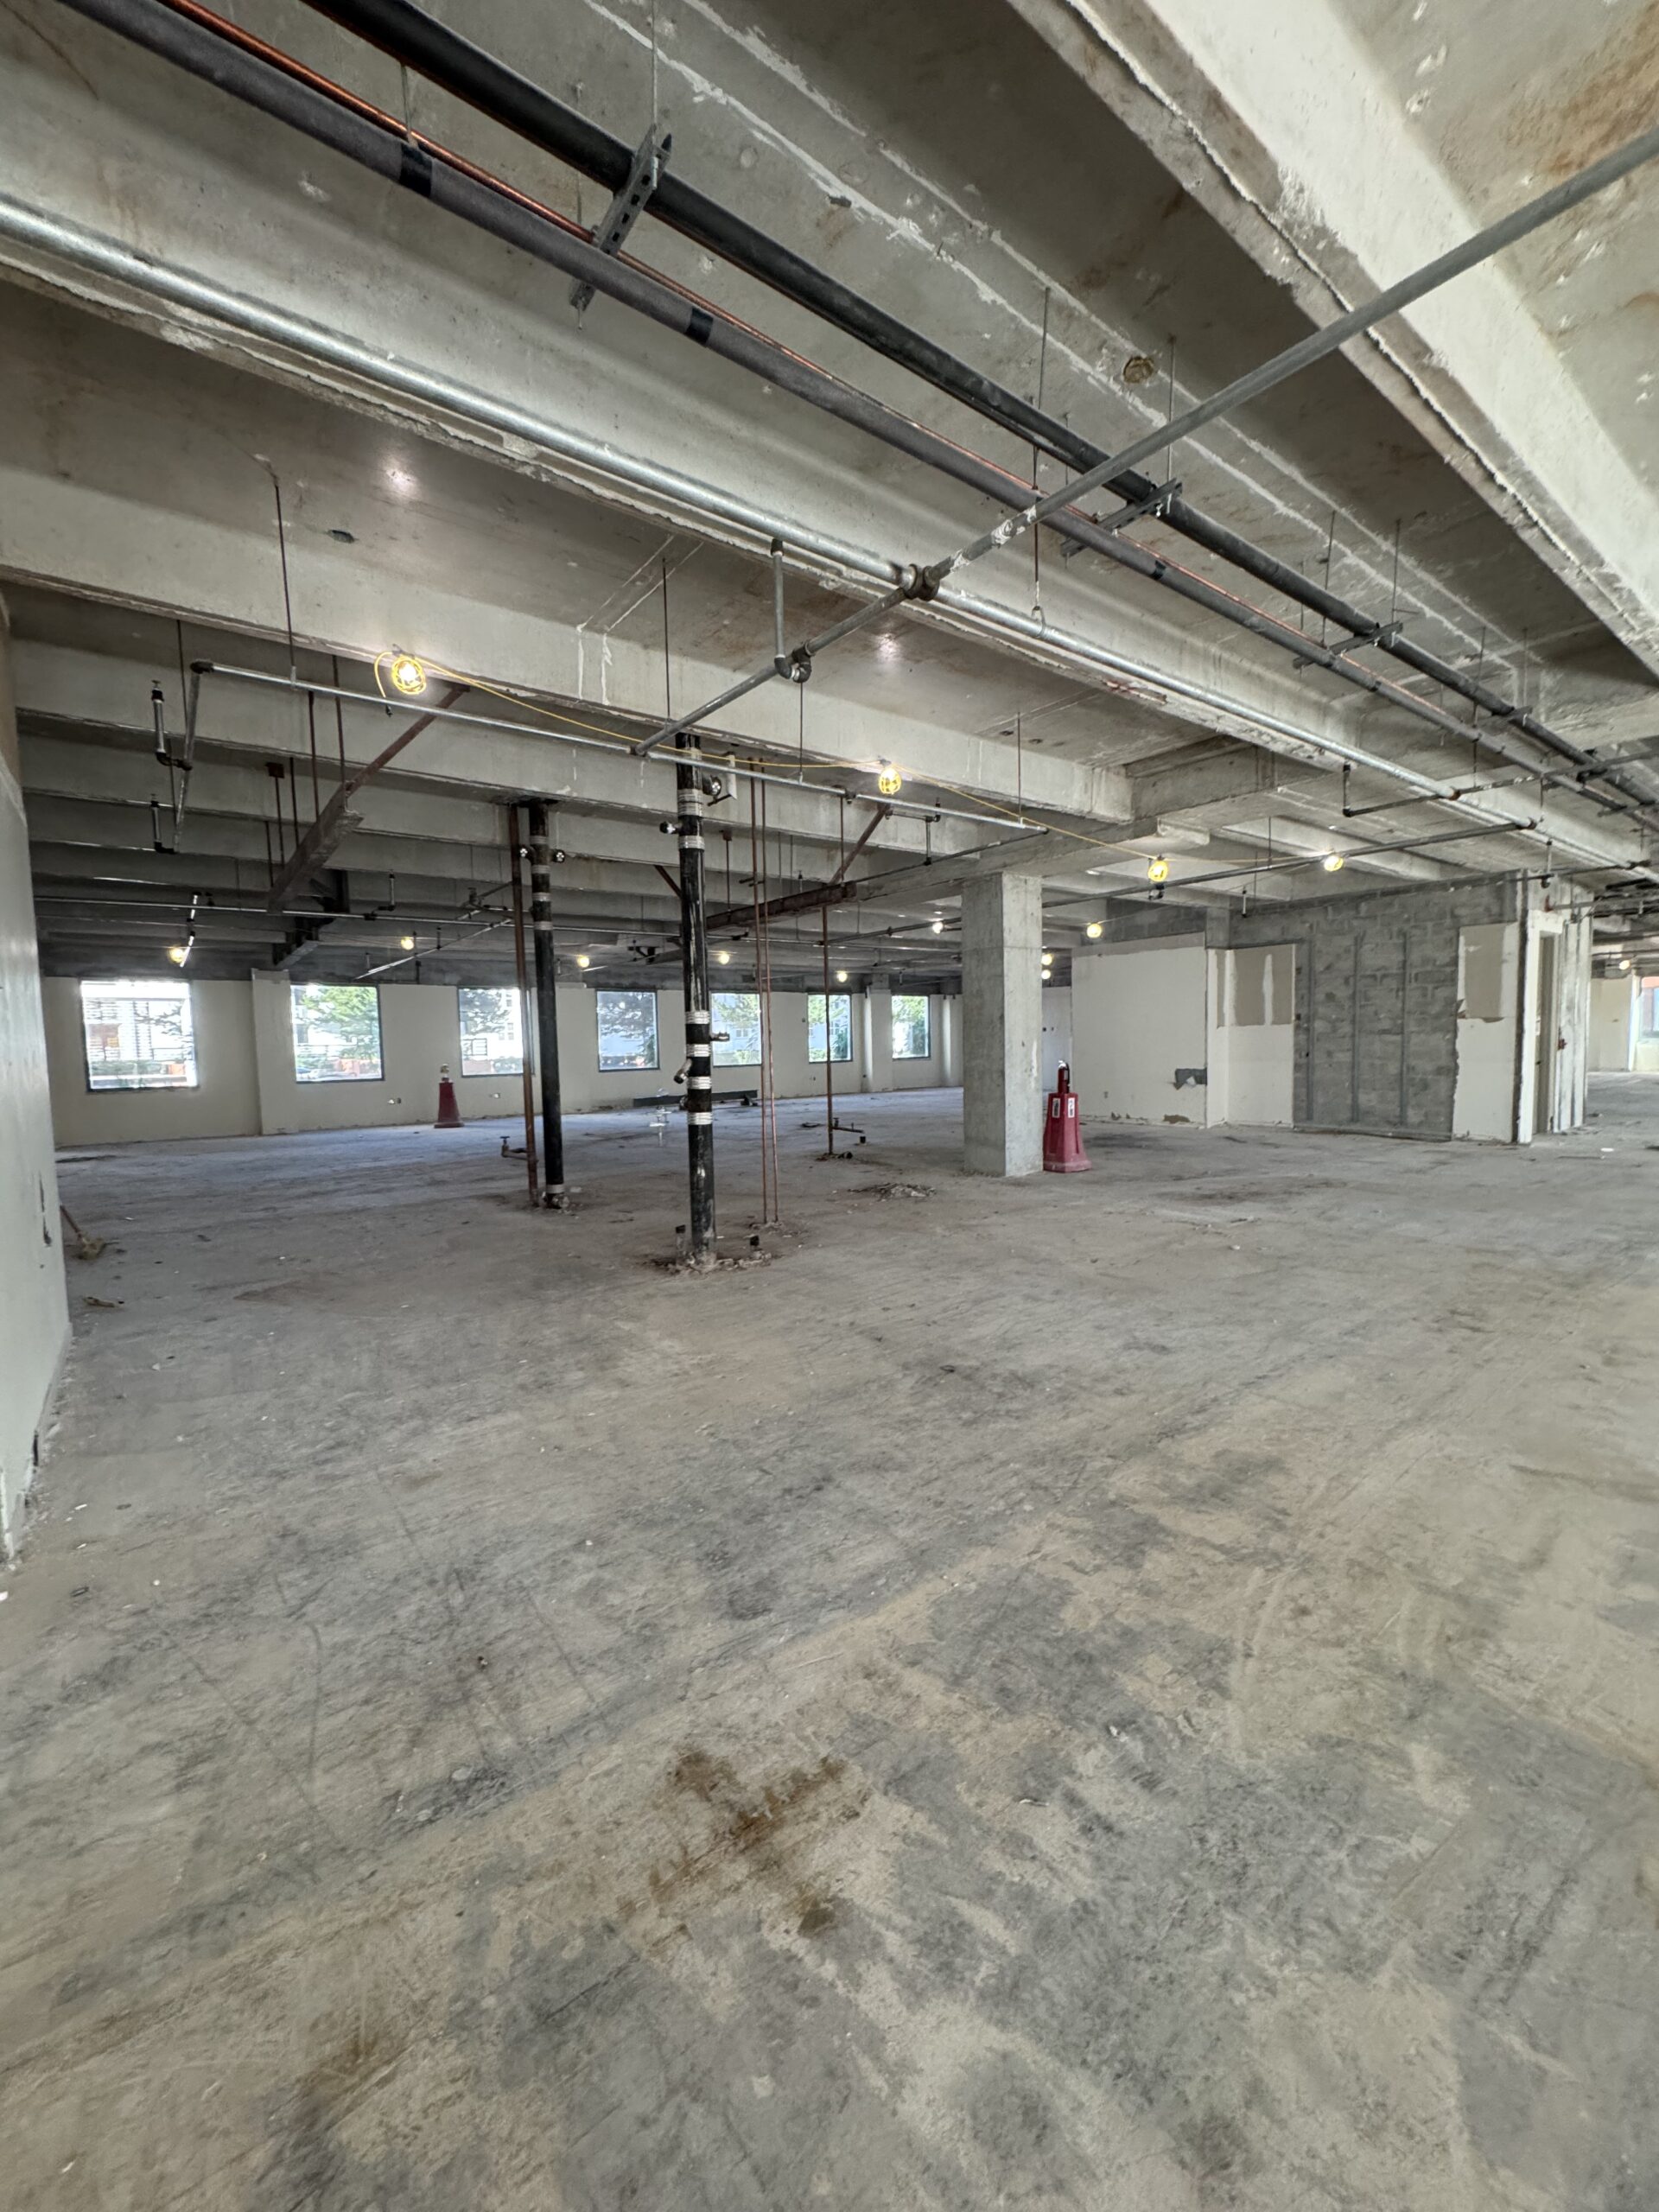
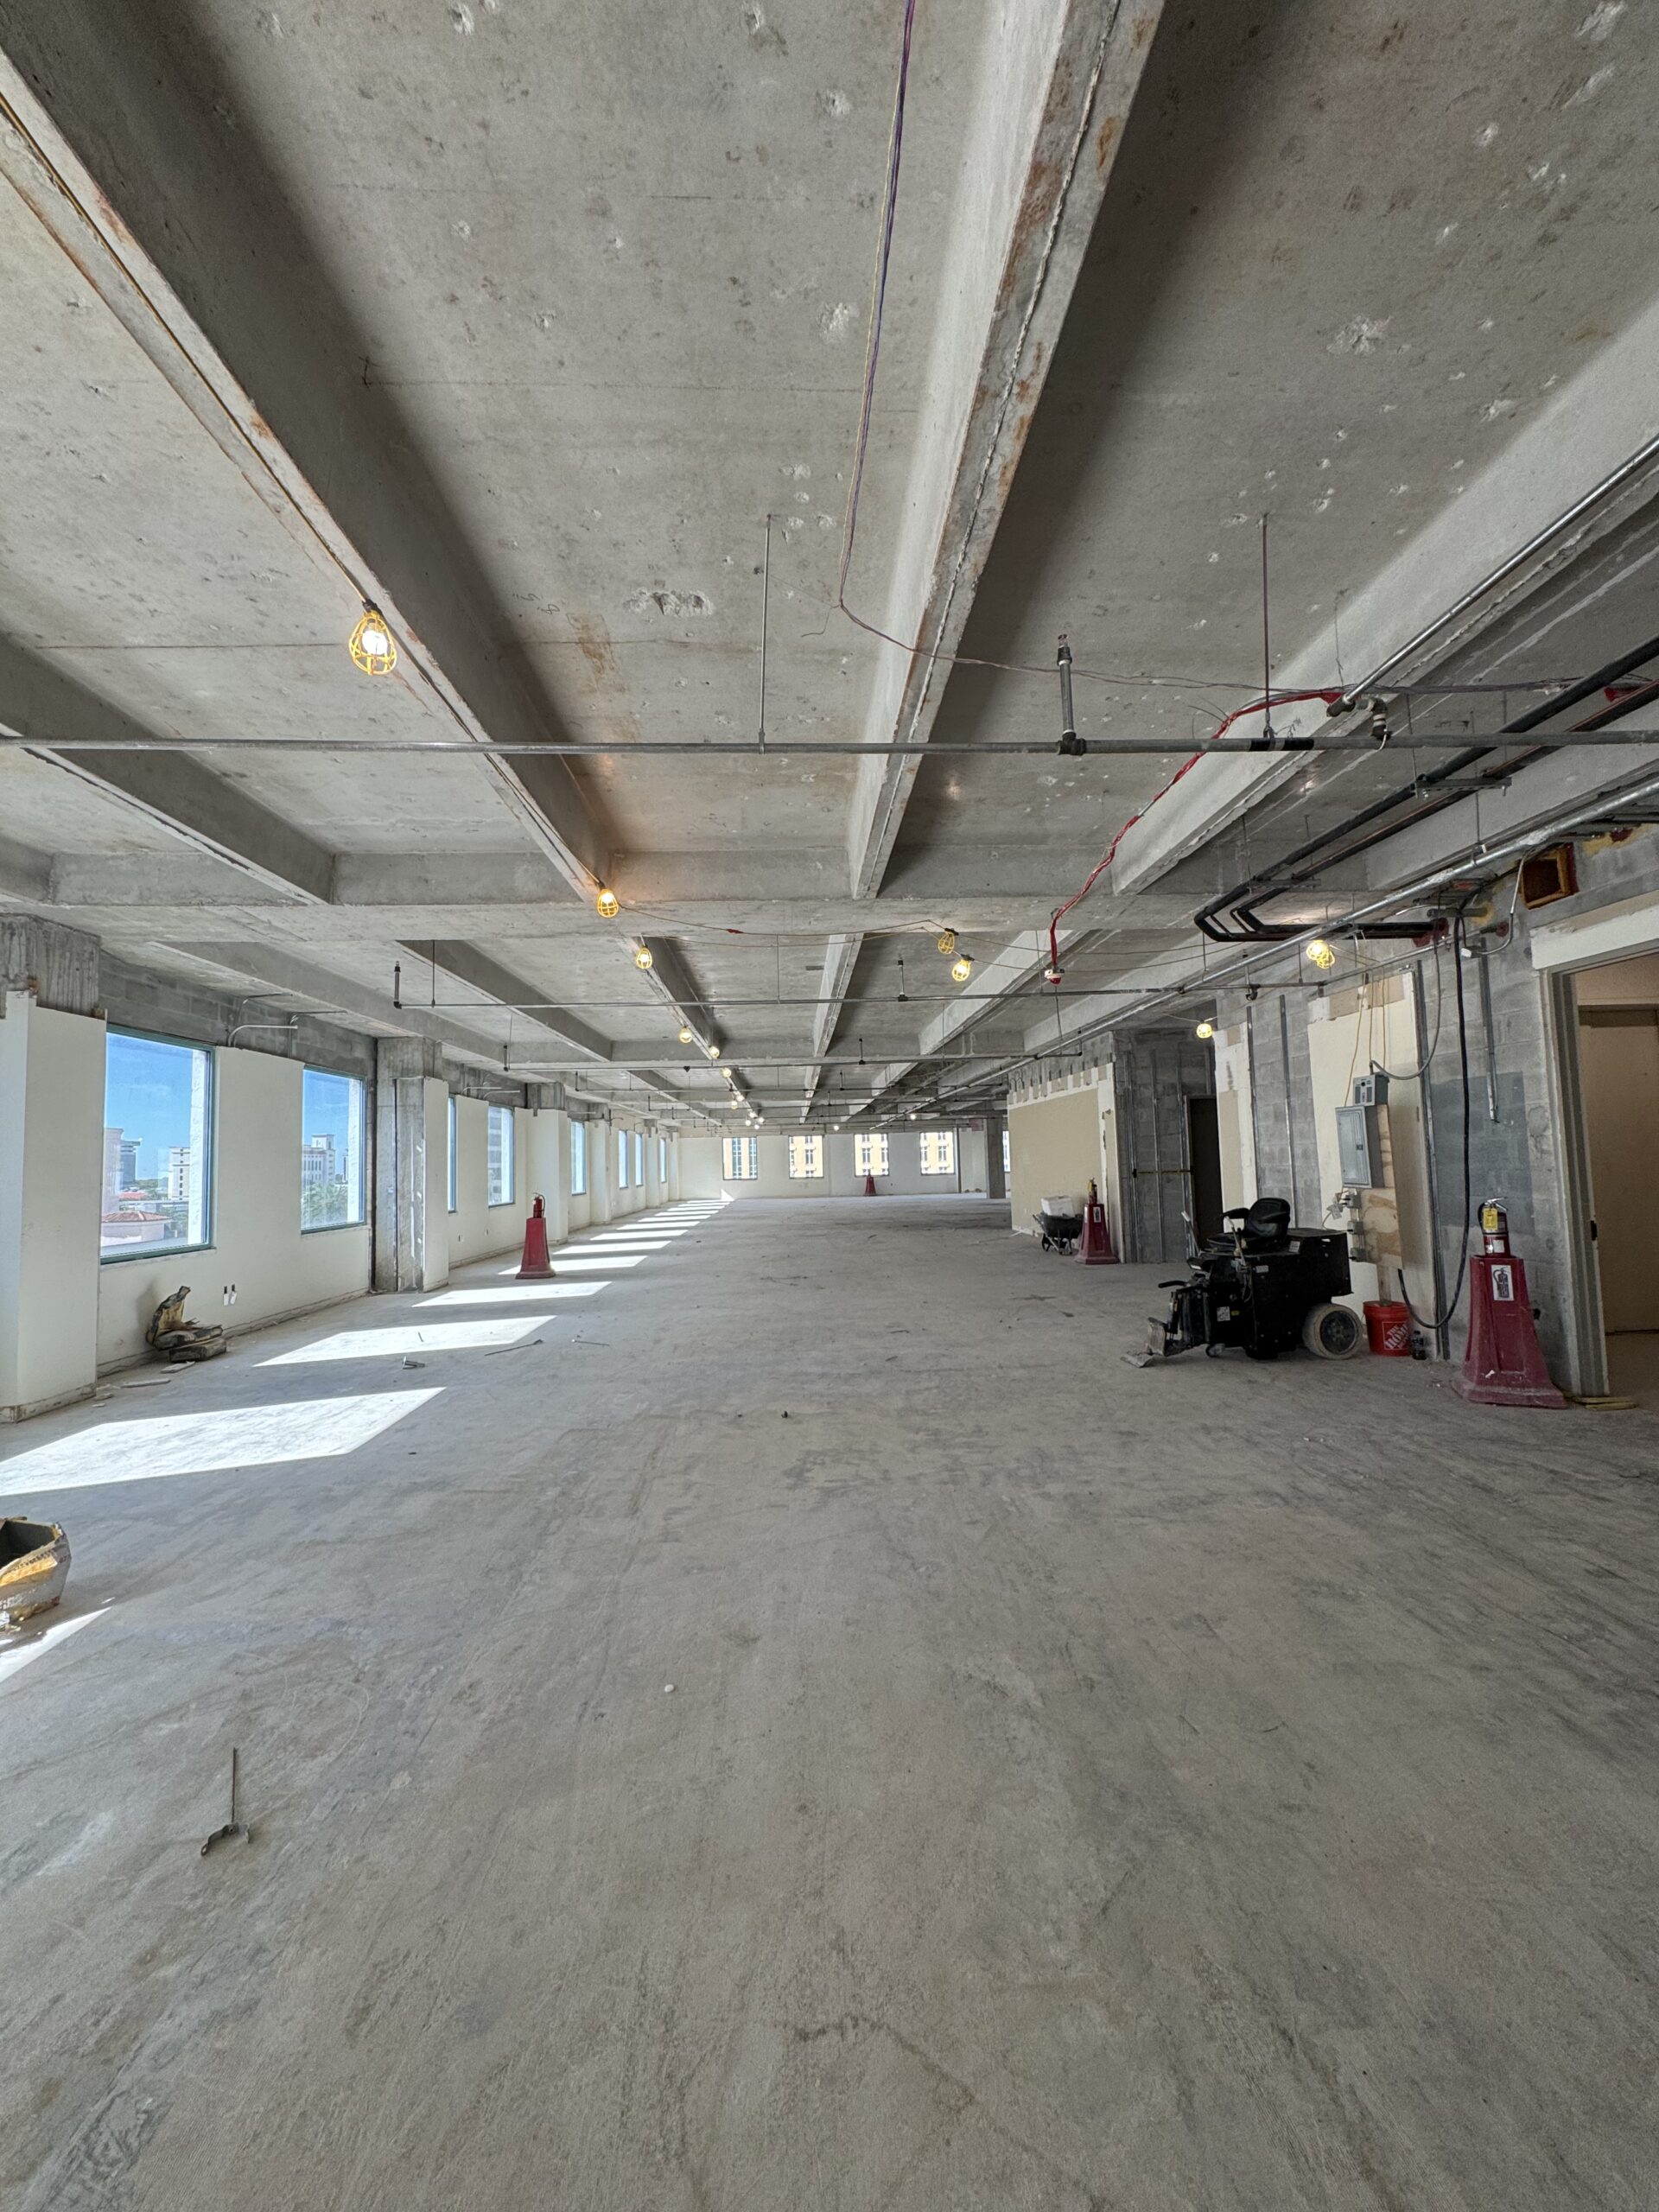
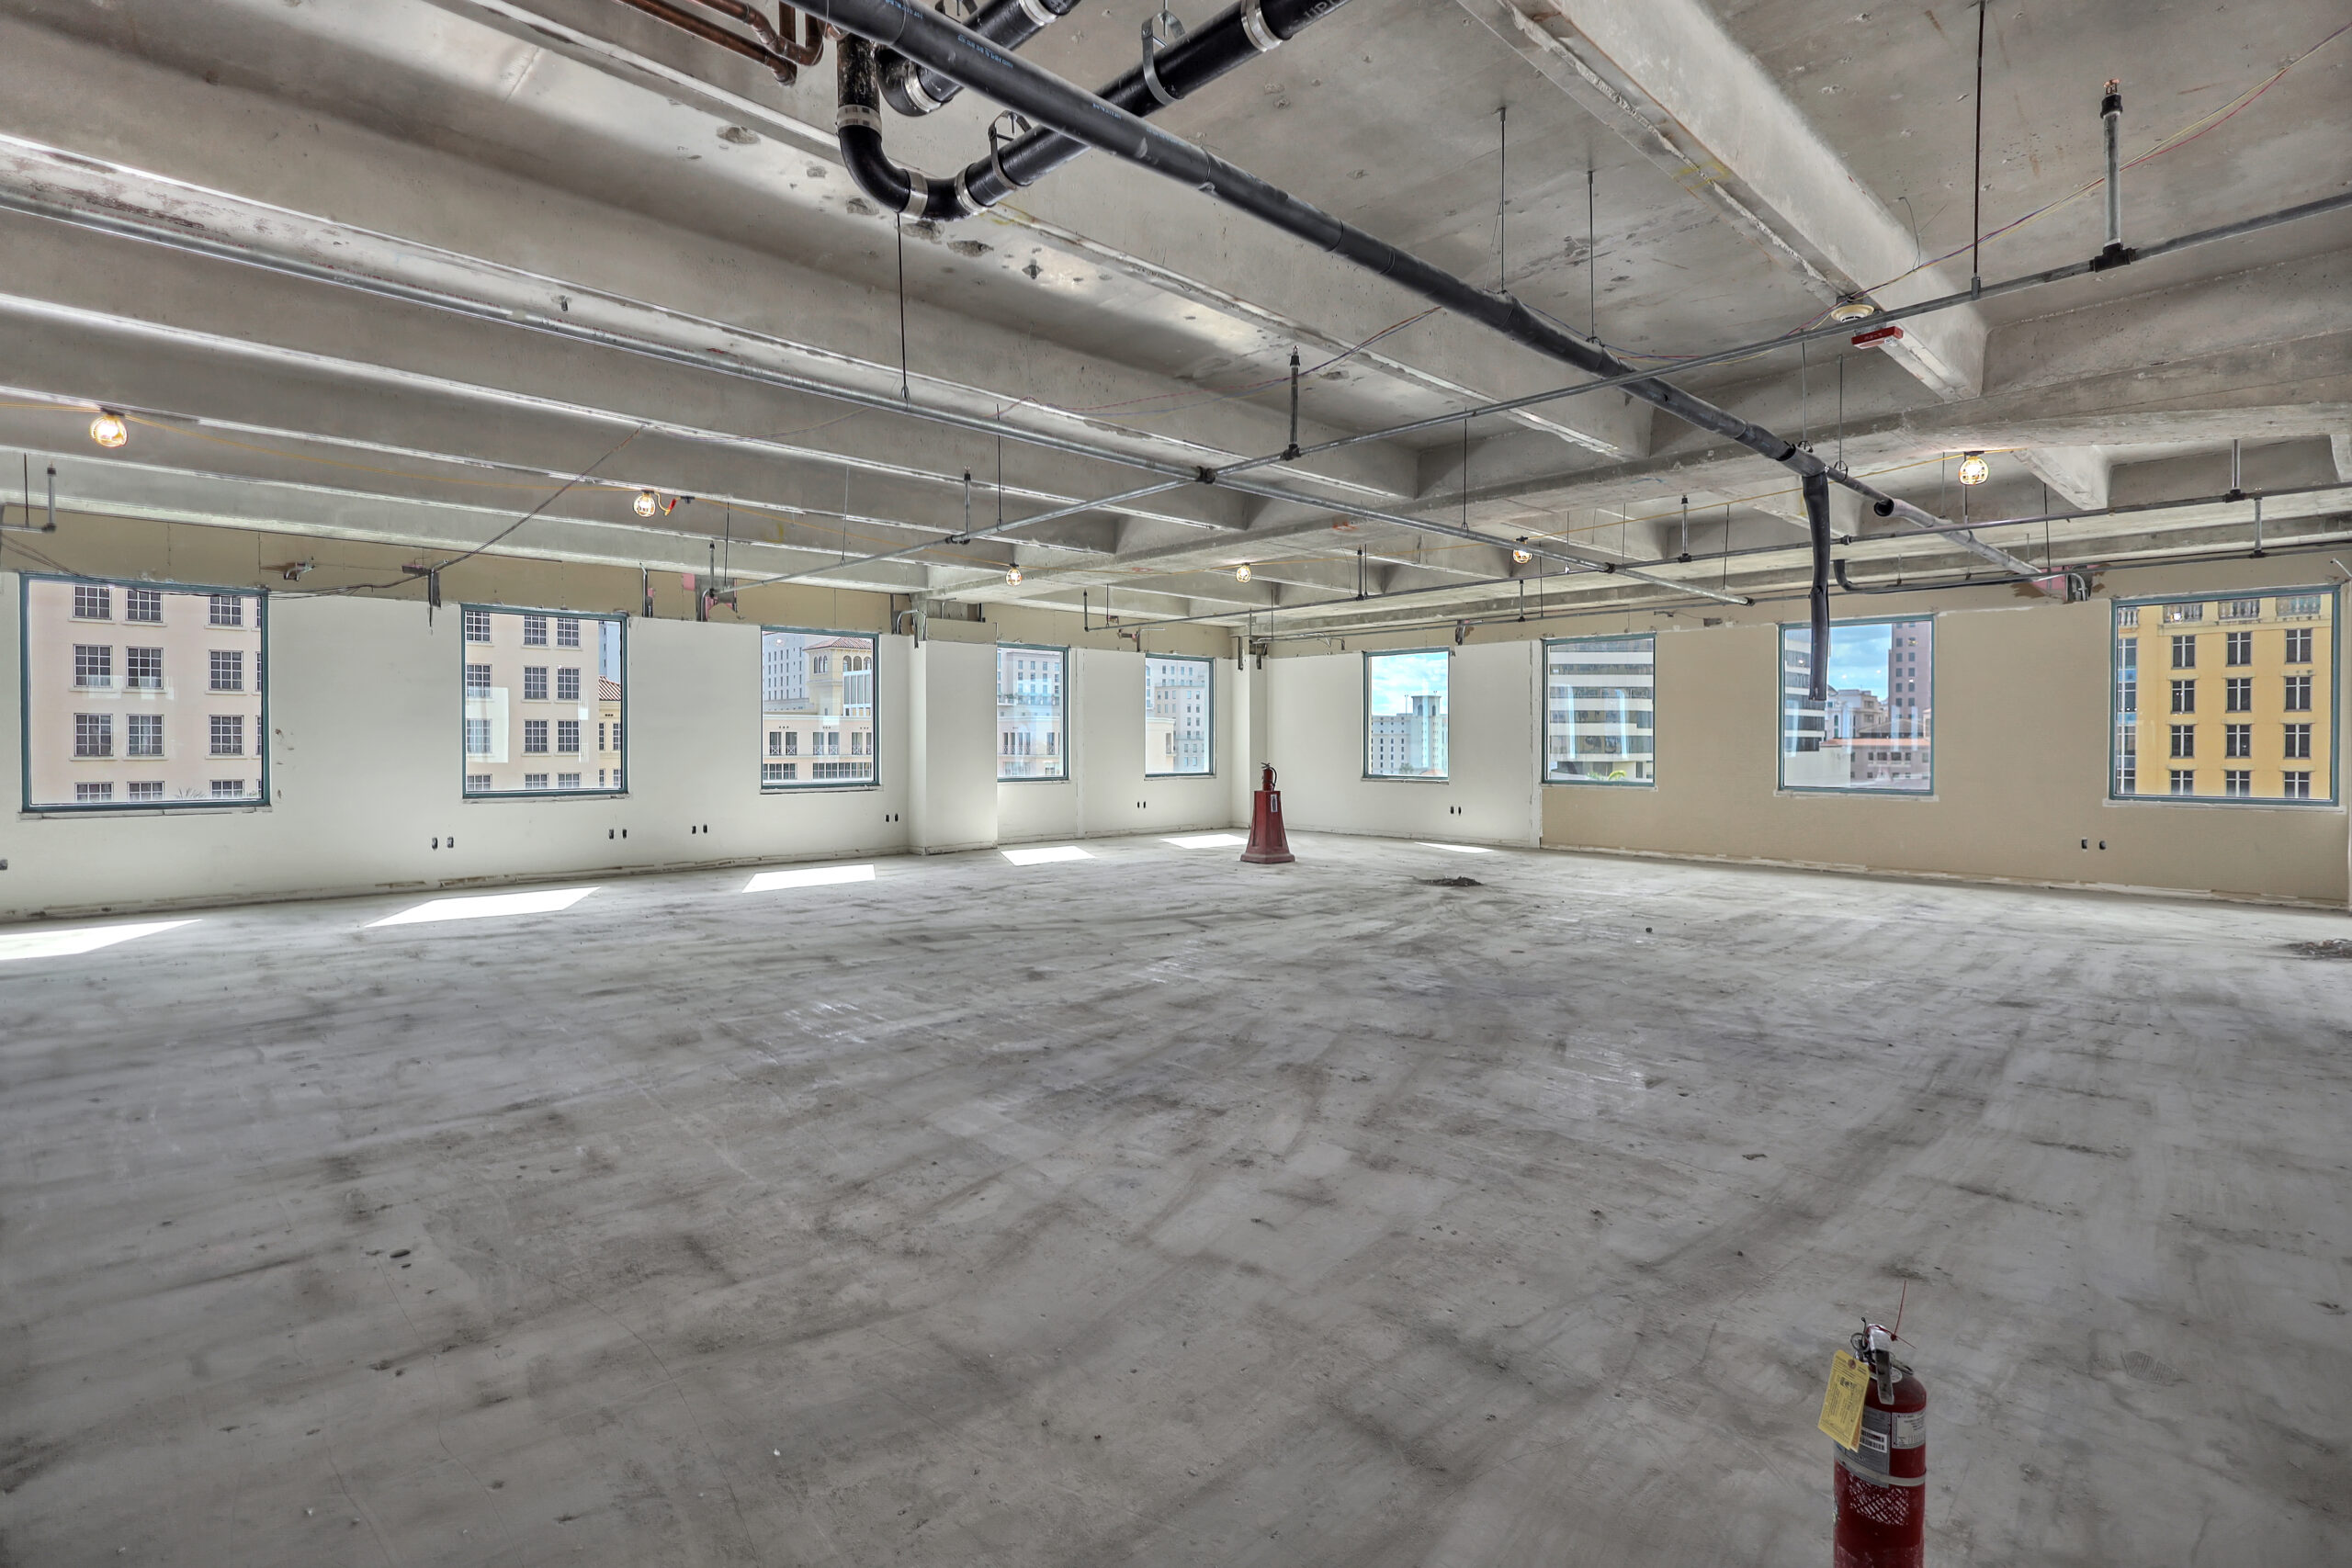
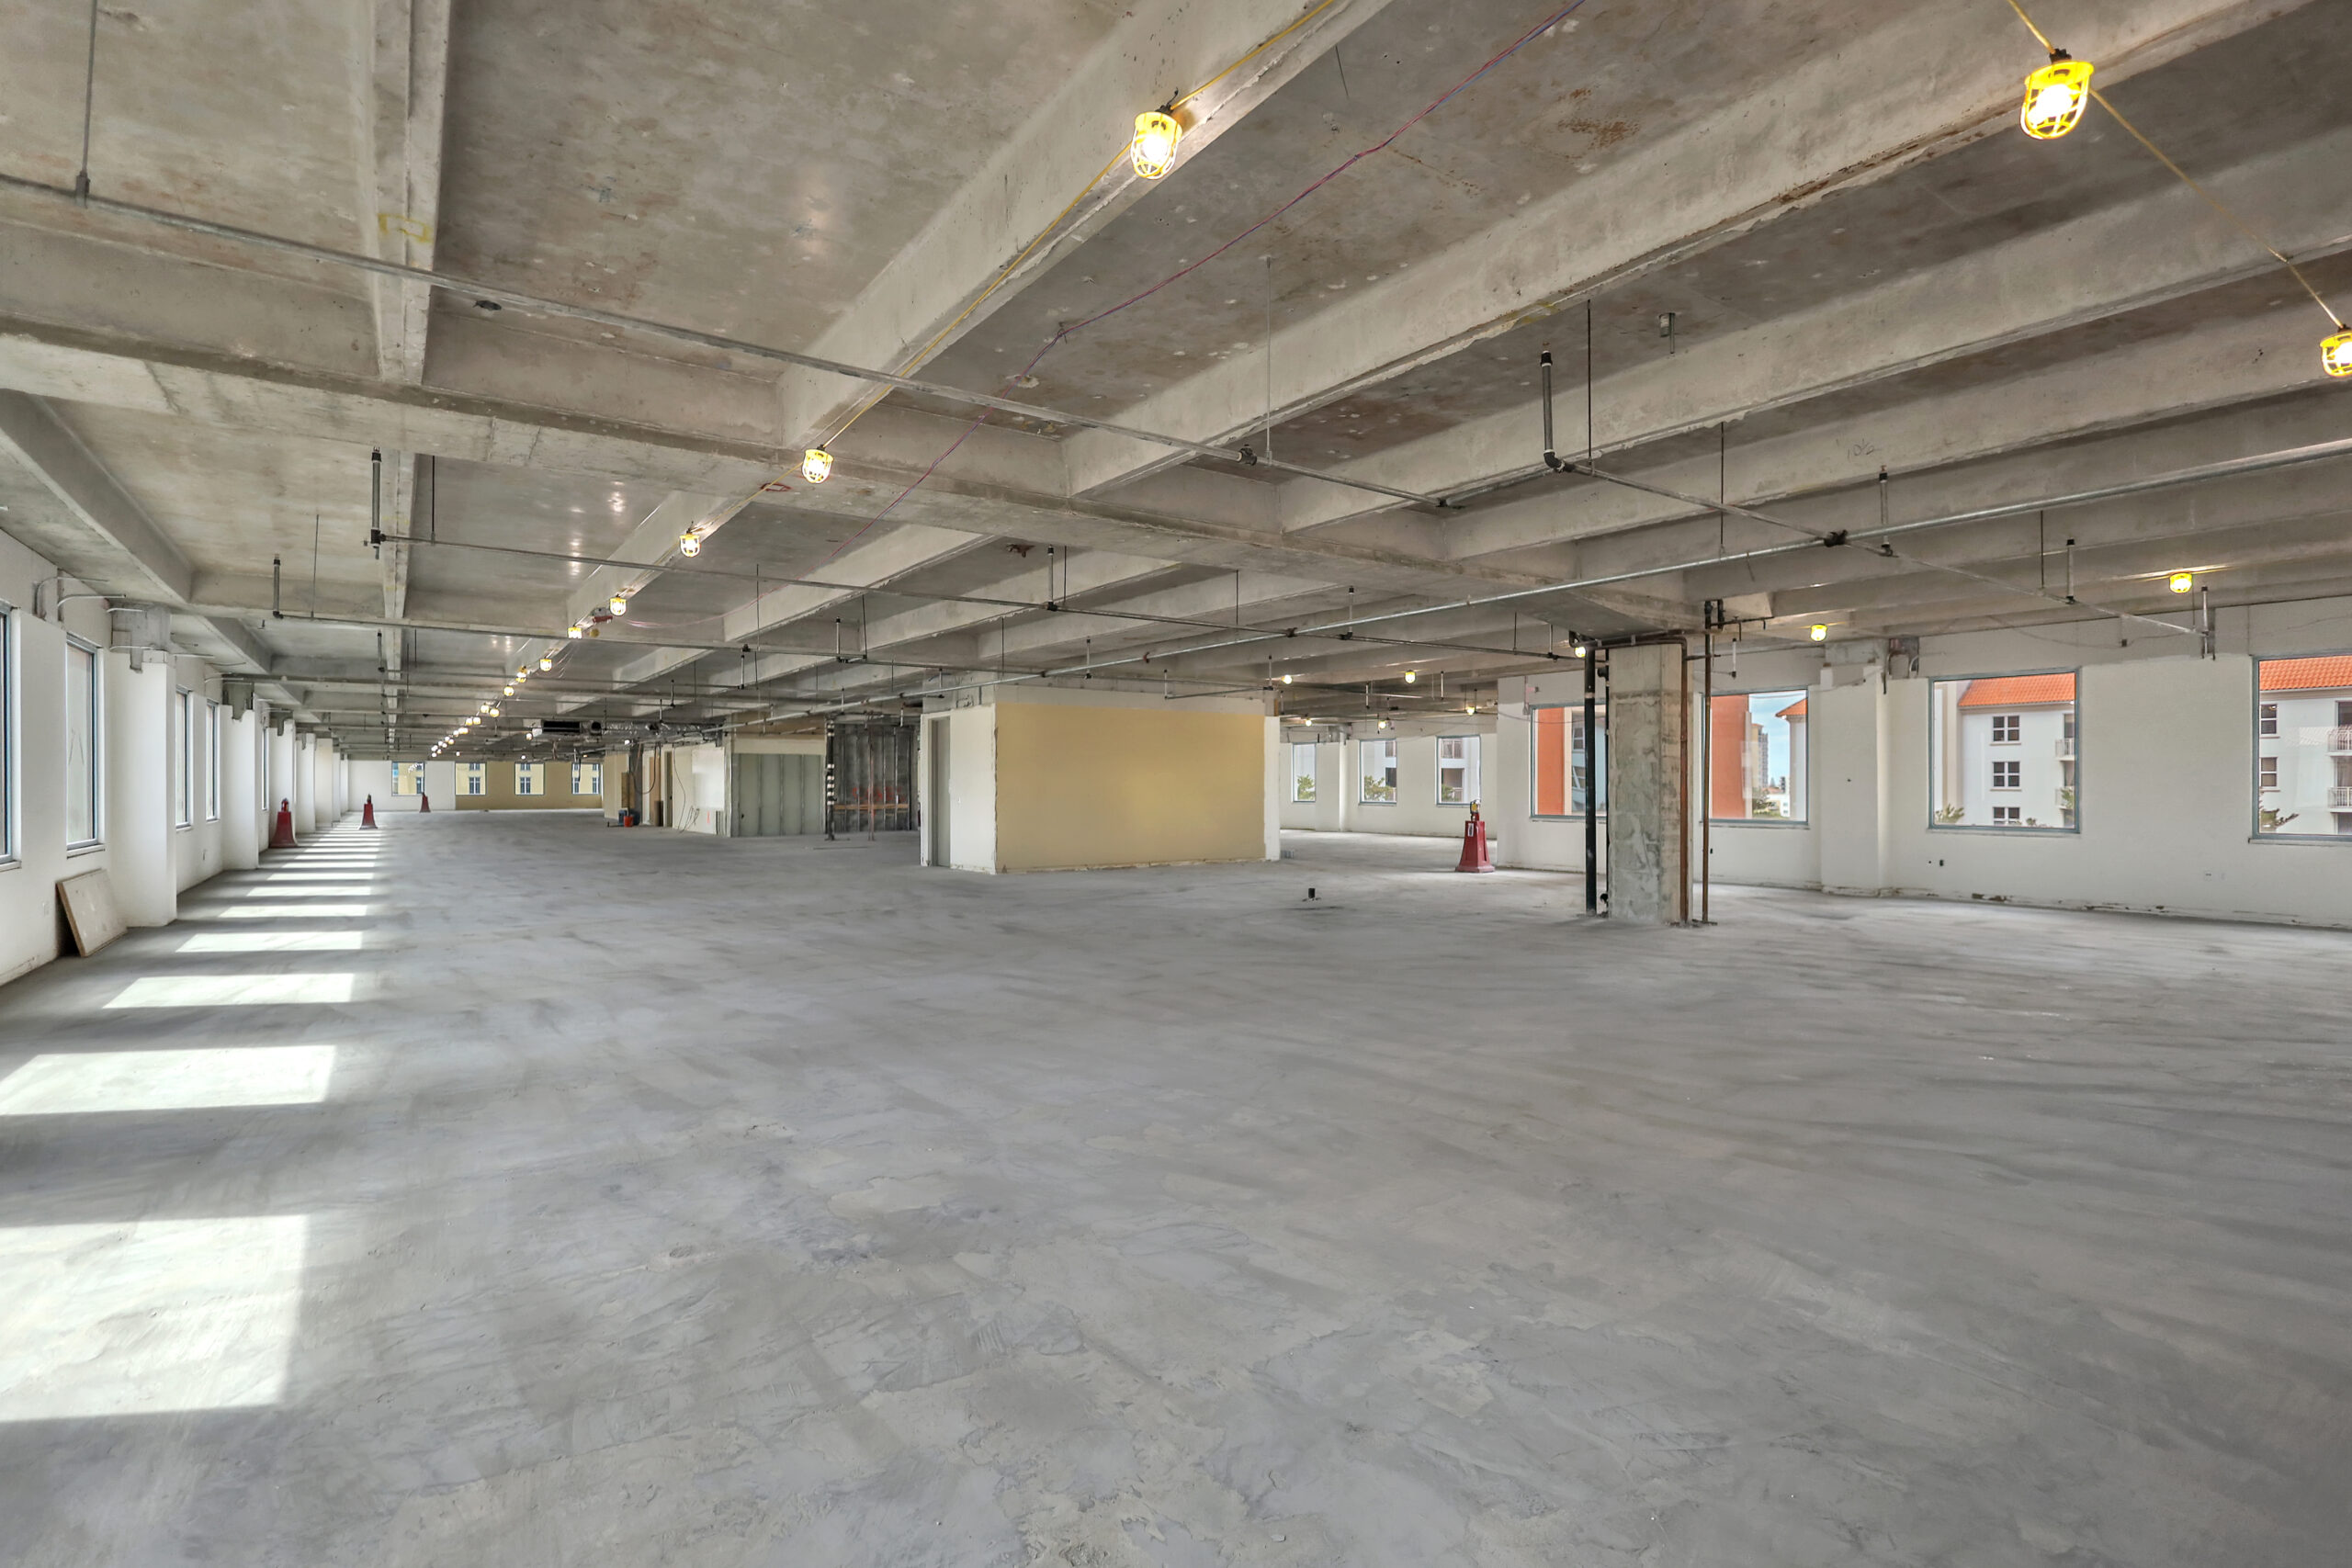
After demolition, the space is thoroughly cleaned, ensuring no debris or hazardous materials are left behind. The area is then ready for the next phase of construction or renovation.
A final inspection is done to ensure the demolition meets safety regulations and project requirements. A report is typically provided, documenting the work completed and confirming that all elements have been removed as planned.


